
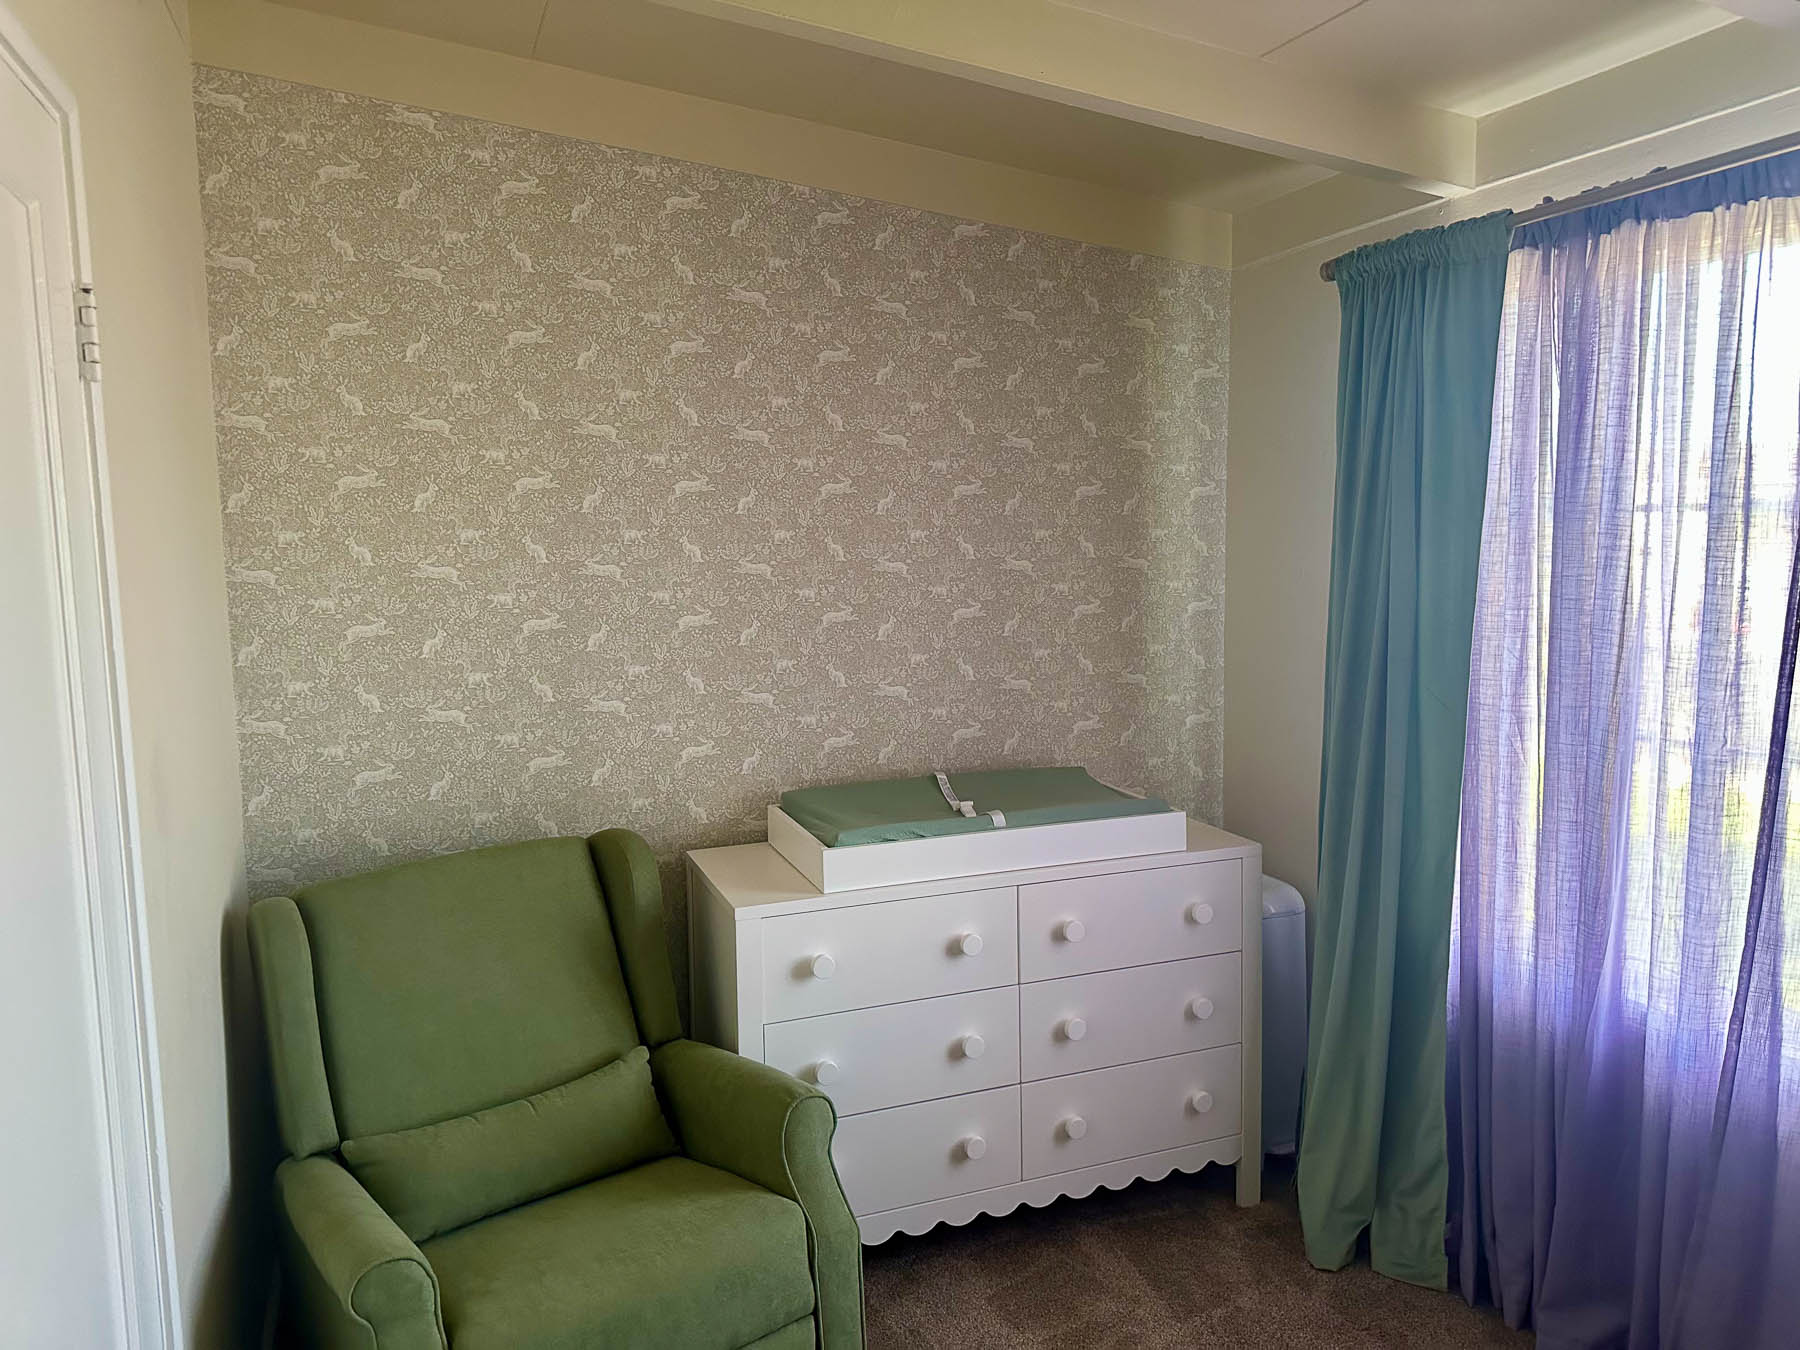
Peel & Stick Wallpaper Mistakes We Made (So You Don’t Have To)
Wallpaper is a fun interior design accent, but it can be such a pain.
After my family spent two full days removing traditional paste wallpaper from my childhood bedroom, I swore I’d never use it in my home.
Then I discovered peel-and-stick wallpaper: one of the most brilliant inventions of the 21st century. It’s so much easier to remove and is renter-friendly!
That said, it comes with its own unique set of challenges.
When my husband and I set out to install wallpaper in our nursery, we severely underestimated how frustrating it would be. We could have saved ourselves a lot of grief (and marital conflict) had we avoided a few peel-and-stick wallpaper mistakes.
So I’m here to share what we learned, and hopefully help you avoid some of the frustration we experienced.
Here’s what we wish we’d known before we got started.
This post contains affiliate links that earn me a commission. For more information, read my disclaimer.
Don’t: Try to Install Wallpaper Alone
When we set out to install peel-and-stick wallpaper in our nursery, I’ll admit I was a little cocky.
I thought, surely this can’t be that difficult. I found YouTube videos of people online successfully doing it solo. And they made it look so easy.
I was so sure I could do it without my husband. Alas, I was fooled.
Unless you’re extremely handy (as in borderline professional), I wouldn’t recommend doing this by yourself.
Keep in mind that you’re basically working with a giant sticker — the largest you will ever handle. And you’ll need at least one other person to help wrangle it.
Do: Have a Minimum of Two People
I recommend a minimum of two people for installing peel-and-stick wallpaper. More wouldn’t necessarily hurt, but it depends on your relationship dynamics (Spence and I had like four fights).
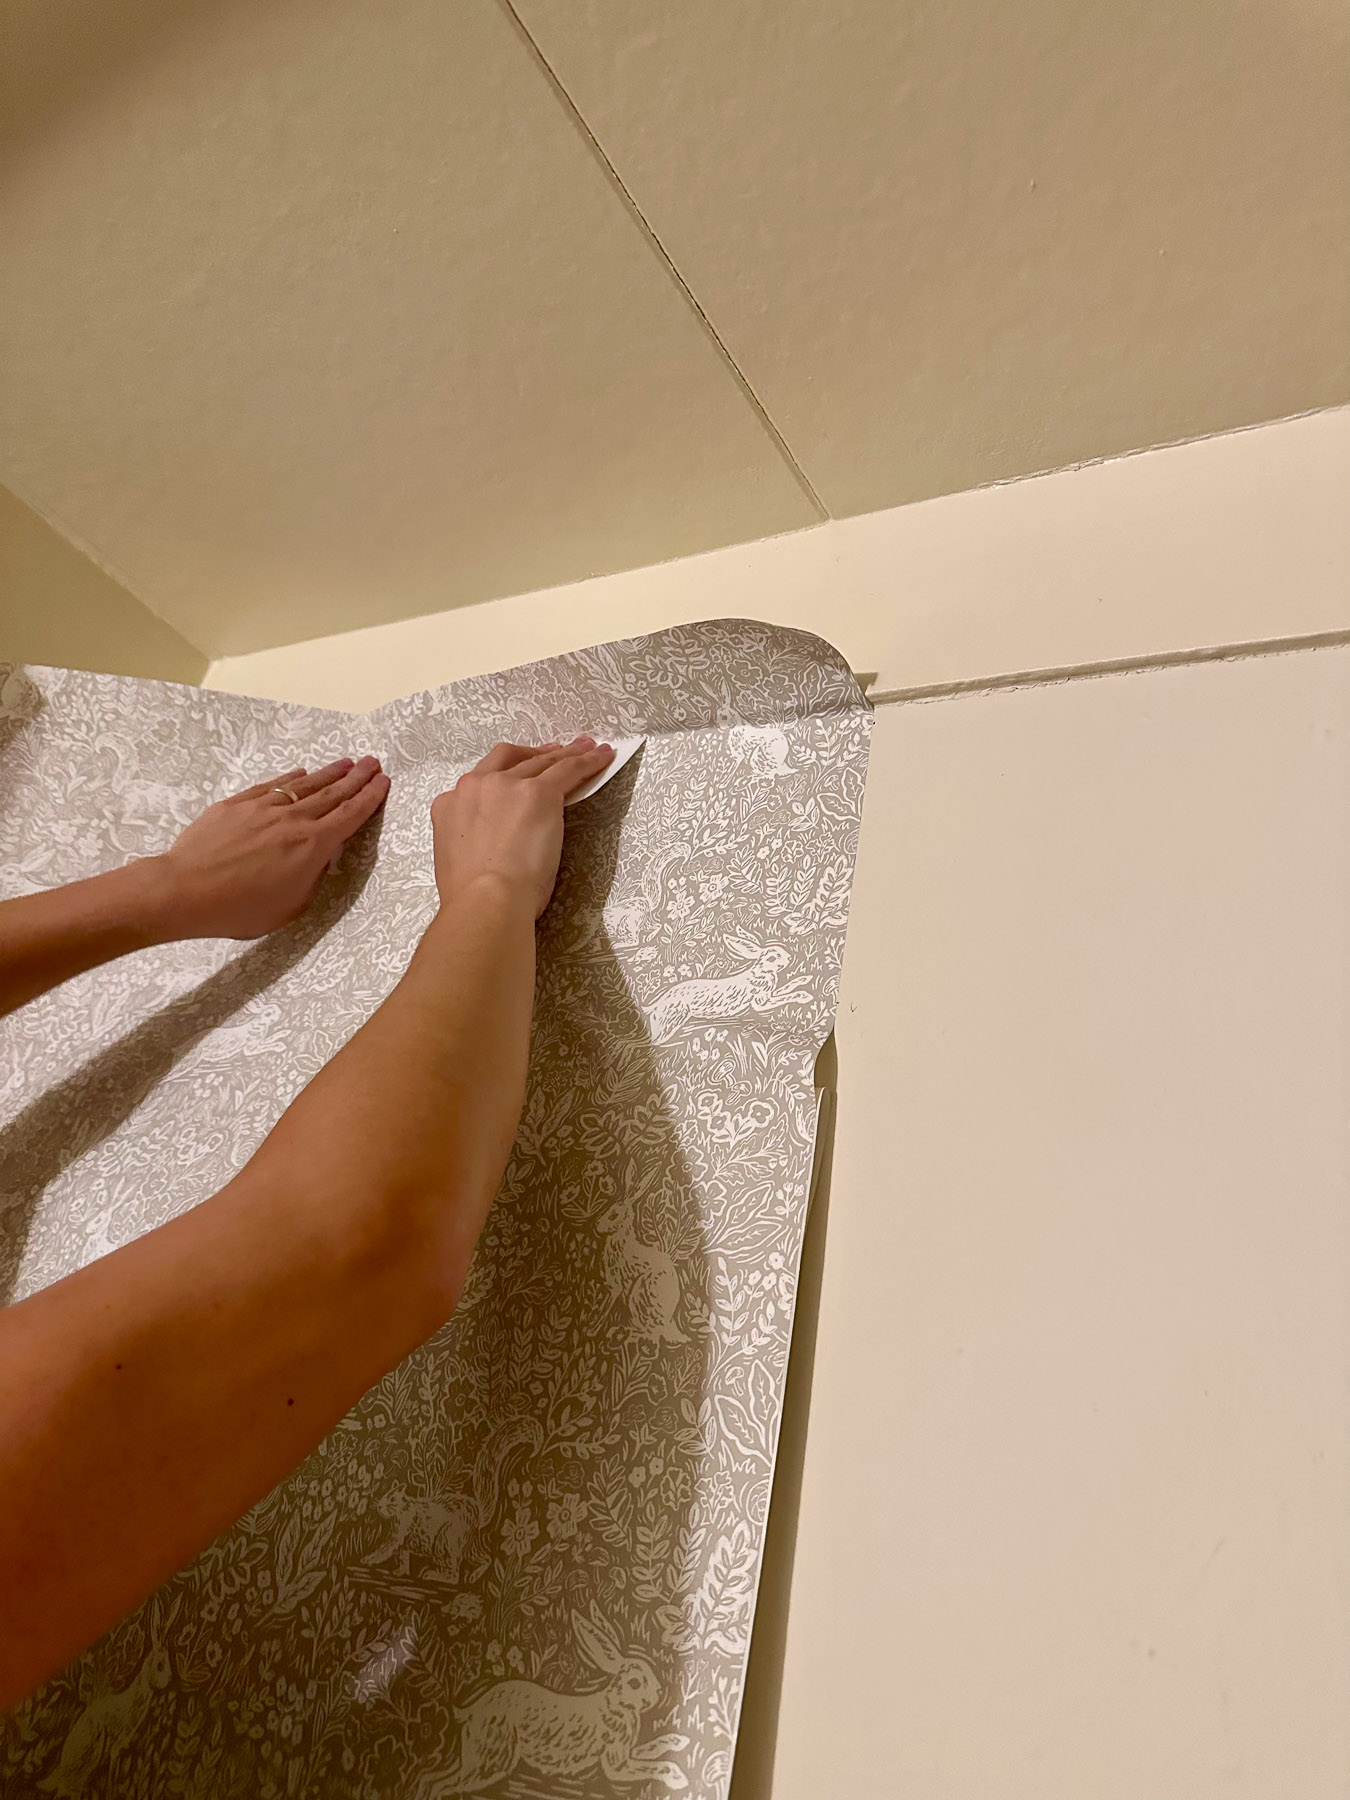
One person needs both hands to align the wallpaper and stick it to the wall. The other person should hold the bottom portion and help guide it down in a (relatively) straight line — more on that later.
The second person can also help unroll the backing as you work your way down the wall.
Having two people is especially important when placing each piece at the top of the wall. We found that once each piece was started, a second person became less essential as we worked downward, though still helpful.
Tip: We used a plastic bench scraper for smoothing and as a guide for trimming the wallpaper, and it was enormously helpful.
Don’t: Obsess Over a Perfect Level Line
Everything I found online about installing peel-and-stick wallpaper said it’s absolutely critical to have a vertical level line as a guide to keep your wallpaper straight.
However, we quickly realized that our house (which was built in the ‘50s) has no straight lines… pretty much anywhere.
Our ceiling is angled, and our walls are also uneven, so we were worried the wallpaper would look slanted. We assumed it would become even more pronounced as we worked our way across the wall.
So with great optimism and overconfidence in our own abilities, we used a plumb line to create our own perfect, level line.
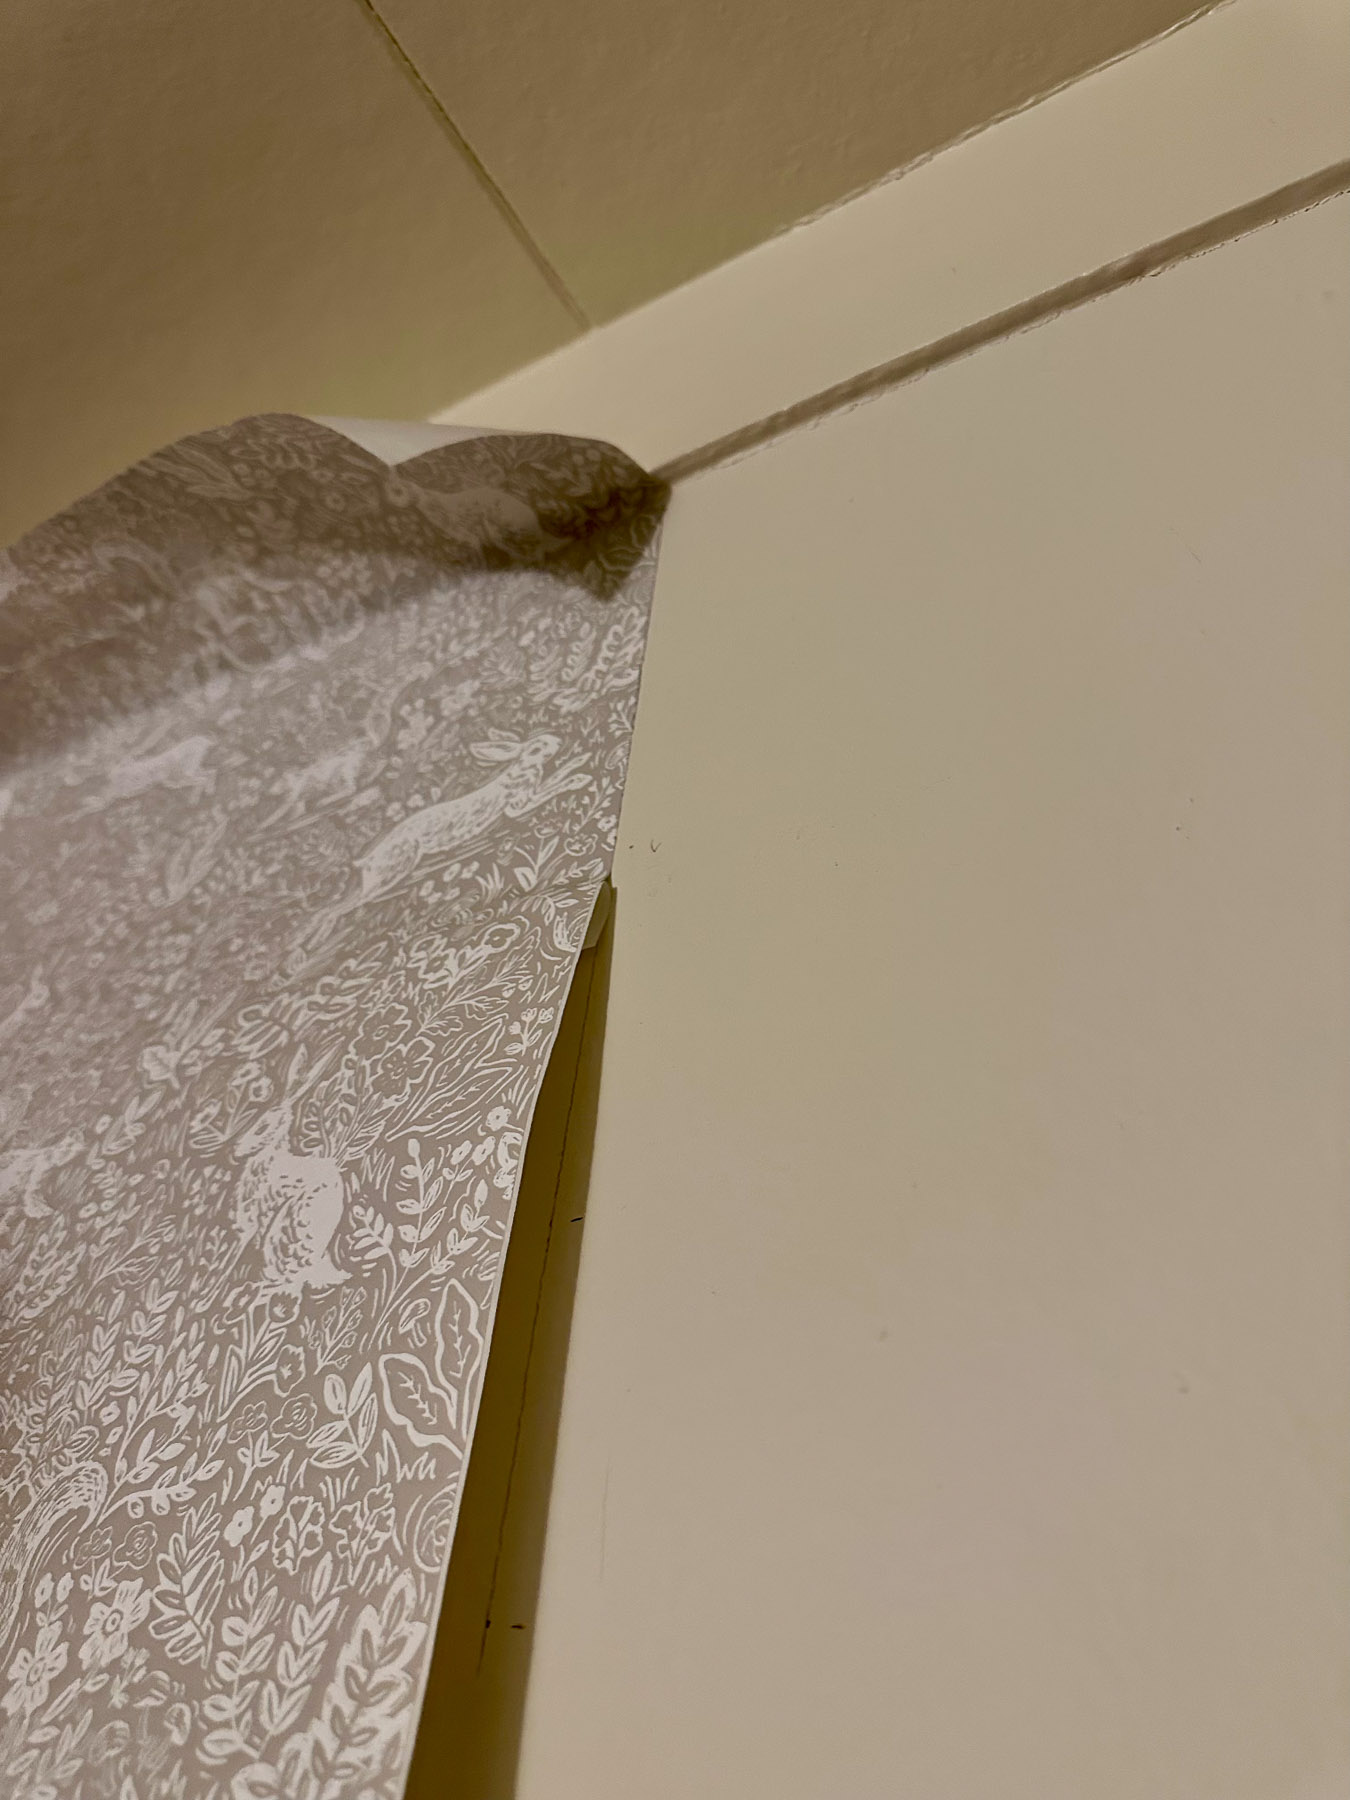
We installed the first piece in the corner and planned to trim it to create a straight edge for the next panel.
Ironically, even though we had a perfect level line to work with, we weren’t able to keep our wallpaper totally lined up with it despite our best efforts, and ended up drifting just under an inch.
And guess what? You can’t even tell it’s crooked.
Do: Invest in a Forgiving Wallpaper
What we learned after hours of frustration is that it’s far more important to invest in forgiving wallpaper than to establish a perfect level line.
I have three criteria for what constitutes “forgiving” wallpaper.
1. Non-Directional
It is very important to choose wallpaper that is non-directional. This means that the pattern doesn’t have a clear up/down or left/right orientation.
Non-directional wallpaper will help if your paper isn’t perfectly aligned — which, in practice, we found is very hard to achieve.
Stripes would be the most dramatic example of this, but other wallpaper types can be directional. To see if your paper is directional, tilt it slightly and see if you can tell it isn’t straight. If so, maybe consider a different option.
2. Patterned with Small-Scale Repeat
I also recommend choosing patterned wallpaper. I have a pretty minimalist design style, and I don’t typically decorate with a lot of patterns. However, I believe you need it for wallpaper.
Ideally, look for a pattern with a small-scale repeat. This means the design repeats frequently and in small sections, rather than having large, dramatic motifs.
This will help conceal bubbles as well as any places you fail to match up the pattern perfectly.
Larger patterns can work, but they won’t conceal quite as many mistakes. And if you’re thinking about a solid colored wallpaper, I really wouldn’t recommend it. Every bubble and seam will show, and you’ll end up frustrated.
3. High-Quality
My last criterion for what makes wallpaper forgiving is quality.
I’m normally all about the budget options, but I stumbled across a high-quality wallpaper by Rifle Paper Company and immediately fell in love.
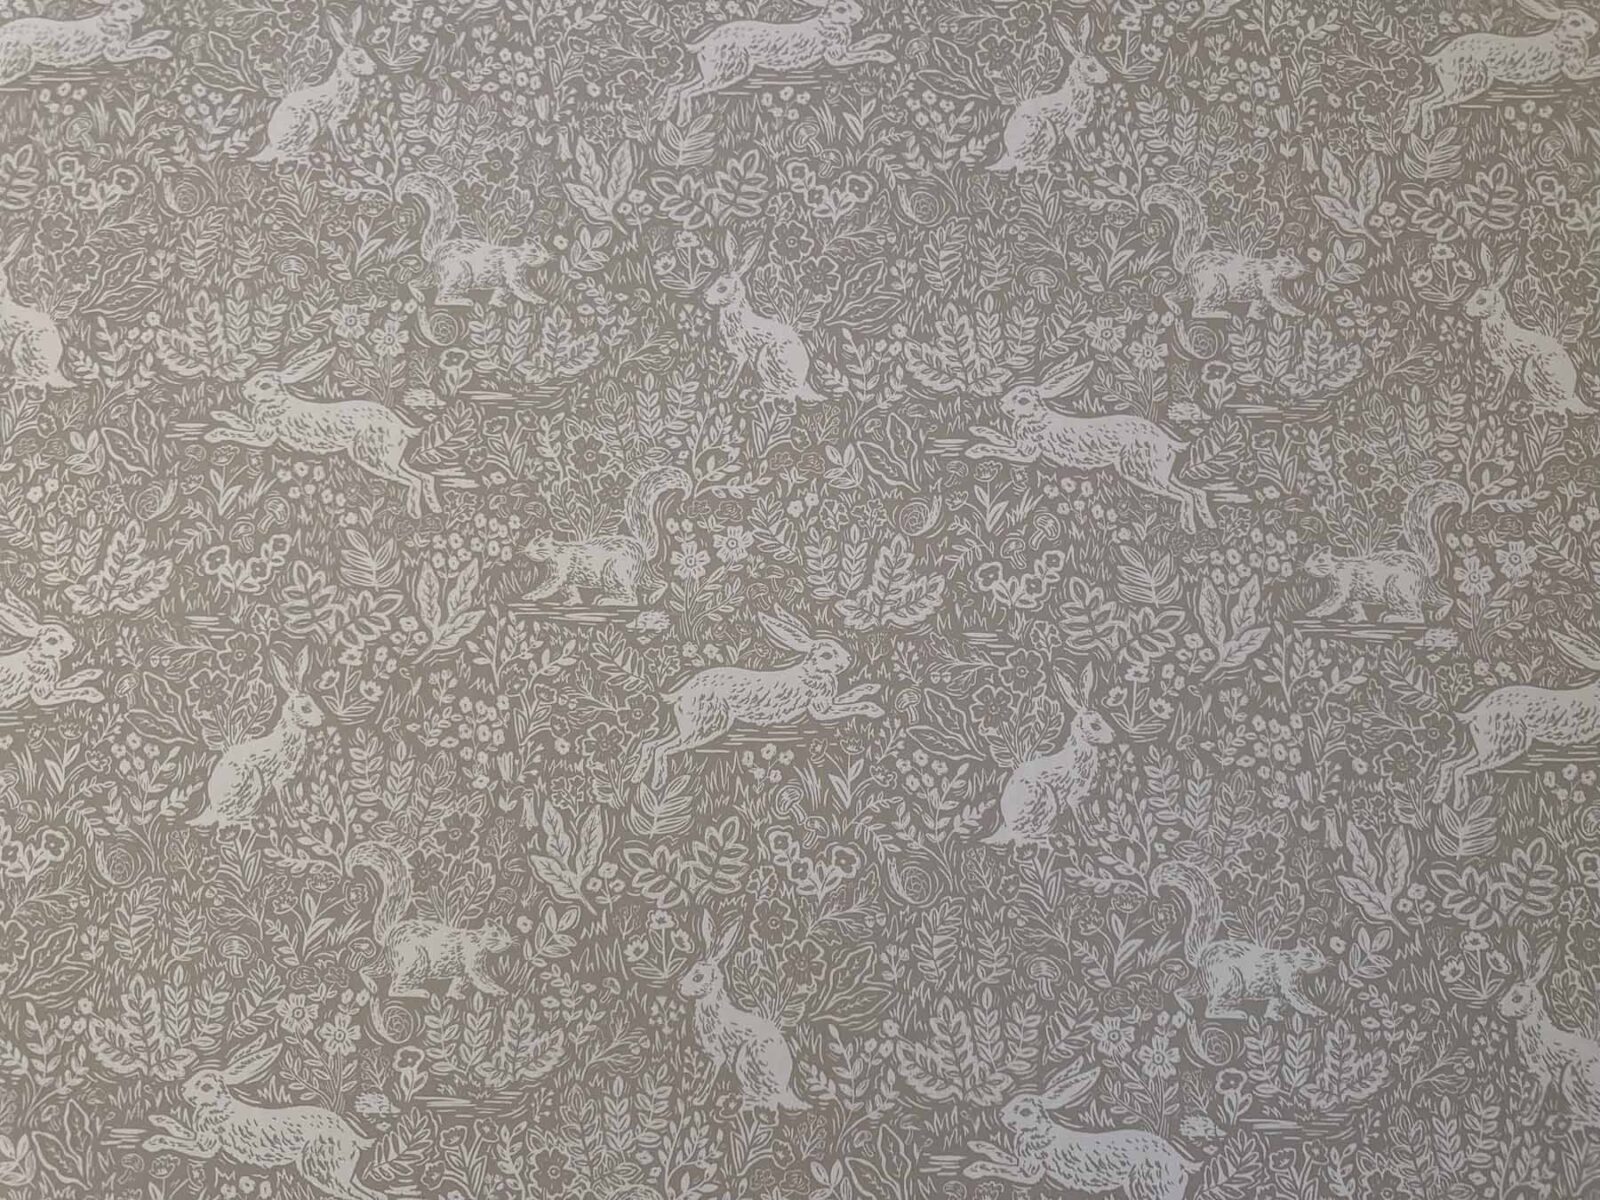
Although it was far more expensive than I would normally choose, I wanted it so much that I decided to splurge (fortunately, I got it on sale!).
As we installed the wallpaper, its quality really showed, especially when we had to restick a couple of areas (more on that next). While I haven’t used cheaper wallpaper, I can only imagine how difficult it would be to work with something thinner or with weaker adhesive.
Using forgiving wallpaper that’s non-directional, patterned, and high-quality matters far more than your installation abilities (or lack thereof).
Don’t: Restick Large Areas Multiple Times
Although peel-and-stick can be removed and reapplied multiple times (especially if it’s high-quality), beware of resticking large sections, since doing so weakens the paper and makes it more prone to wrinkles.
The first time you apply the paper will always be the smoothest. Our second panel didn’t end up perfectly straight, and we actually unstuck the entire thing and reapplied it to try to get it straighter.
You’d think we’d learned our lesson about not obsessing over the level line, but we really thought it would look better if we redid it.
Turns out, we were wrong. We didn’t manage to get it significantly straighter, and the second time around, we ended up with far more bubbles than the first, which had been almost perfect.
Fortunately, since we chose a forgiving wallpaper, the imperfections are really not noticeable. However, it would have been so much easier if we’d just gone with our first try.
That brings me to my next point…
Do: Start Carefully So You Don’t Have to Reposition Large Sections
Although resticking large sections isn’t recommended, you can restick small areas multiple times without issue, especially with a high-quality paper.
Getting the very top of the panel as straight as possible is key. With additional panels, lining up the pattern as closely as you can is just as important.
Even the slightest variations will be magnified at the bottom, so the initial stick should be as close to perfect as possible.
So don’t be afraid to restick a small section a few times at the beginning — it’s more than worth it later on.
Don’t: Cut Huge Sections “Just in Case”
Although the thought of cutting your wallpaper too small is terrifying, working with gigantic sections will make it so much harder to install.
For our first panel, we didn’t cut the bottom of the roll since it seemed unnecessary. But the weight and size of it really worked against us.
Large sections will fight you as you try to install them and make it harder to keep a straight line, especially in the corners.
Do: Trim as You Go (But Leave a Small Buffer)
When working with your panels, measure and trim as you go. This is another time when having two people comes in especially handy.
You don’t need to be exact, but you want to leave a small buffer of two to four inches, not more.
Especially when you get to your last panel, odds are you’ll end up with extra unless you magically have the exact right width.
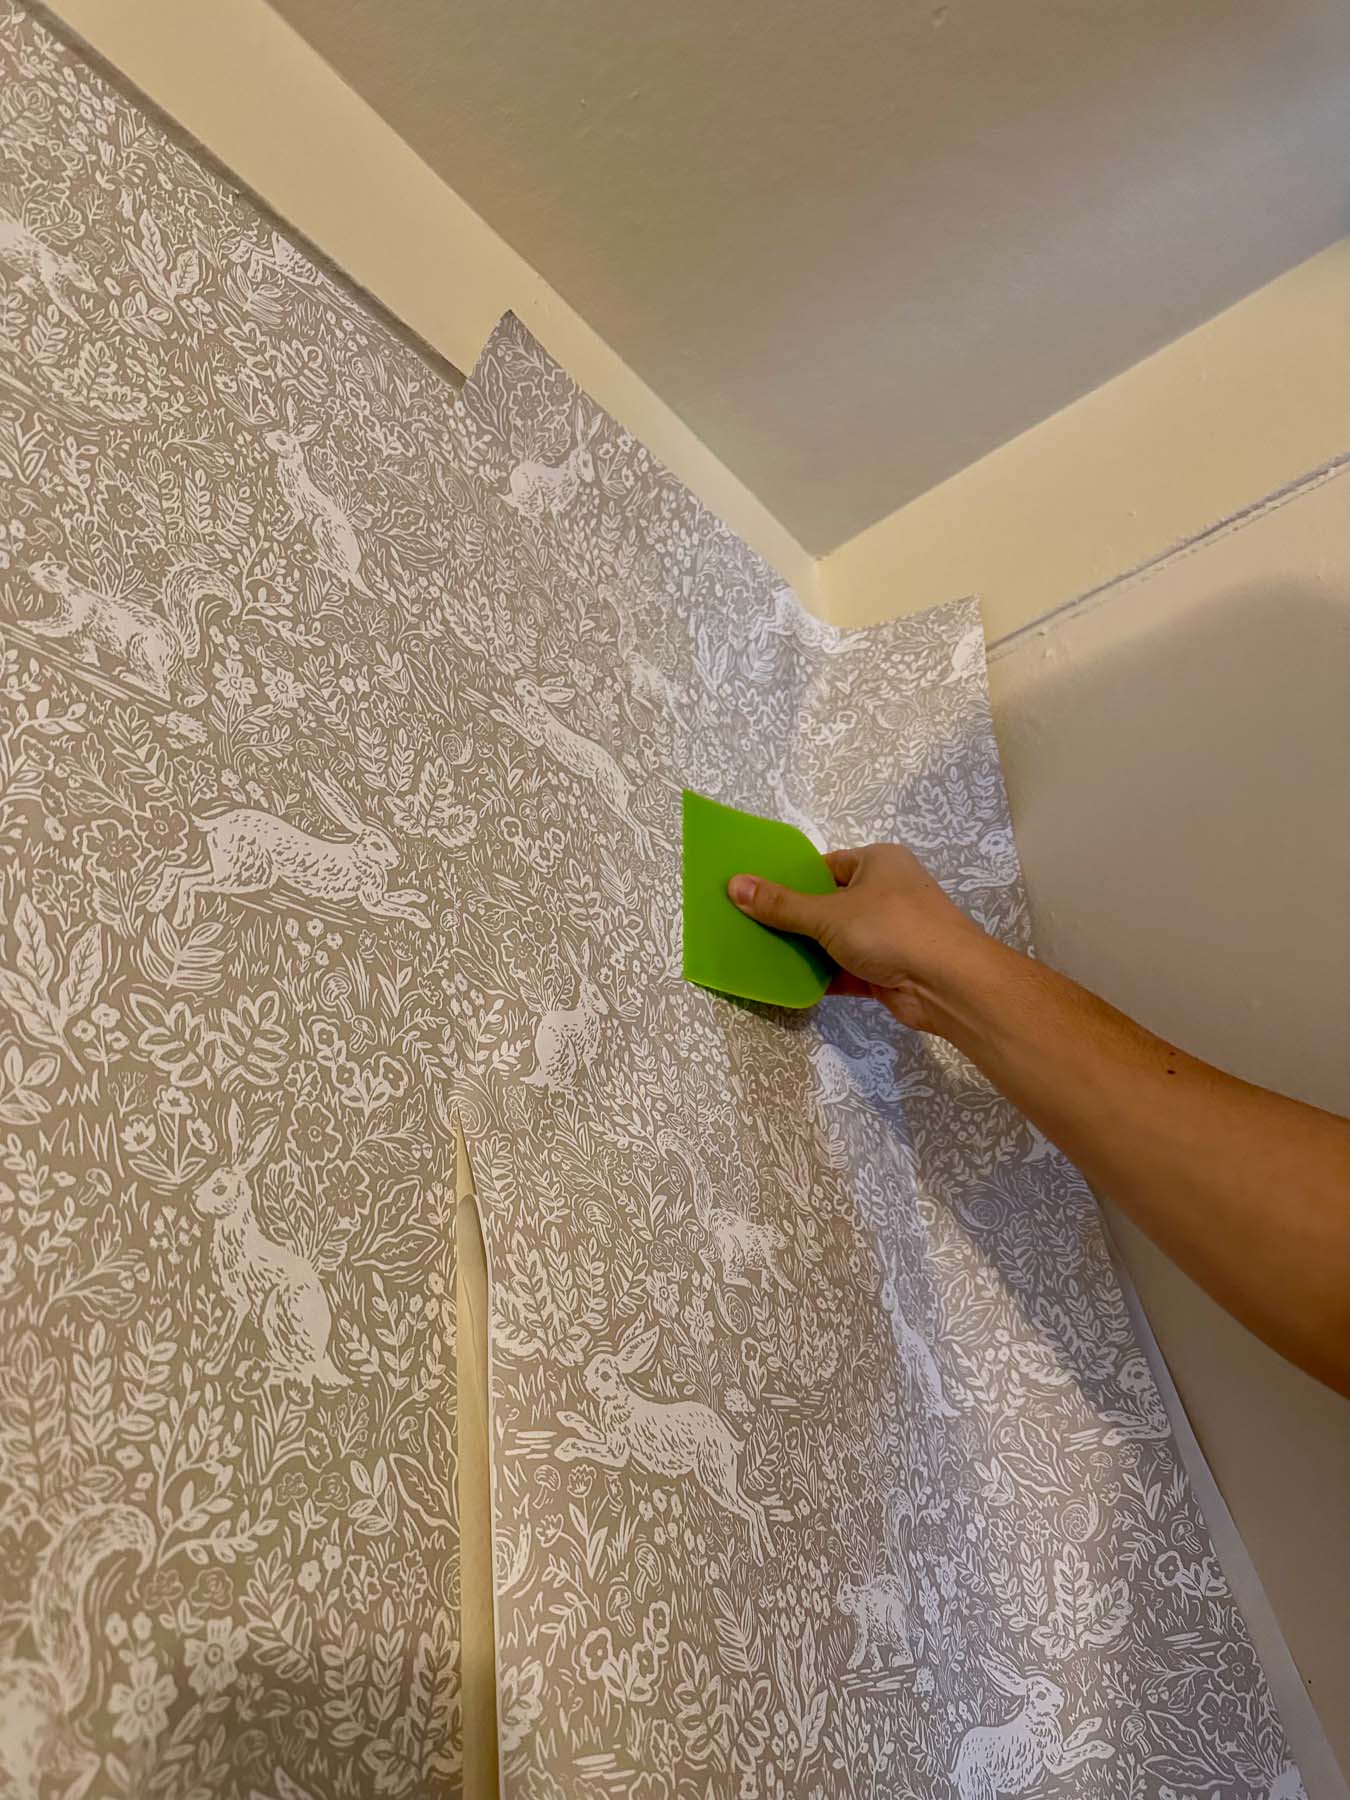
It might seem unnecessary to trim before installing, since you’ll have to trim again afterward. But it’s totally worth it because it makes installation so much easier.
Important note: After the first panel, you’ll need more margin at the top than you think because you have to line up the pattern repeat. If you cut the paper to the wall size without checking the pattern, you may come up short.
I recommend lining up the paper where the pattern matches the existing panel, then cutting off the excess and leaving a couple of inches of buffer.
Again, in the corners, having as little excess as possible will make installation easier. Just don’t cut it too close! You still need a margin of a couple of inches to allow for slight shifting and final trimming.
Don’t: Expect Perfection from Peel & Stick Wallpaper
My final tip is don’t expect perfection.
Somehow, I was unrealistically optimistic about our ability to flawlessly install peel-and-stick wallpaper. But even if you’re a pro, it’s highly unlikely you’ll end up with zero bubbles or perfectly aligned panels.
Do: Remember Most People Won’t Notice the Mistakes
I have OCD, which means I notice every imperfection, and each one really bothers me. But the reality is that most people won’t notice your mistakes (even if they have OCD).
This is especially true if you choose a forgiving wallpaper. But even if you don’t, people aren’t familiar with the exact spots you messed up.
Sure, if someone puts their face six inches away from the wall, they might be able to see the bubbles. But when they step back and look at the whole room, they won’t notice the mistakes that feel so obvious to you.
Here’s one example of our wallpaper with the “problem areas” highlighted — there’s a close-up picture taken from six inches away, a picture of the same section taken from a couple of feet away, and finally, a picture that takes in the entire wall. Even in the ultra close-up, you have to look closely to find the mistakes.


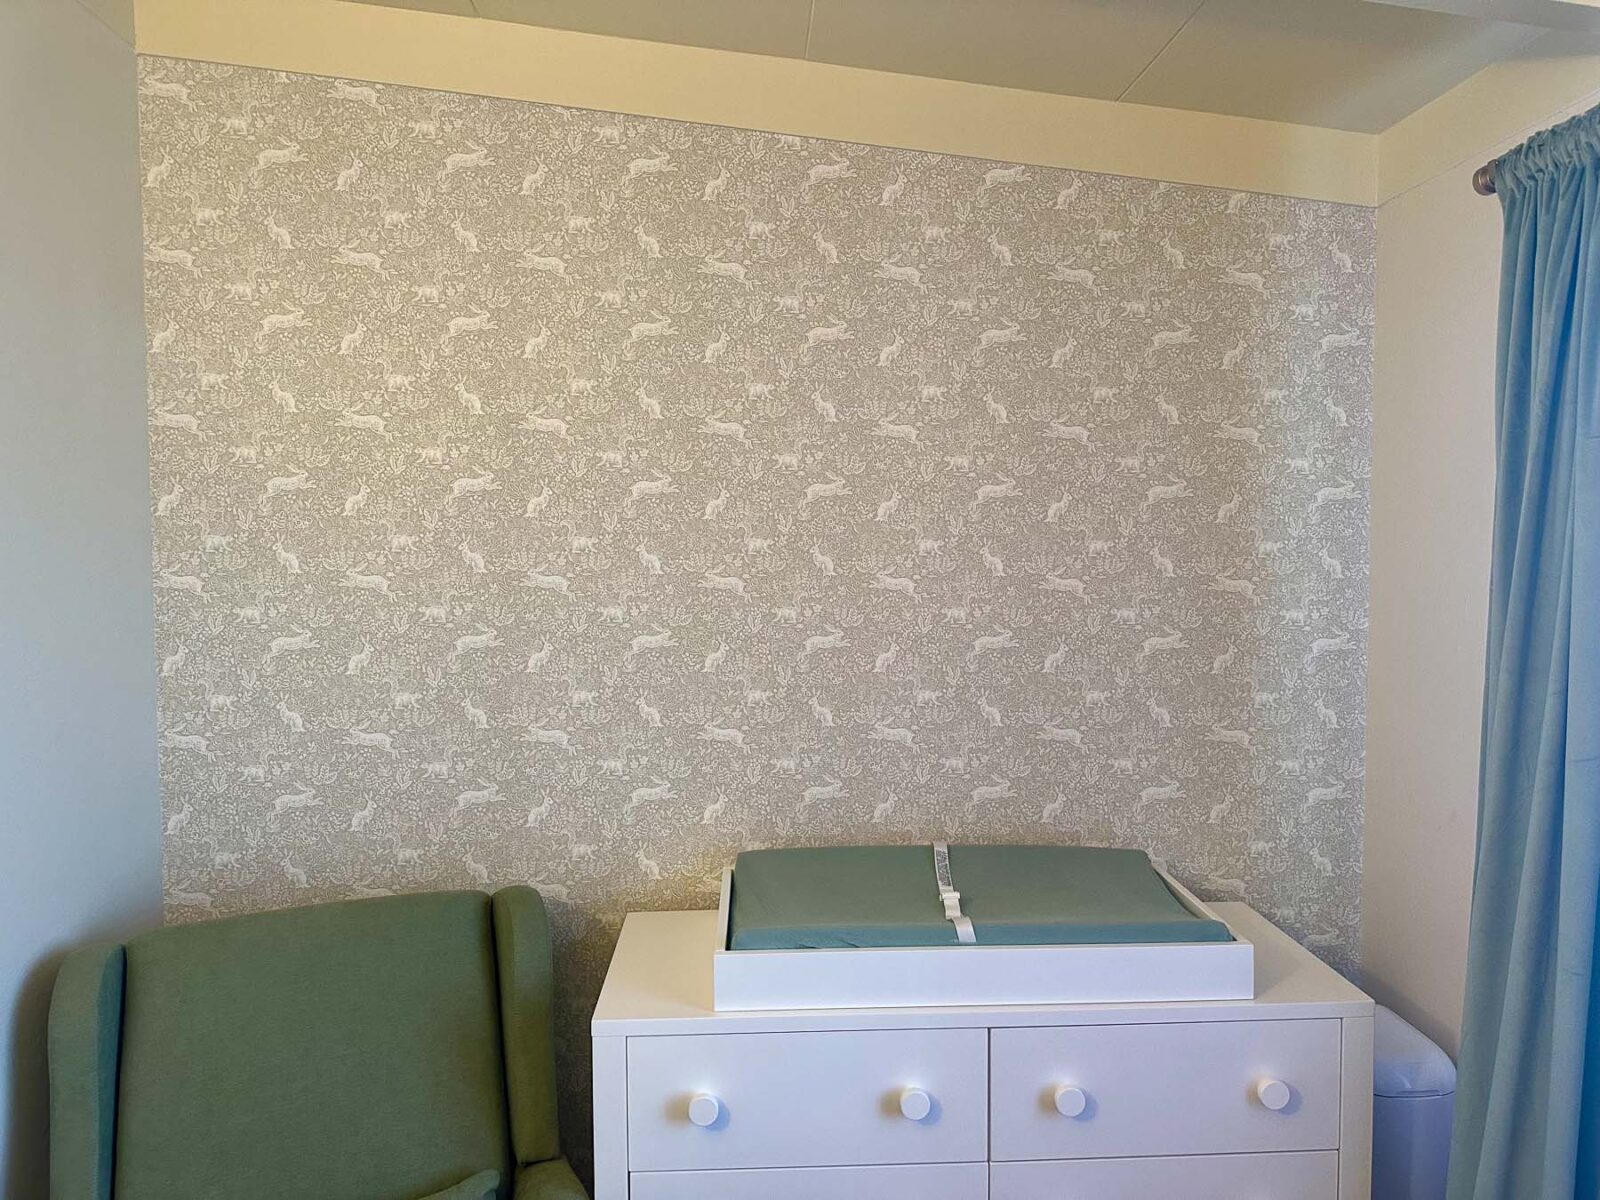
And this is why forgiving wallpaper matters more than perfect installation!
If you have errors that really bother you, you can always hang mirrors or wall art to hide the problem areas (odds are you would probably do that anyway). Once your furniture and decor are in place, any imperfections won’t stand out.
Remember: your wallpaper is just one element that helps bring the space together, and it’s a supporting character — not the star.
So be proud of your finished wallpaper, imperfections and all.
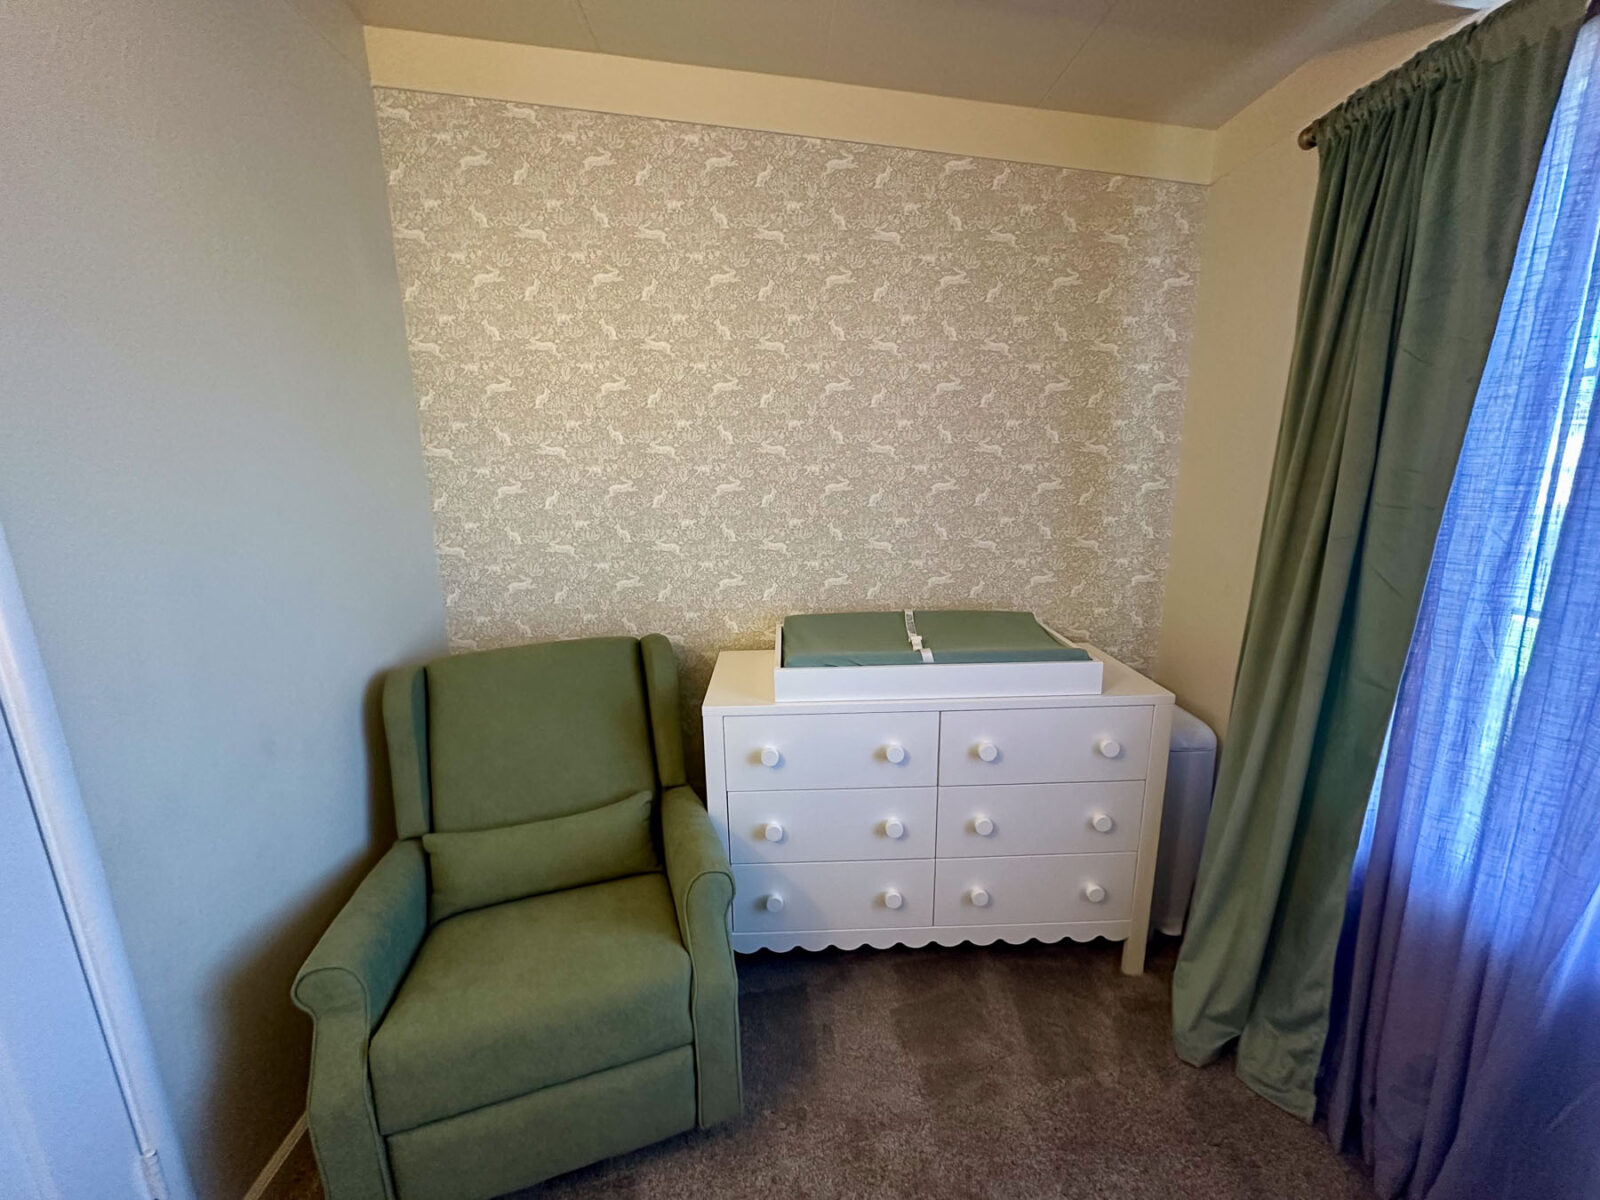
This post is not sponsored by Rifle Paper Company, but I used their Fable Peel & Stick Wallpaper and highly recommend it!
Keep Designing Your Space
Looking for more ways to make your space feel like you? Here are a few more interior design ideas to explore.


Ambient Lighting Ideas to Warm Up Your Space
Creative ways to use ambient lighting for a warmer, cozier atmosphere.
