

8 Practical Principles for Styling Nursery Shelves
Styled shelves are one of the sweetest and most effective ways to decorate a nursery. They can be both functional and decorative, while adding texture, depth, and visual interest.
Planning your nursery shelf decor can feel a little intimidating, especially when you see all the Pinterest-perfect images (not to mention unrealistic AI-generated content). It can be hard to know where to start, but I promise that achieving beautiful nursery shelves is actually not that difficult!
Whether you’re working with pre-installed or floating shelves, I’ve put together eight practical styling principles that will help you bring your nursery shelves to life.
This post contains affiliate links that earn me a commission. For more information, read my disclaimer.
1. Mix symmetry and asymmetry
The most common pitfall when styling nursery shelves is making them too symmetrical. To create visual interest, it’s important to mix symmetry and asymmetry.
You can do this through alignment — for example, one shelf might have centered decor while another has off-centered decor. You can also achieve this balance through the decor items themselves.
For example, my shelves have a degree of symmetry since a) there are two of them and b) they both have decorative objects on either side with some breathing room in the middle. But the selection and placement of the items are asymmetrical, and the same objects aren’t repeated or mirrored exactly.

I love symmetrical design, but I’ve learned that shelves benefit a lot from asymmetry. So rather than simply centering your decor, intentionally lean into a bit of asymmetry and find ways to create continuity.
2. Repeat colors and themes across shelves
One of the most effective ways to create continuity is by repeating colors and themes across your shelves.
The main colors on my nursery shelves are white, gold, and sage green. As you can see, I have gold and white elements on both shelves, but in different places and orientations. There are also a couple of pops of sage in my vase and in the text of my printed artwork.
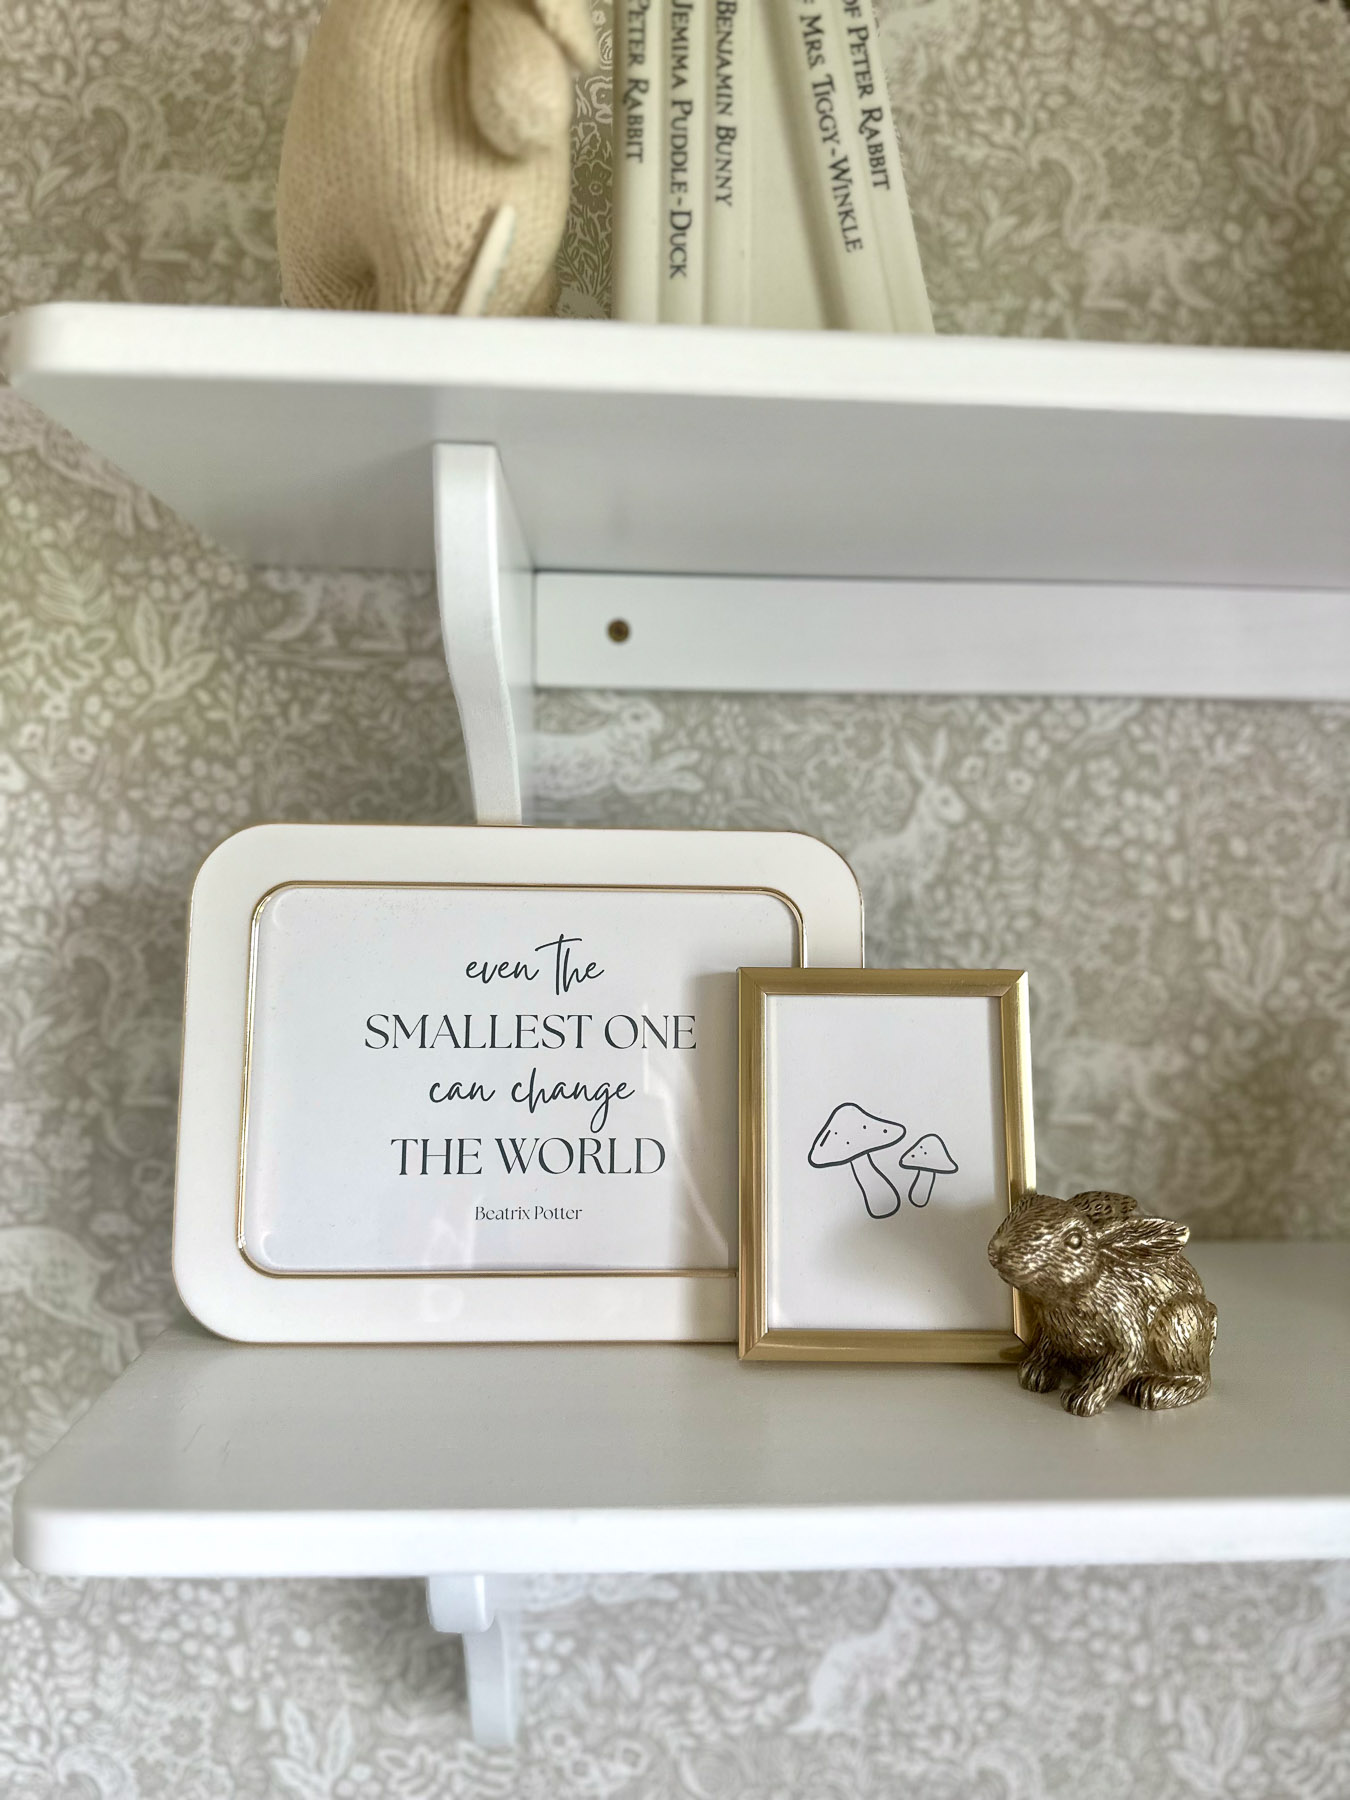

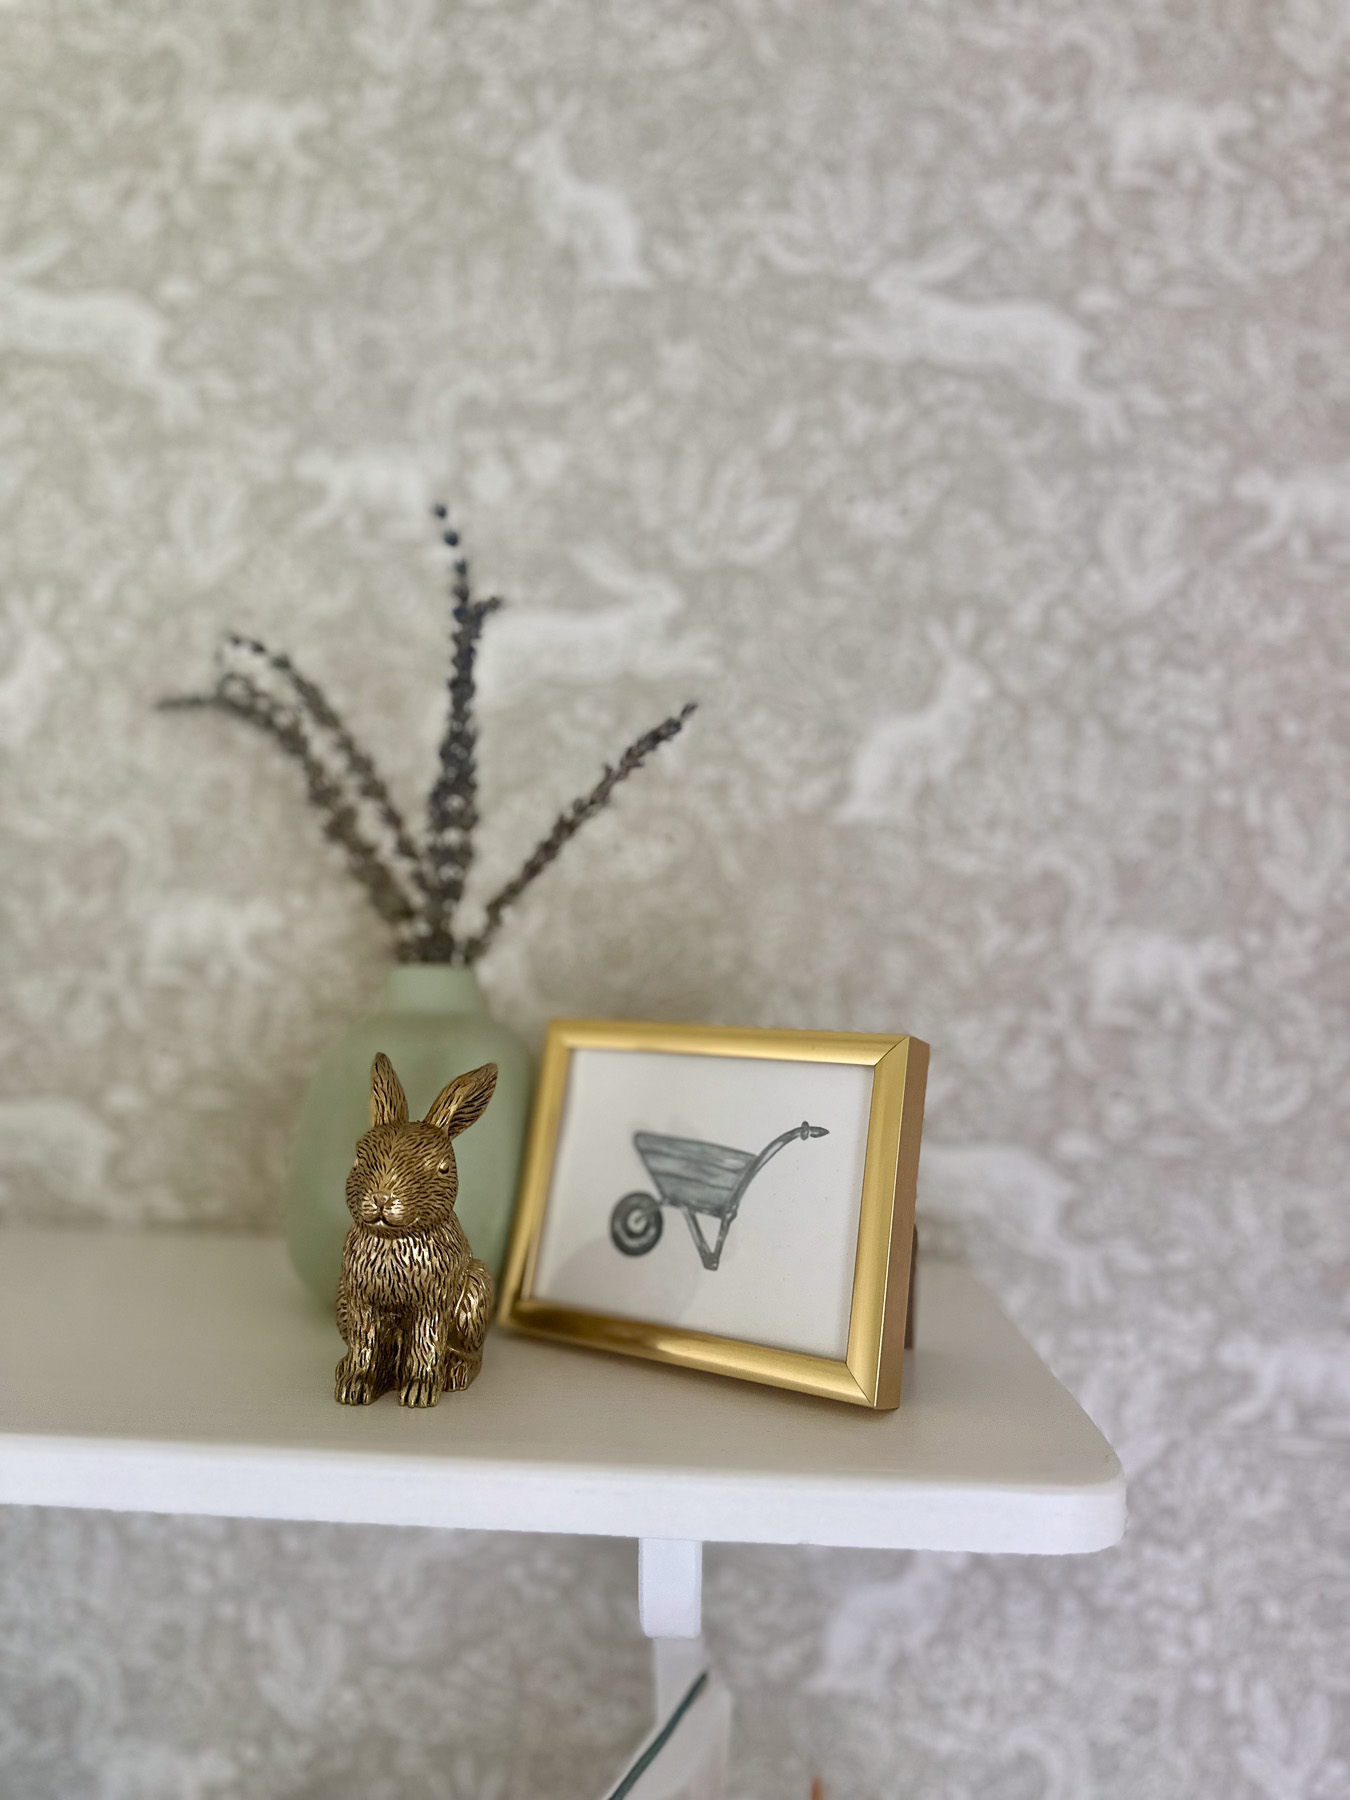
Although it’s important to be consistent with your colors, it’s also helpful to include additional shades for depth, as long as they still align with your overall nursery palette. Otherwise, your shelves can start to feel a little flat. On my shelves, you can also see shades of khaki, brown, and lavender.
Incorporating your theme is equally important, but that doesn’t mean you have to be overly literal. Subtle references to your theme can work just as well.
My nursery is bunny-themed, so my shelves include several bunny elements. I have a few bunny figurines, along with ceramic Beatrix Potter accents, framed artwork, and dried flowers. Not every item is a literal “bunny,” but the decor still makes sense within the overall theme.
For example, if your nursery theme is “You Are My Sunshine,” you might include some literal sun elements, like sun figurines or a framed print with the words. But you could also incorporate other sun-inspired decor, such as yellow florals like sunflowers or daisies, garden animals like bumblebees, or cloud and sky motifs.
Repeating colors and themes is what ties your shelves together and helps them feel cohesive.
3. Contrast shelves instead of matching them
If you’re styling more than one shelf, try to avoid repeating the exact same format on each one.
For example, three shelves that are all filled with books don’t give the eye much to look at. But one shelf with vertical books, another with collectibles, and another with horizontally stacked books and a couple of small vignettes is much more dynamic and engaging.
That’s why I recommend contrasting your shelves rather than matching them. Regardless of how many shelves you have, the goal is to add variation while still maintaining some continuity.
I chose to style each of my two shelves a little differently. If you’re working with an odd number (like three), you might have two shelves that feel somewhat similar and one that acts as an accent. Or you can make all three unique.
The key is to keep things a little unpredictable. You don’t want your shelves to feel overly formulaic, but they should still make visual sense together.
One of my favorite tricks is using the zigzag method, which creates diagonal lines that guide the viewer’s eye across the shelves. See how different elements connect through these invisible lines?
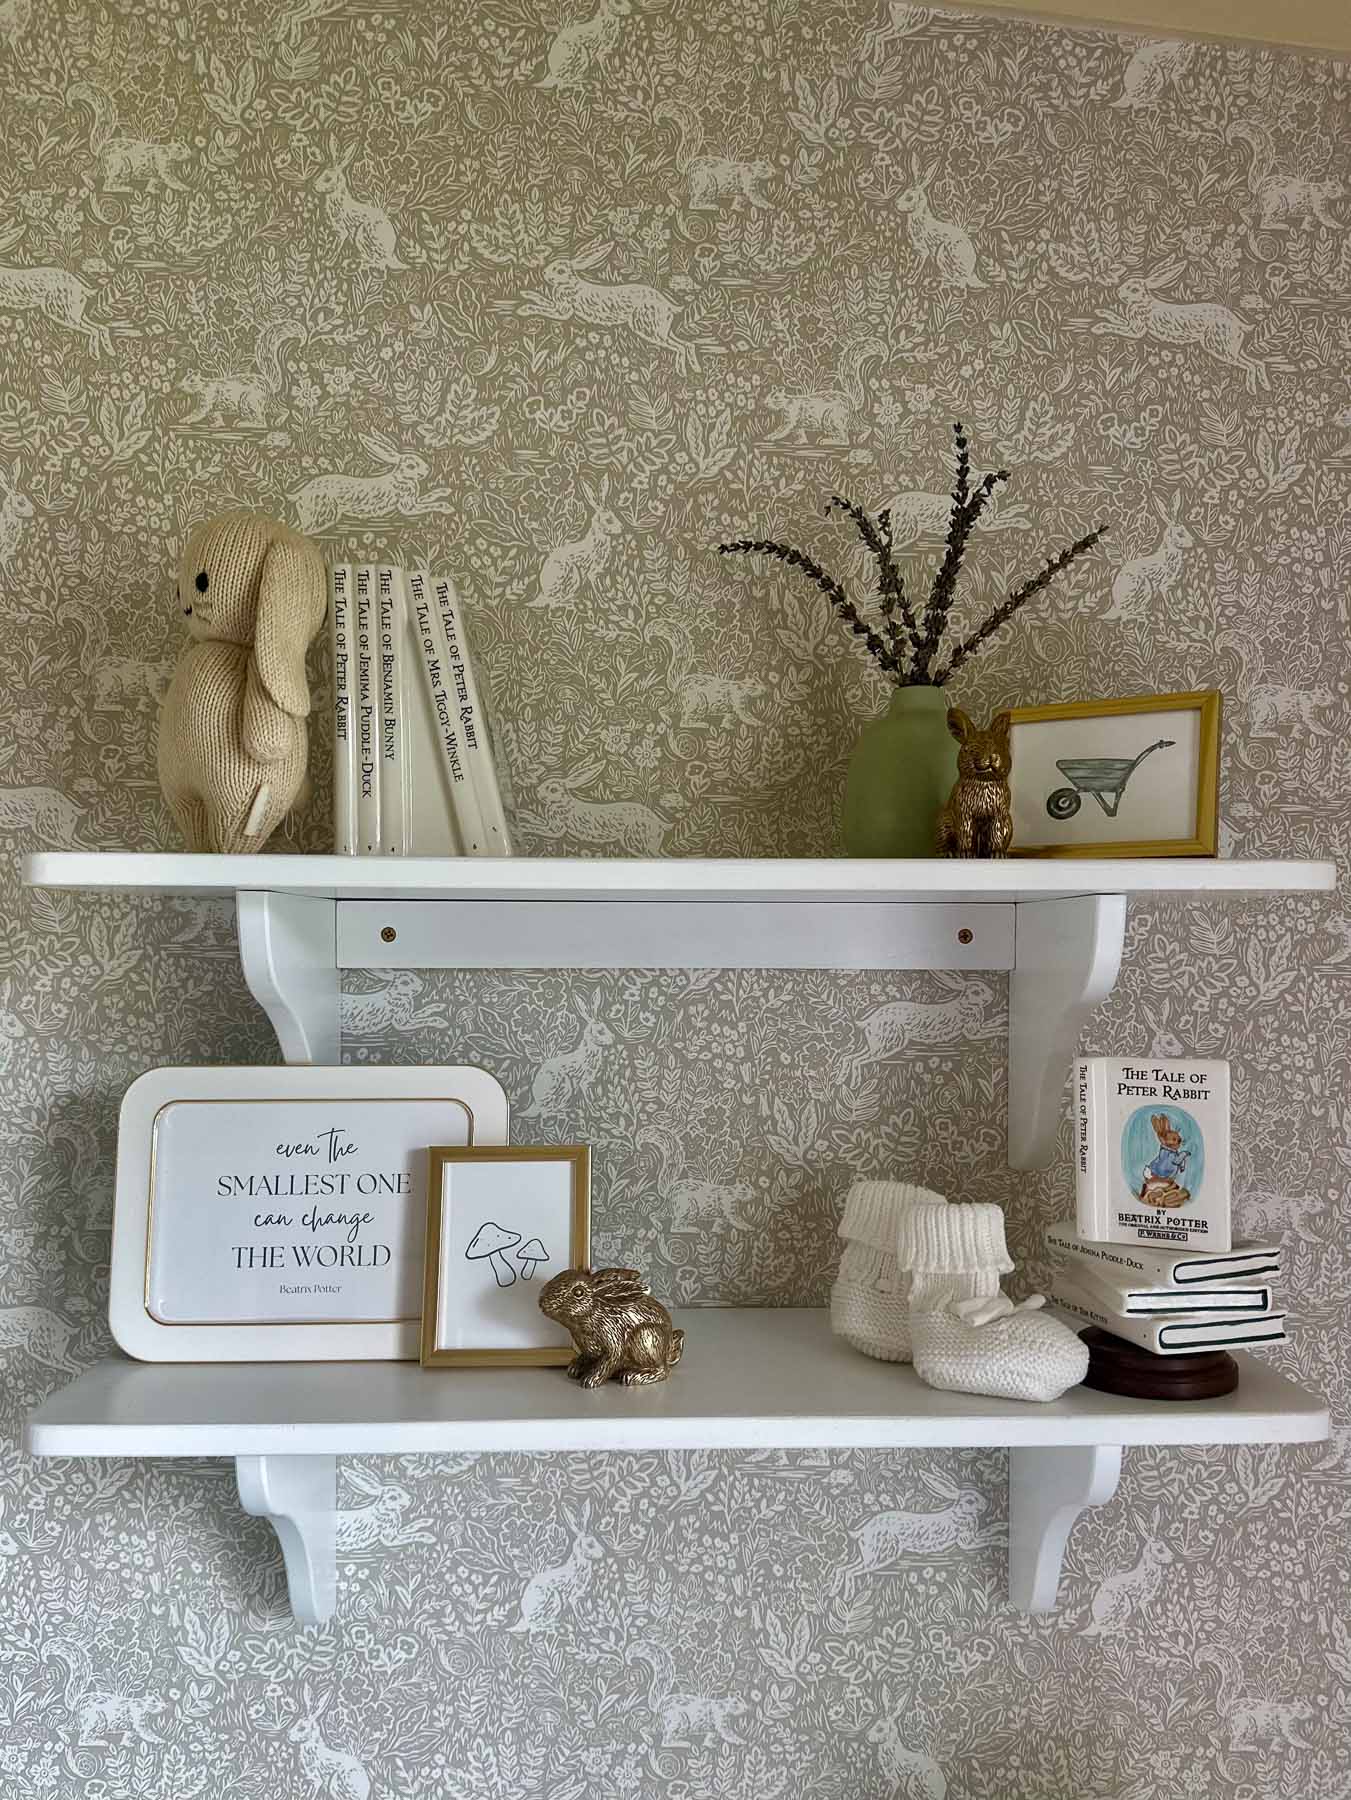

Contrasting your shelves while maintaining continuity helps keep the display visually interesting without feeling chaotic.
4. Vary height intentionally
Varying the height of your nursery shelf decor is one of the simplest yet most effective ways to add visual interest.
Look for natural places to include taller objects. Unless you’re working with a large statement piece, it’s often best to pair taller items with shorter ones nearby to create balance.
For example, I placed a vase with dried lavender on the top shelf so it would have room to breathe. I also added a shorter bunny figurine and a framed print next to it to balance the height.
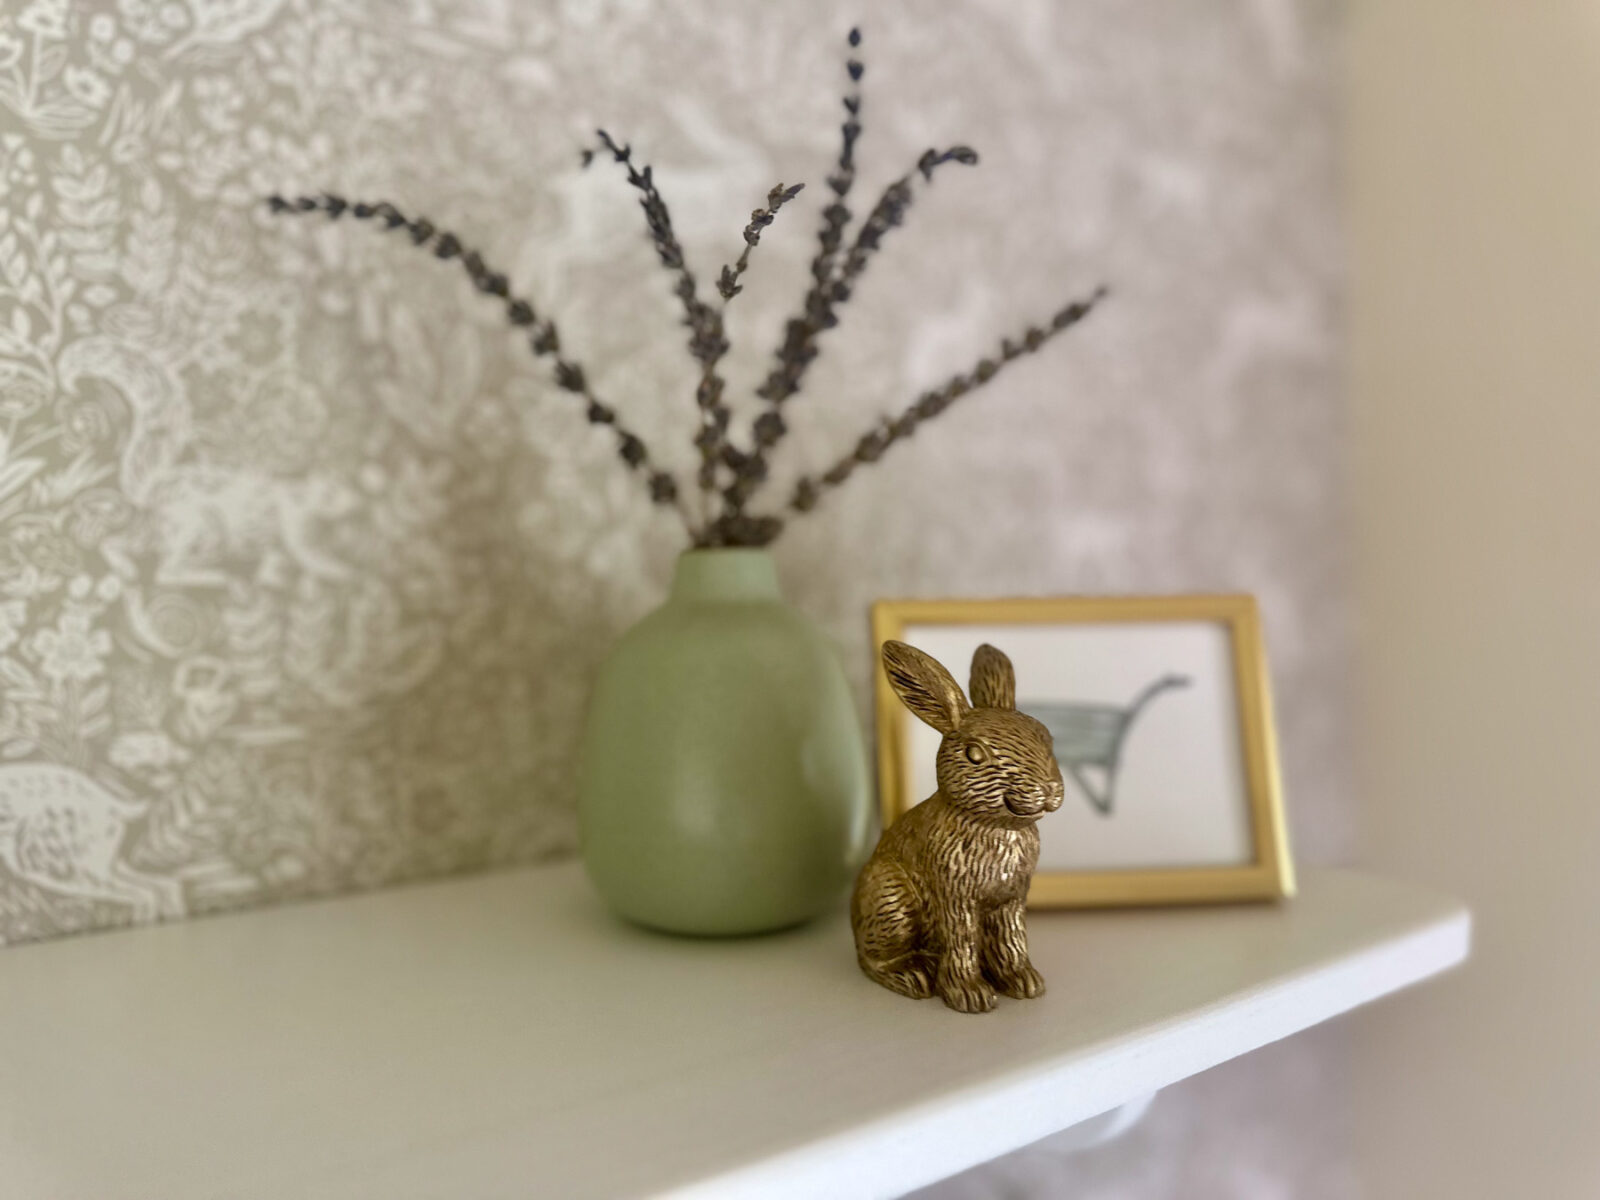
When using frames, mixing orientations is a great way to vary the height of your decor (especially when layering — more on that next). You can also stack items slightly to create dimension and play with height even more.
5. Layer to create depth
Varying height may feel fairly intuitive, but it’s also essential to consider depth. One of the easiest ways to make your shelves look intentionally styled (rather than like objects were simply placed there) is to layer your decor.
Layering frames is one of my favorite tricks for achieving this look. But you can also play with where items sit on the shelf (see how my frames on the bottom shelf are not only layered, but placed slightly farther back than the objects on the opposite side).

Creating small vignettes with both taller and shorter objects can also add depth, since these little clusters naturally build dimension.
6. Use texture to soften hard lines
Another key tip for styling nursery shelves is to incorporate texture.
My design style is fairly minimalist, and I’ve historically been a bit resistant to working with different textures. However, I’ve come to realize how helpful they are for softening the hard lines that naturally occur when styling shelves — from the shelves themselves and from the decor items you place on them.
If you’re looking for ideas, here are a few textures you might include:
- Ceramics
- Porcelain
- Glass
- Wood
- Florals or plants
- Textiles
- Books
In a nursery, you can get away with a wide range of textures, especially soft or cozy ones like knits and fabrics. Mixing harder textures with softer ones is a great way to balance your shelves.
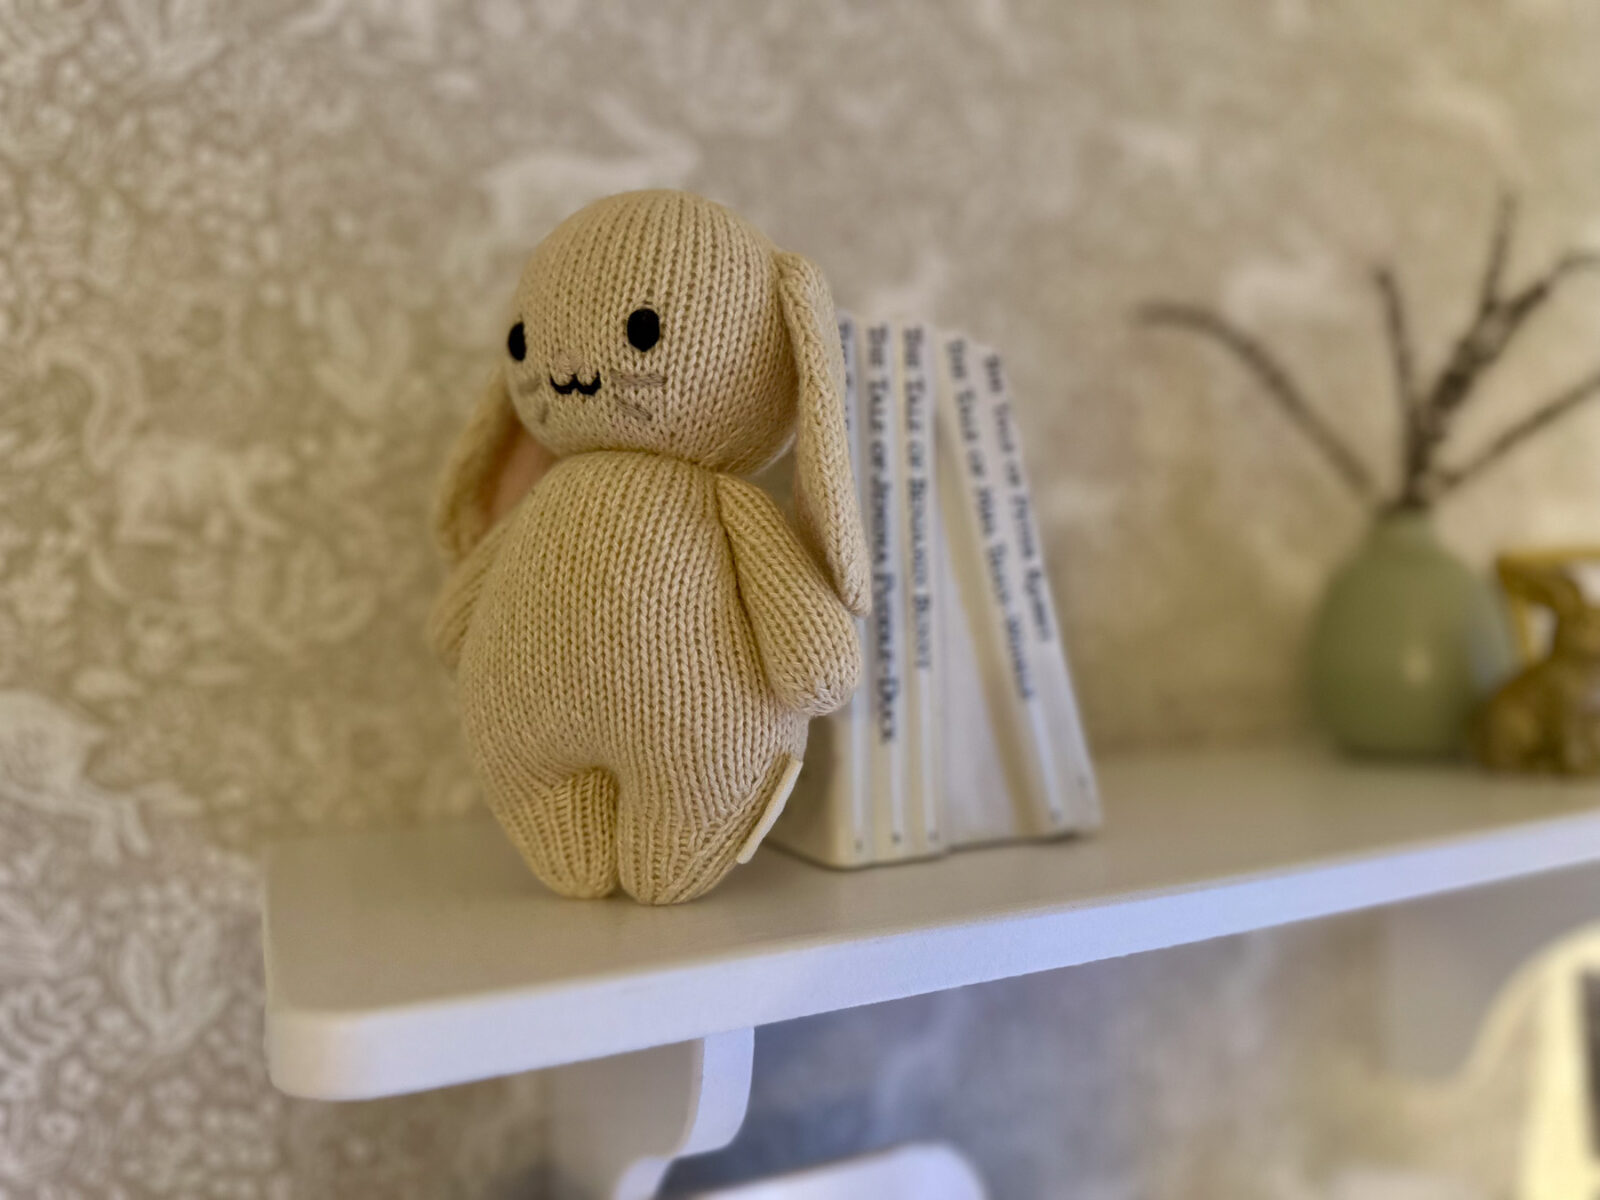
Plants are one of the easiest ways to soften more structured decor items like figurines and frames. But if you’re like me and can’t keep them alive, dried greenery or florals are a great alternative.
I didn’t go all out with plants on my shelves, but placing just a few sprigs of dried lavender in my sage green vase helps tie the room together and adds a little life to the shelf.
Other fun additions could include bunny tails, eucalyptus, or air plants (which are relatively easier to keep alive than most plants). Or, if you’re botanically inclined, you can go all out with houseplants.
When looking for interesting textures, get creative and consider items you might not normally think to include. For example, while styling our shelves, I remembered I had these knit white baby booties from our pregnancy announcement and placed them next to one of my ceramic Beatrix Potter pieces.
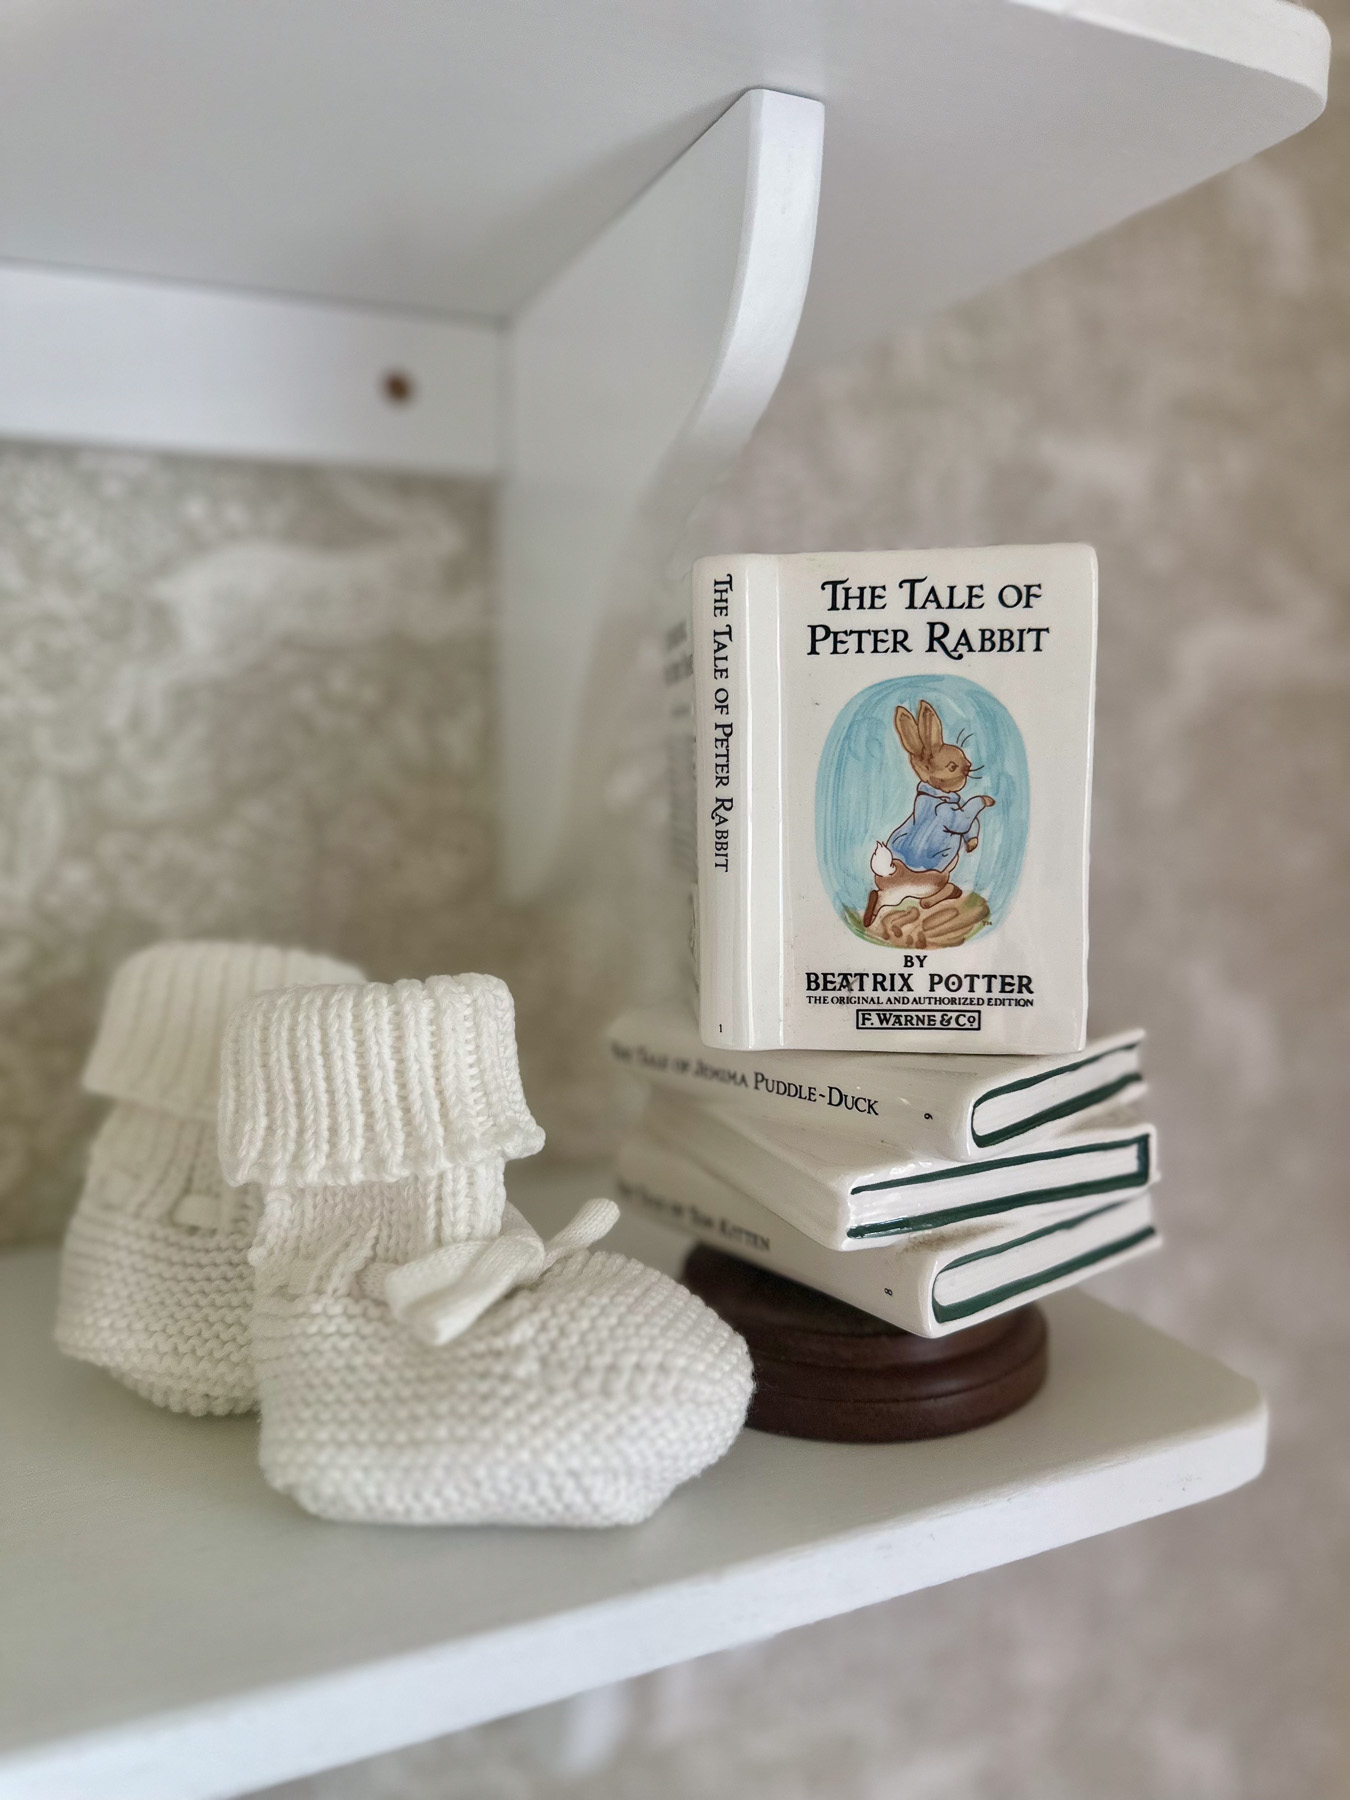
Texture is an underrated trick for making your shelves feel more elevated.
7. Leave negative space on purpose
When you’re styling your shelves, it will be tempting to fill every gap. But fight the urge! You don’t want them to feel cluttered.
Leaving some intentional negative space helps ensure your shelves feel airy rather than crowded.
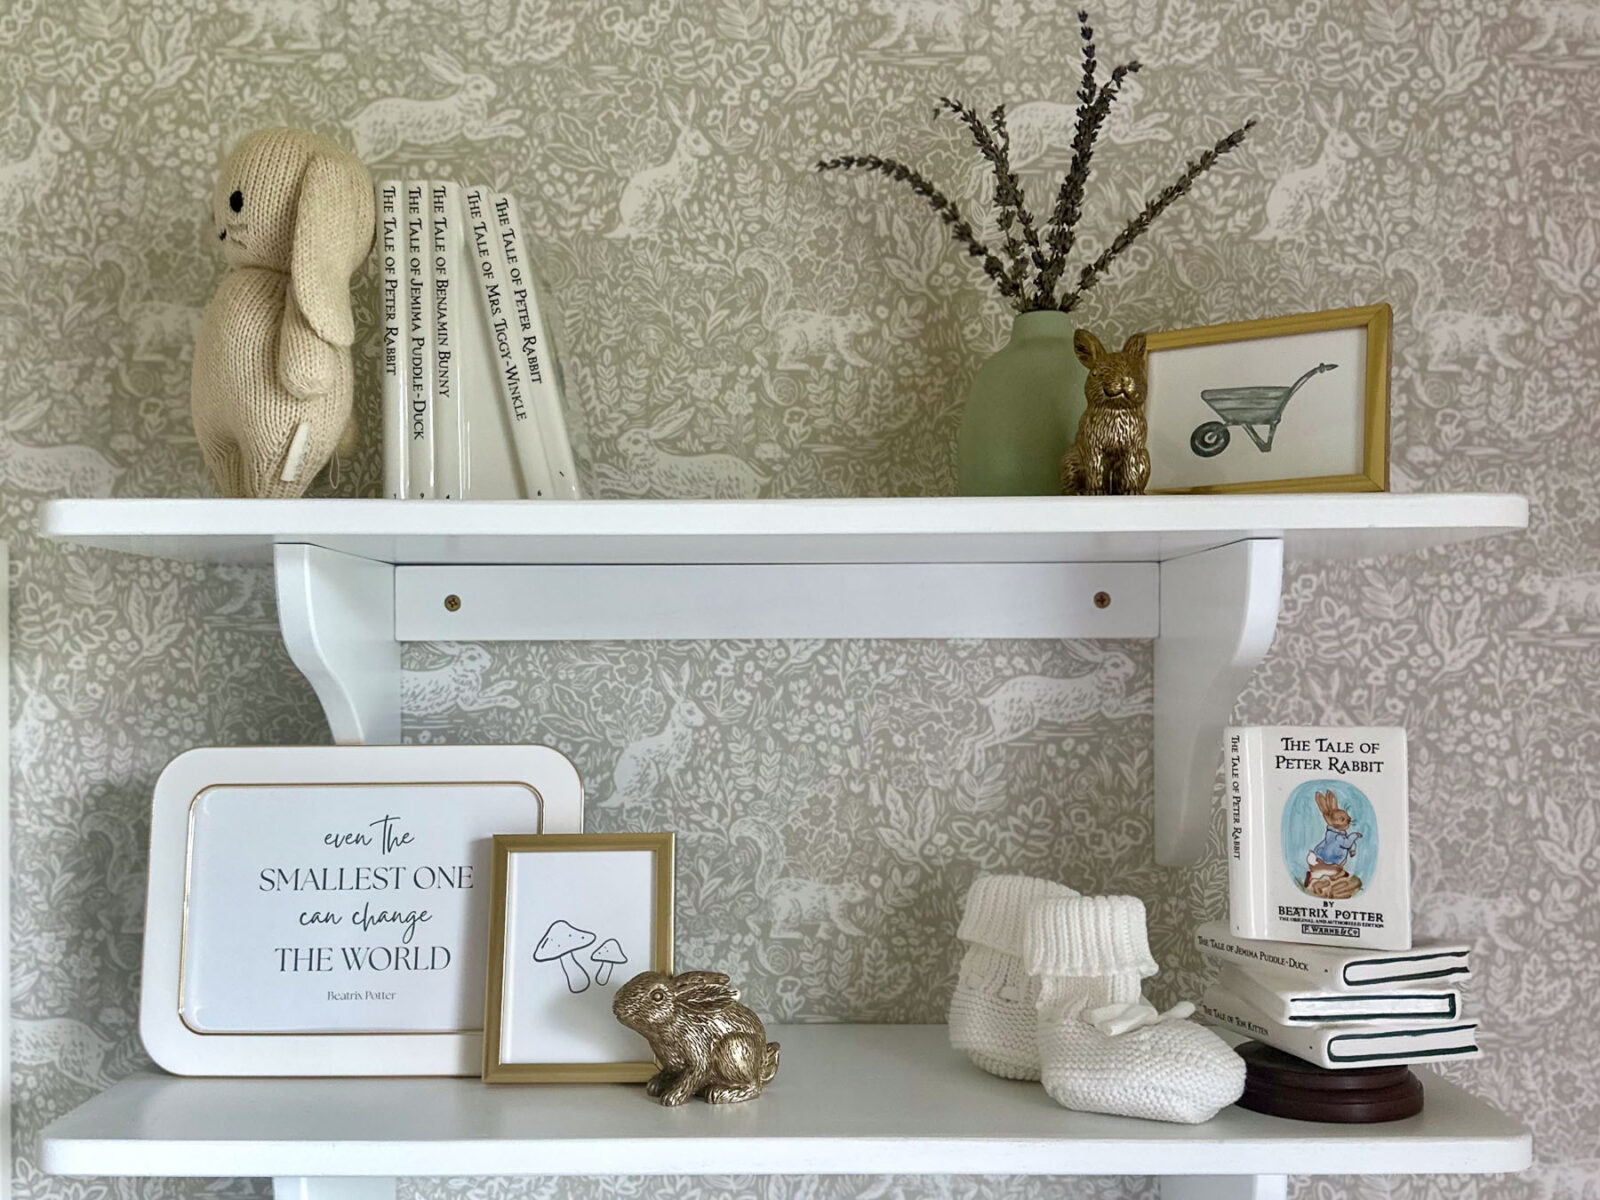
Be especially mindful of your bottom shelves. It’s often best to save taller elements for the top shelf, where you have more room to work with.
If you feel like things are getting a little busy, try removing a couple of items and see if the extra breathing room helps. Odds are you may be overfilling the shelves, and they would benefit from a bit more negative space.
8. Treat shelf styling as fluid, not static
My final tip is to treat your shelves as a work in progress.
Part of the fun of styling nursery shelves is that they don’t have to stay the same. You don’t have to “finish.” This is true of all shelves, but especially in a nursery where your child is constantly growing and changing.
You can swap out items as your baby grows, adding milestone photos or sentimental keepsakes over time. You might also expand or change your nursery theme — or even have additional children. And sometimes decor simply doesn’t survive life with a baby (hello, projectile vomiting!), so it’s always a good idea to hold loosely to your original setup.
So if you’re feeling pressure to have everything perfectly finished — don’t. Instead, think of your shelves as a fun, fluid project that grows and evolves alongside you and your baby.
More Nursery Design Inspiration
If you’re still working on setting up your nursery, these posts might help.

Nursery Wall Decor Ideas That Are Cute, Easy, and Rent-Friendly
Six easy ways to decorate your nursery walls without major renovations.

Simple Bunny Nursery Decor for a Storybook Feel
Simple ideas for bringing a soft bunny theme into your nursery.
