A Patriotic Charcuterie Board to Jazz Up July 4th
With summer temps rising and picnics and BBQs in full swing, a patriotic charcuterie board is the perfect addition to your Fourth of July celebration!
Of course, I need very little excuse to throw together a charcuterie board, but not doing one for this holiday felt almost like a crime, given this appetizer’s fresh, casual feel. If you’re looking for inspiration as the Fourth approaches, today I’m going to explore creating a July 4th-themed charcuterie spread in honor of Independence Day.
For general tips on assembling a charcuterie board, check out my charcuterie board template post.
This post contains affiliate links that earn me a commission. For more information, read my disclaimer.

Concepts for a Patriotic Charcuterie Board
When I first started researching concepts for a patriotic charcuterie board, I noticed that people tend to take this theme in one of two directions: creating a charcuterie flag or using red, white, and blue elements.
Creating a Charcuterie Flag
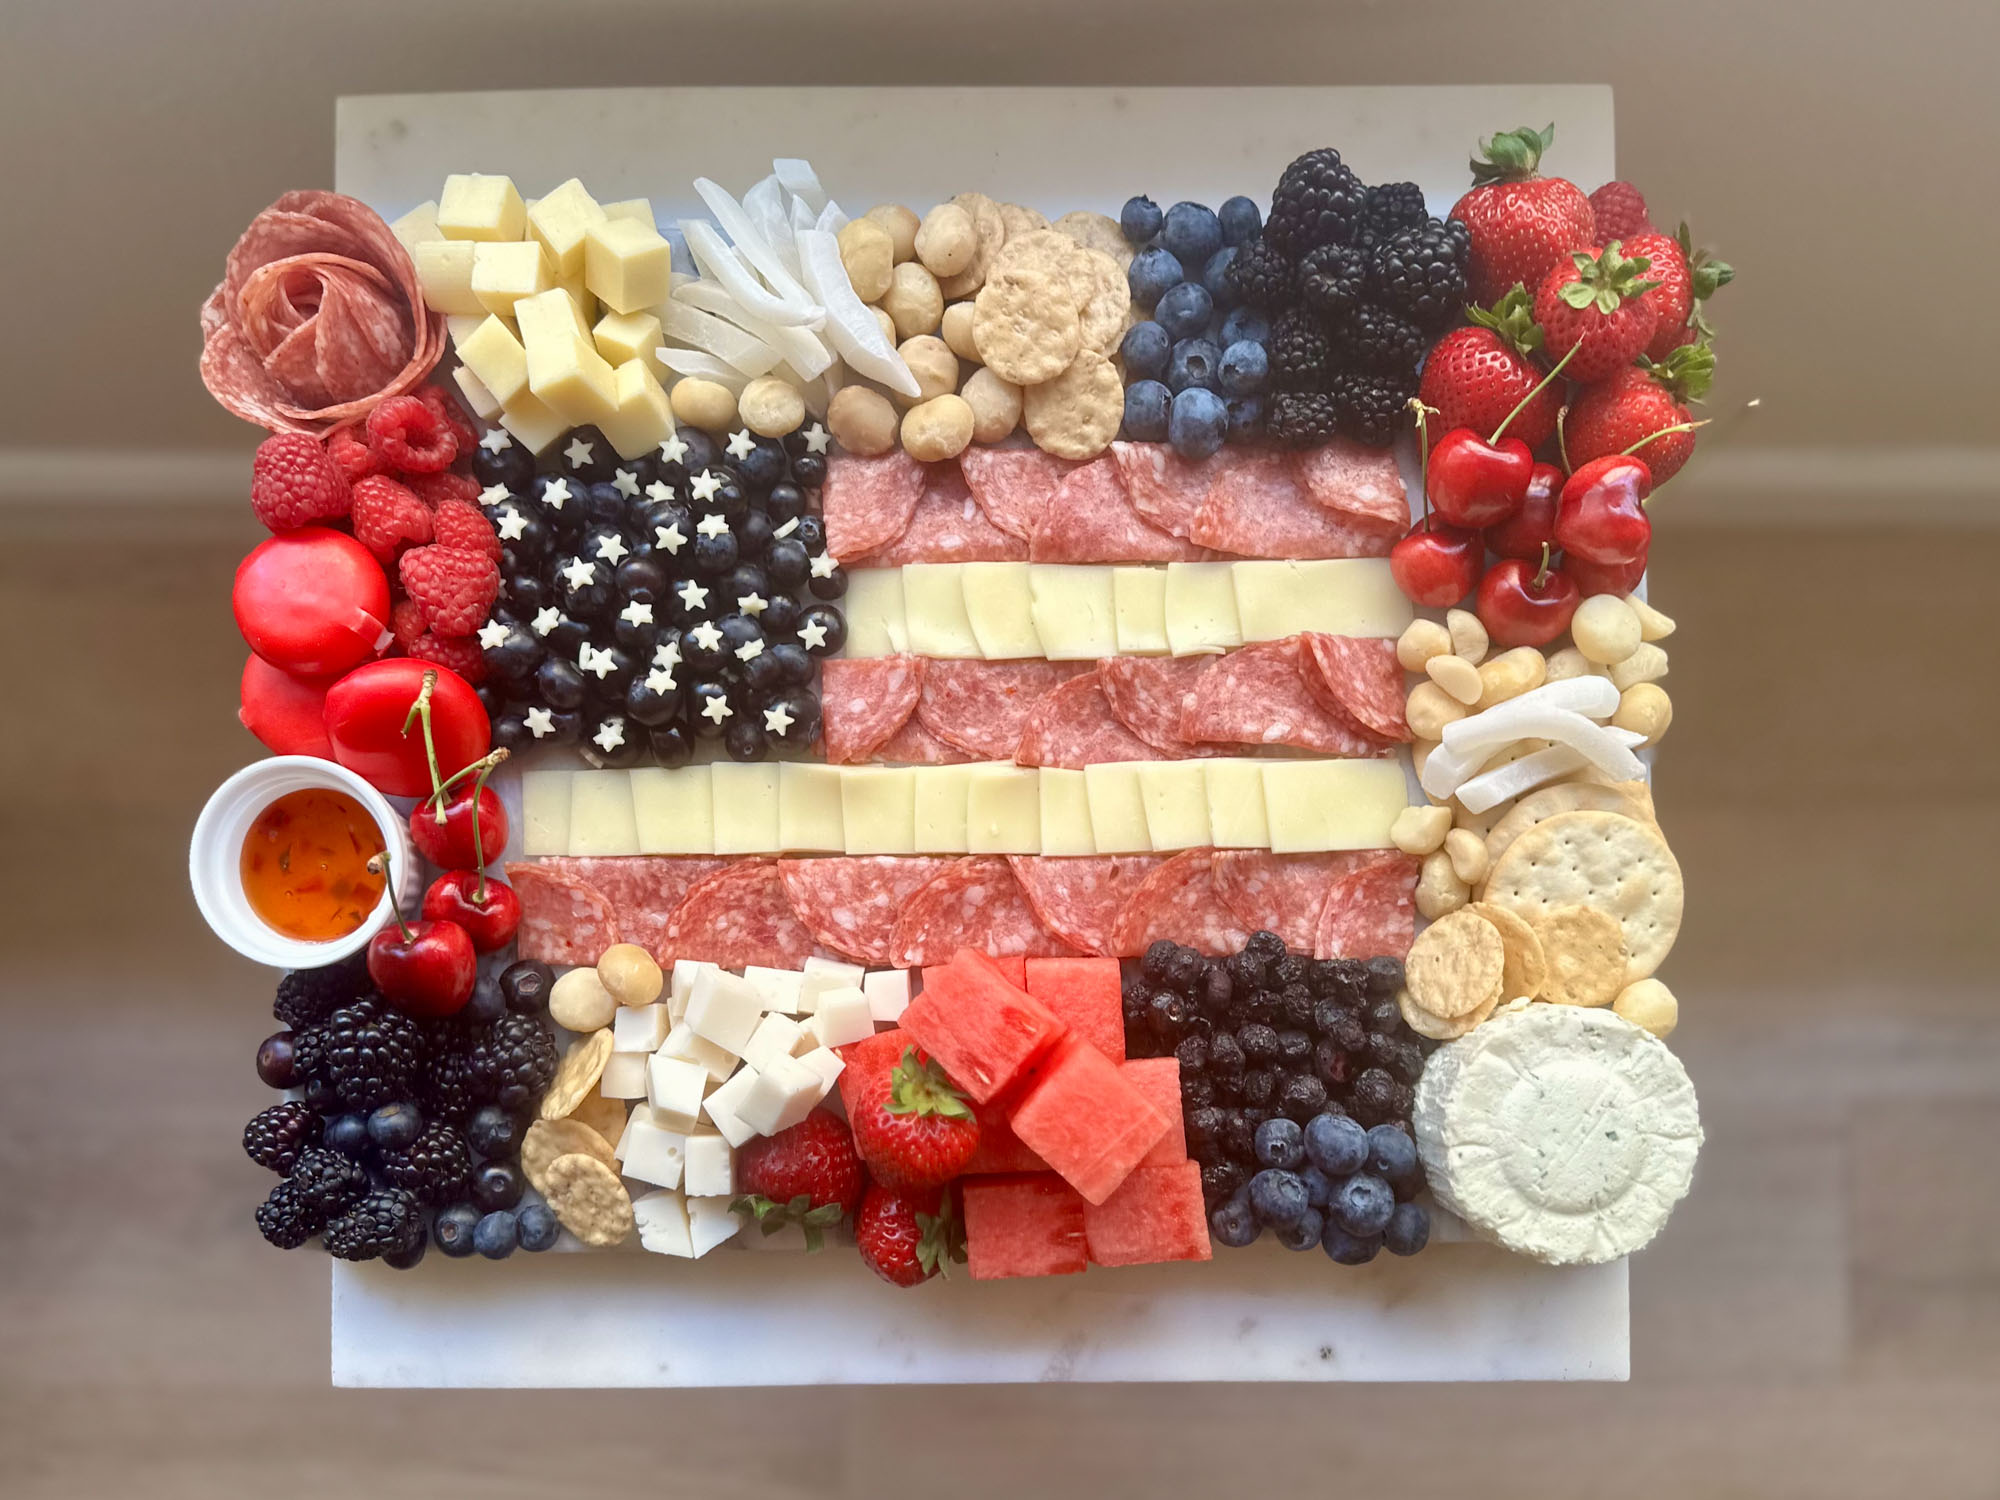
Creating the American flag with charcuterie elements is such a fun and festive way to incorporate this holiday! If you’re looking for a wow factor, you can incorporate the stars and stripes in your spread using traditional charcuterie items. You can use red and white elements for your stripes, and create a blue backdrop with cheese star cutouts for your stars.
I believe that what makes the flag look most effective is ensuring consistency in your stars and stripes. This is just my personal preference, but for example, I think that using different red-colored elements for your stripes (such as salami for one stripe and raspberries for another) somewhat dilutes the overall effect.
Unfortunately, if you stick to this consistency, you’ll be more limited in your selection and won’t be able to include as many items. Additionally, some charcuterie elements (e.g., uncut cheeses or ramekins with dips) won’t fit on your board.
Using Red, White, and Blue Charcuterie Elements
Another easy way to create a themed Fourth of July board is to create a regular board using charcuterie elements with red, white, and blue colors. Particularly if you’re short on time or want to include a larger variety of charcuterie items, this is a smart choice. However, to me, it doesn’t feel quite as epic as the flag design.
Hybrid: Charcuterie Flag Surrounded by Red, White, & Blue Elements
Since I see pros and cons of both incorporating the American flag and sticking to a more general red, white, and blue spread, I asked the question: why not both?

Creating a flag surrounded by other red, white, and blue charcuterie items ensures you get the consistency of the theme while also allowing you to include a greater variety of elements. And so that’s what I set out to do!
Supplies & Equipment for a Patriotic Charcuterie Board
For a patriotic charcuterie board, you need some specific supplies and equipment.
First, you’ll need charcuterie elements in each color.
Red Charcuterie Items
Red charcuterie elements are pretty easy to come by, considering that actual charcuterie is reddish in tone. In addition, you have a variety of red fruit and vegetable options available to you, as well as jams and spreads.
Ideas for red elements:
- Salami (I used Calabrese salami with red chili peppers for a little extra color)
- Prosciutto/Other Meats
- Babybel Cheeses
- Raspberries
- Strawberries
- Cherries
- Watermelon
- Cherry Tomatoes
- Red Pell Peppers
- Red Fruit Spread/Jam (I used Trader Joe’s pepper jelly)
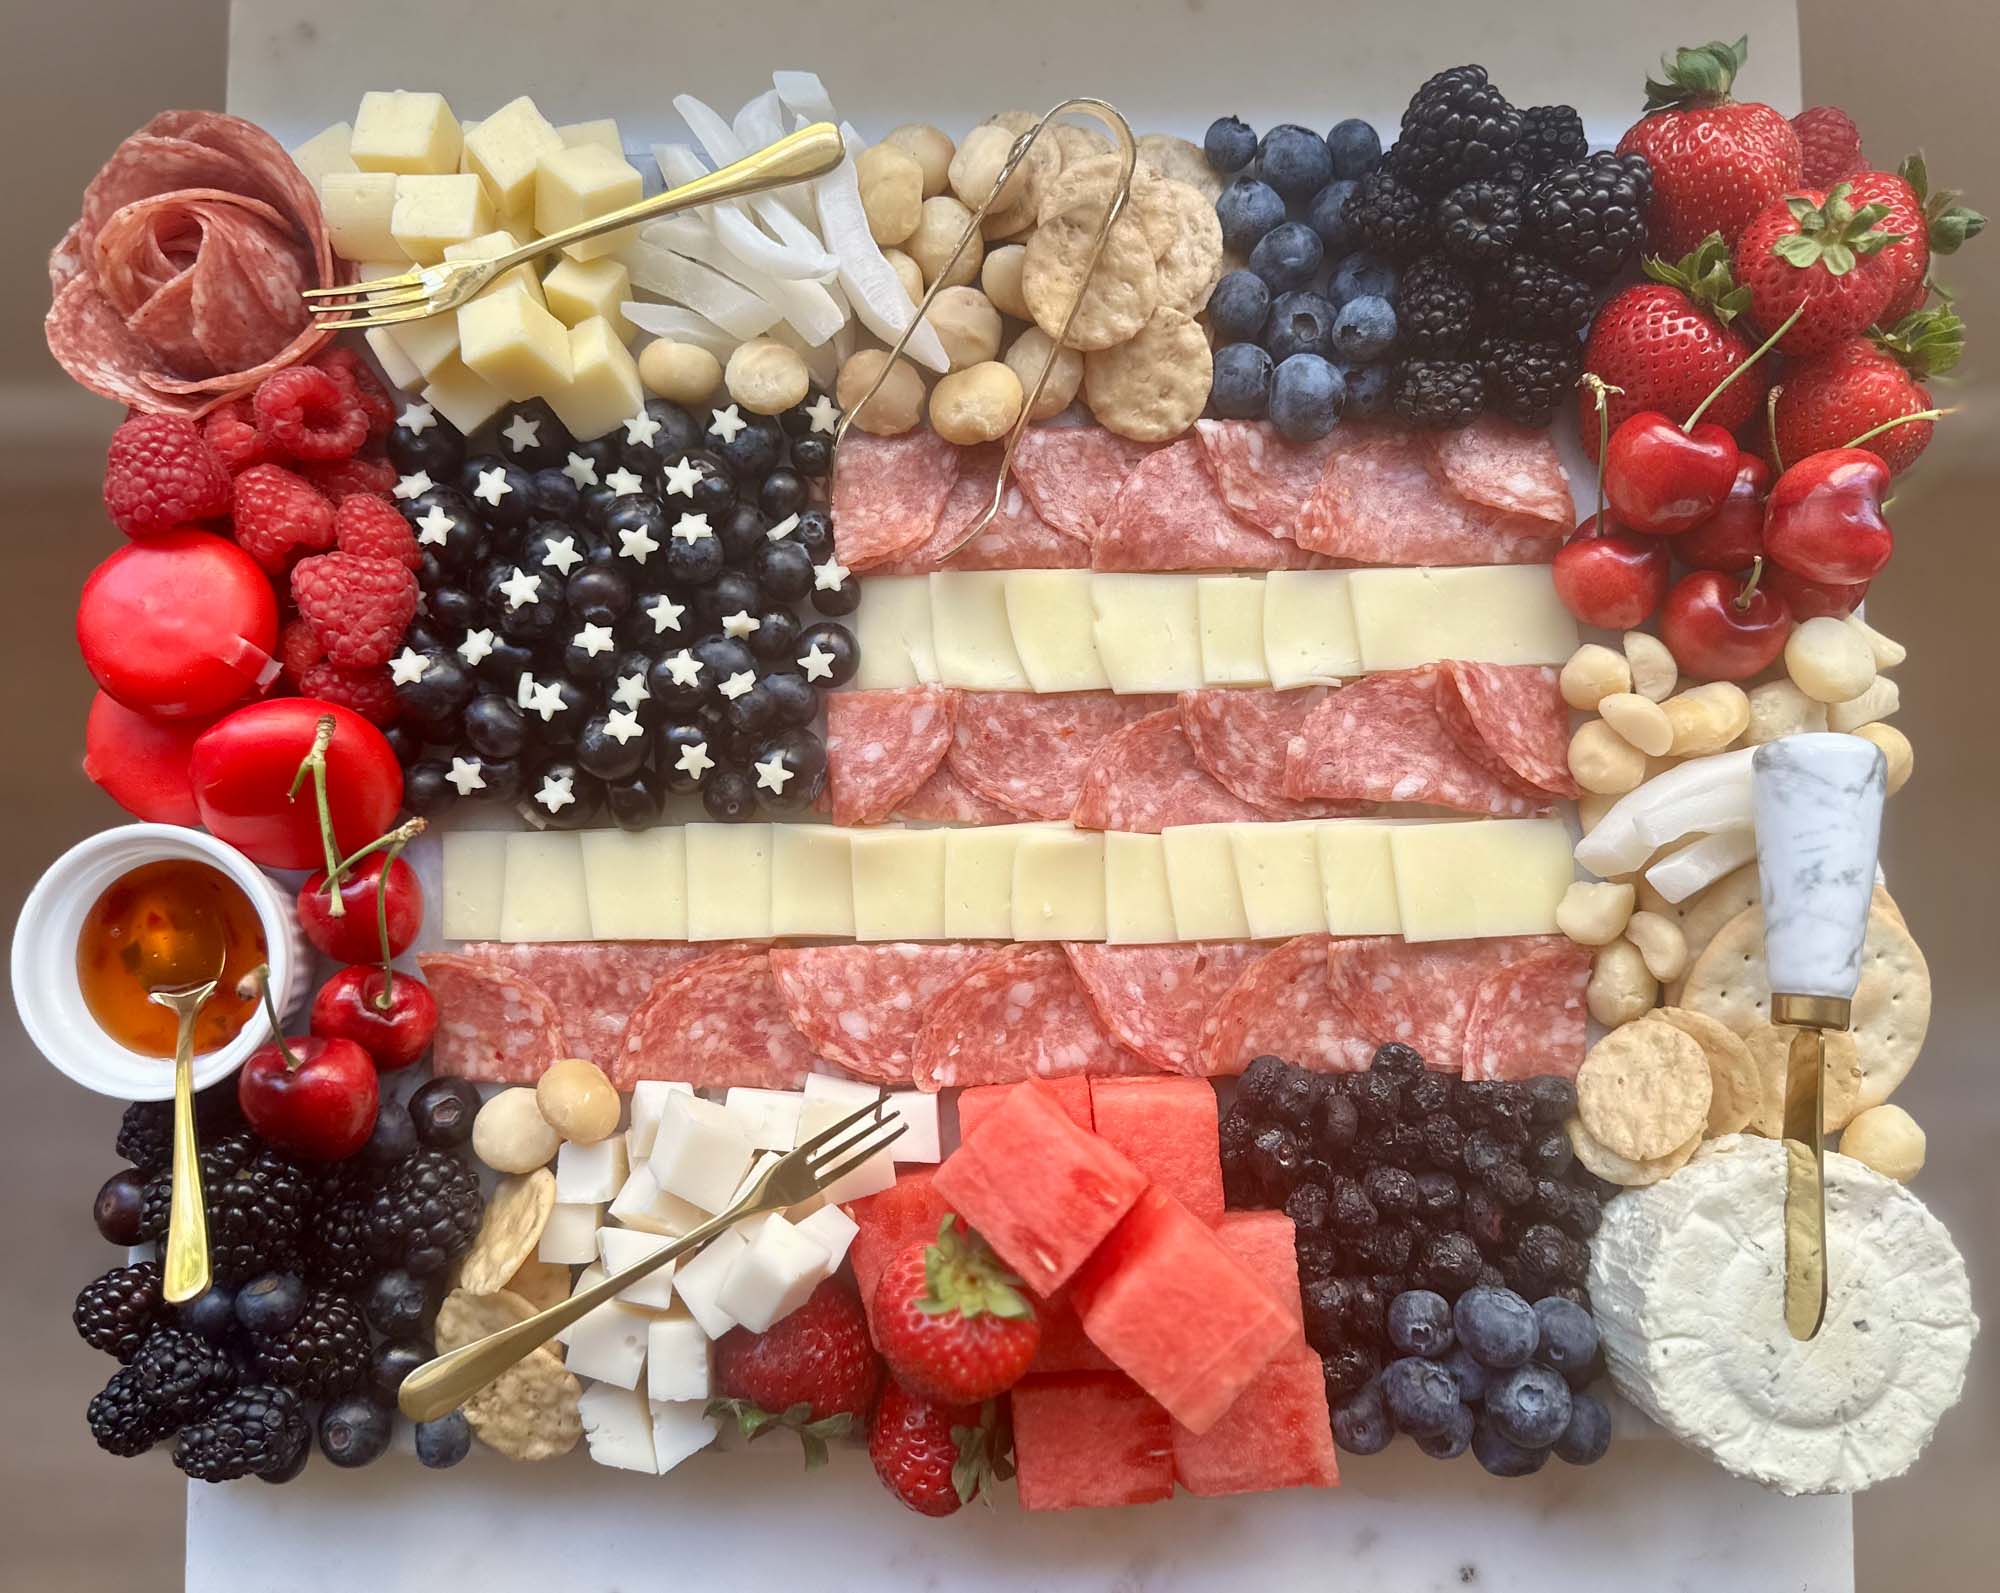

Babybel cheeses are particularly ideal for a July 4th charcuterie board because they’re a) individually packaged and b) bright red. Also, the more red fruits you can include, the better, but my recommendation is don’t leave out watermelon and cherries — they just scream summer.
White Charcuterie Items
Fortunately, many cheeses and crackers tend to be pretty pale in color, but you’ll want to find the lightest ones you can. While goat’s cheese tends to be pretty white, it’s often crumbly and soft. For the star cutouts, you’ll probably want a sliced cheese such as a white cheddar, provolone, or Havarti.
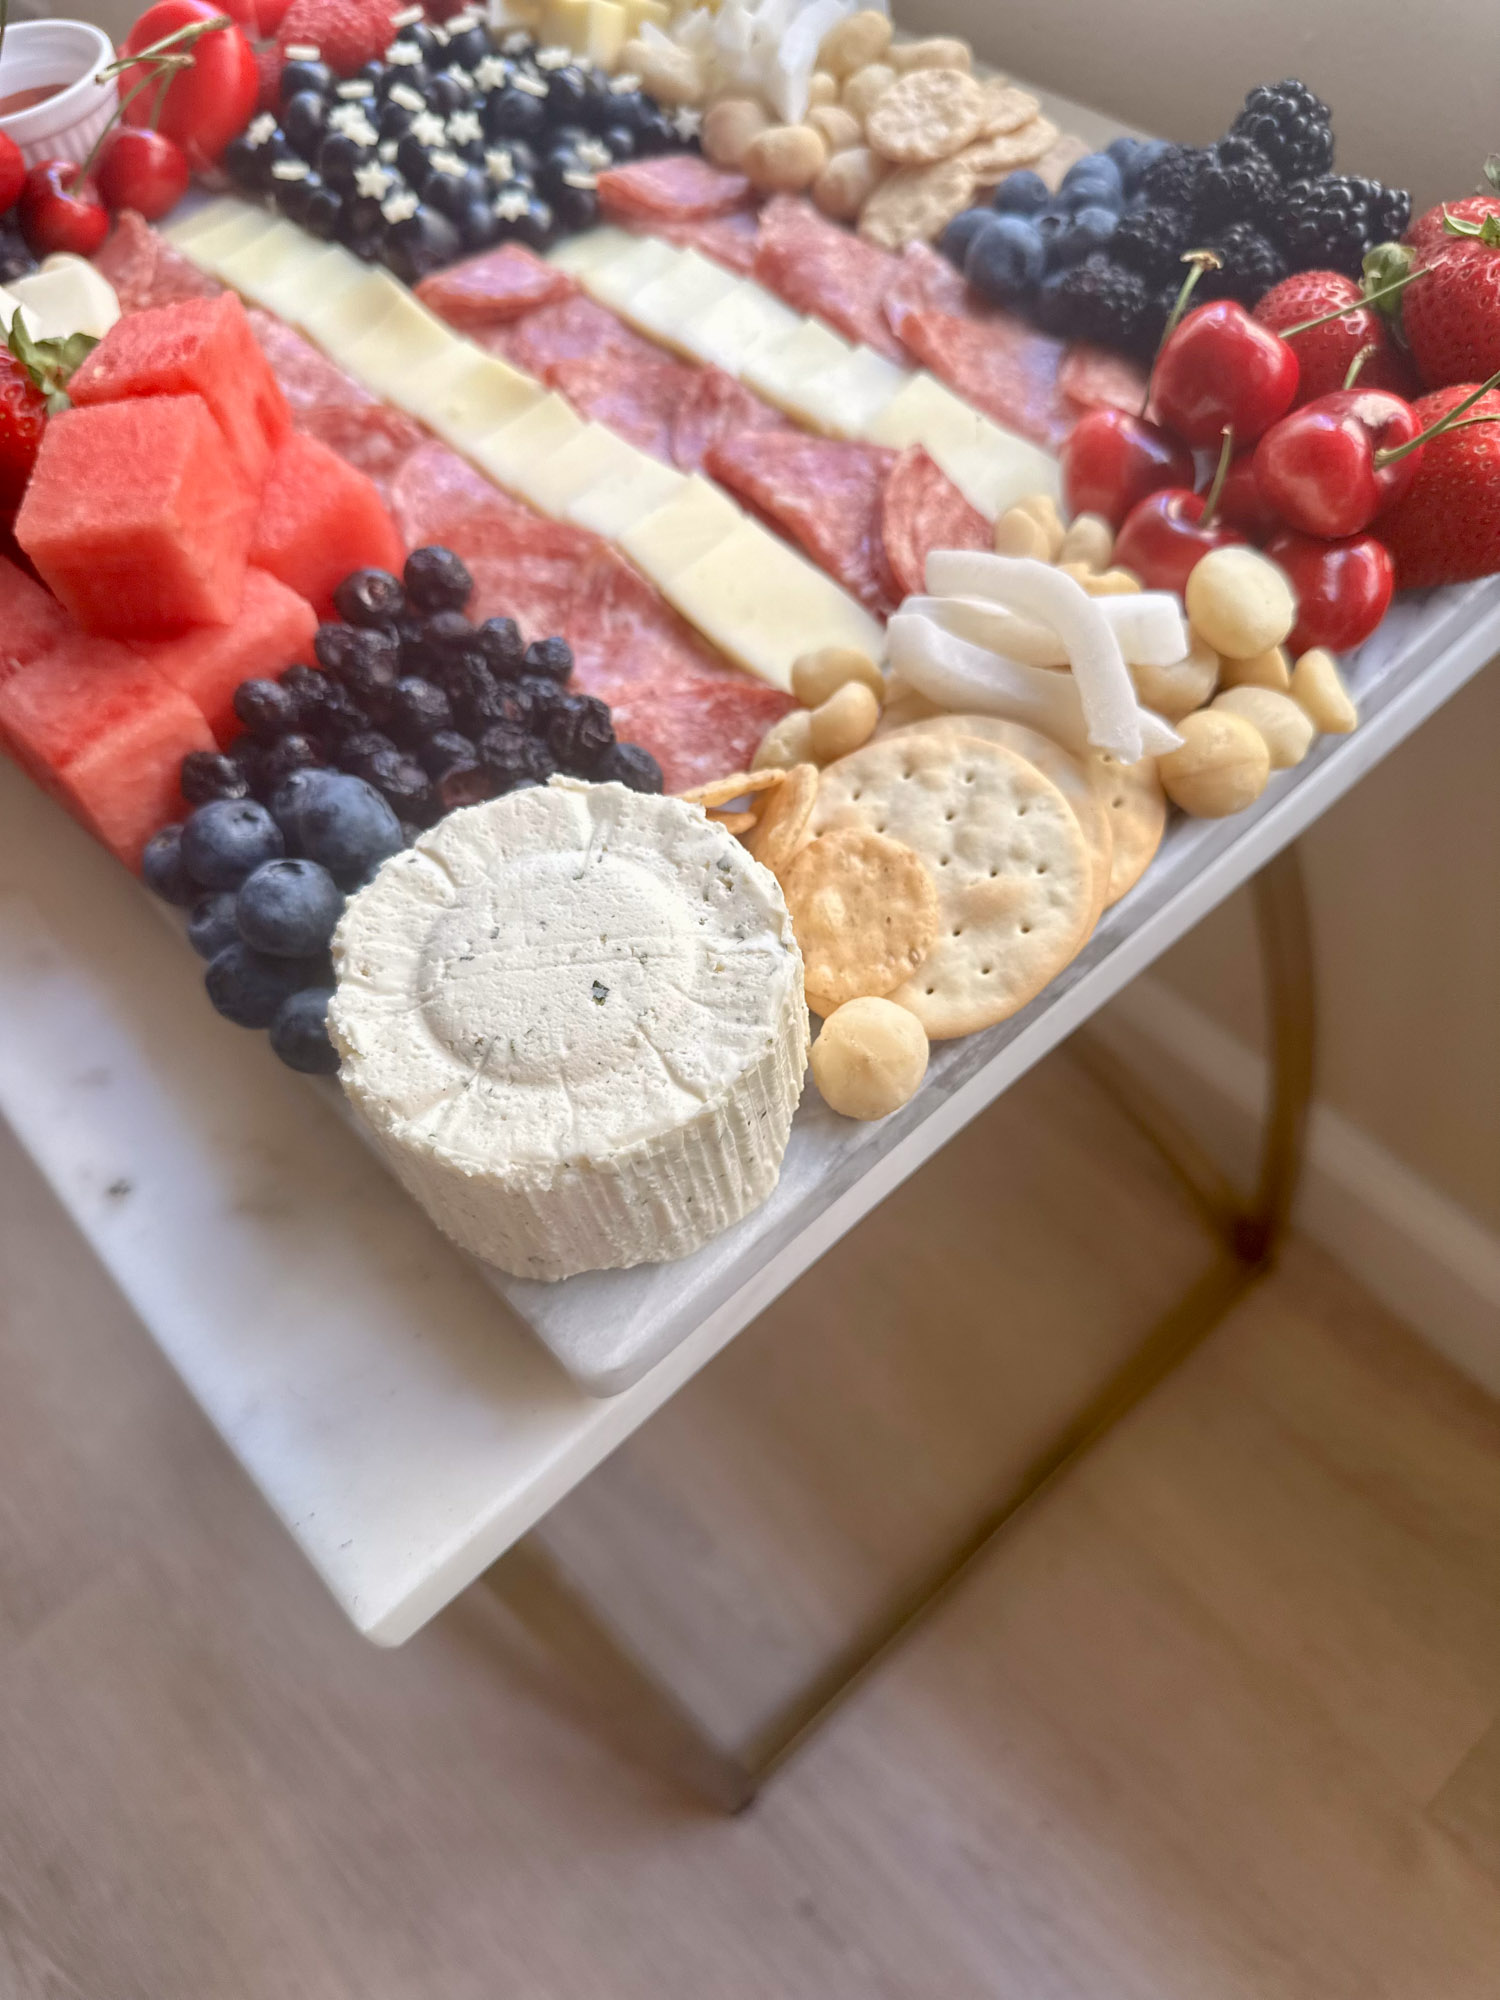
Ideas for white elements:
- Boursin (of course)
- Sliced white cheese for stars/stripes cutouts (I used Provolone)
- Trader Joe’s Goat Milk Gouda
- Havarti
- White Cheddar
- Water Crackers
- Trader Joe’s Savory Thin Mini Crackers
- Macadamia Nuts
- Coconut Strips
Blue Charcuterie Items
Blue is the hardest color to match with charcuterie elements, but you can make it work! Dark blue and navy are fine; you just need to be careful that you don’t end up with purple. Trader Joe’s has a blueberry goat cheese, but it looks too purple to me, so I steered clear. To be on the safe side, and because I had a hard time finding other blue elements, I stuck mostly with blueberries and blackberries.

Ideas for blue elements:
- Blueberries
- Blackberries
- Dried/Freeze-Dried Blueberries
- Blueberry Spread/Jam
- Blue Olives
- Huckleberries
- Elderberries
Patriotic Charcuterie Equipment
In addition to your red, white, and blue elements, you’ll need some basic equipment. As always, you need a board — preferably rectangular, since we’re putting a flag in the middle. You’ll also need some star-shaped cookie cutters or cutouts. I used these fondant cutters (the middle size) because I wanted the stars to be visible but tiny, but you can make any size work.
You’ll also need cheese knives, small utensils, and mini ramekins/bowls for dips (if you have them).

How to Make a Patriotic Charcuterie Board
Now that we’ve got everything we need to make a patriotic charcuterie board, let’s walk through the process. It’s a little time-consuming, but it’s quite easy and can be done in three simple steps!
1. Create the Star Section of Your Flag
First, use your star cookie cutter or fondant cutter to cut stars out of some sliced cheese. I used provolone, which worked, but it was a little delicate to handle.

Next, use some blue elements (I used blueberries) to create the blue rectangular star section of the flag. Try to position this slightly off-center in the upper left area of your board, so the finished flag ends up roughly centered. Leave several inches around the edges of the flag to add other elements.
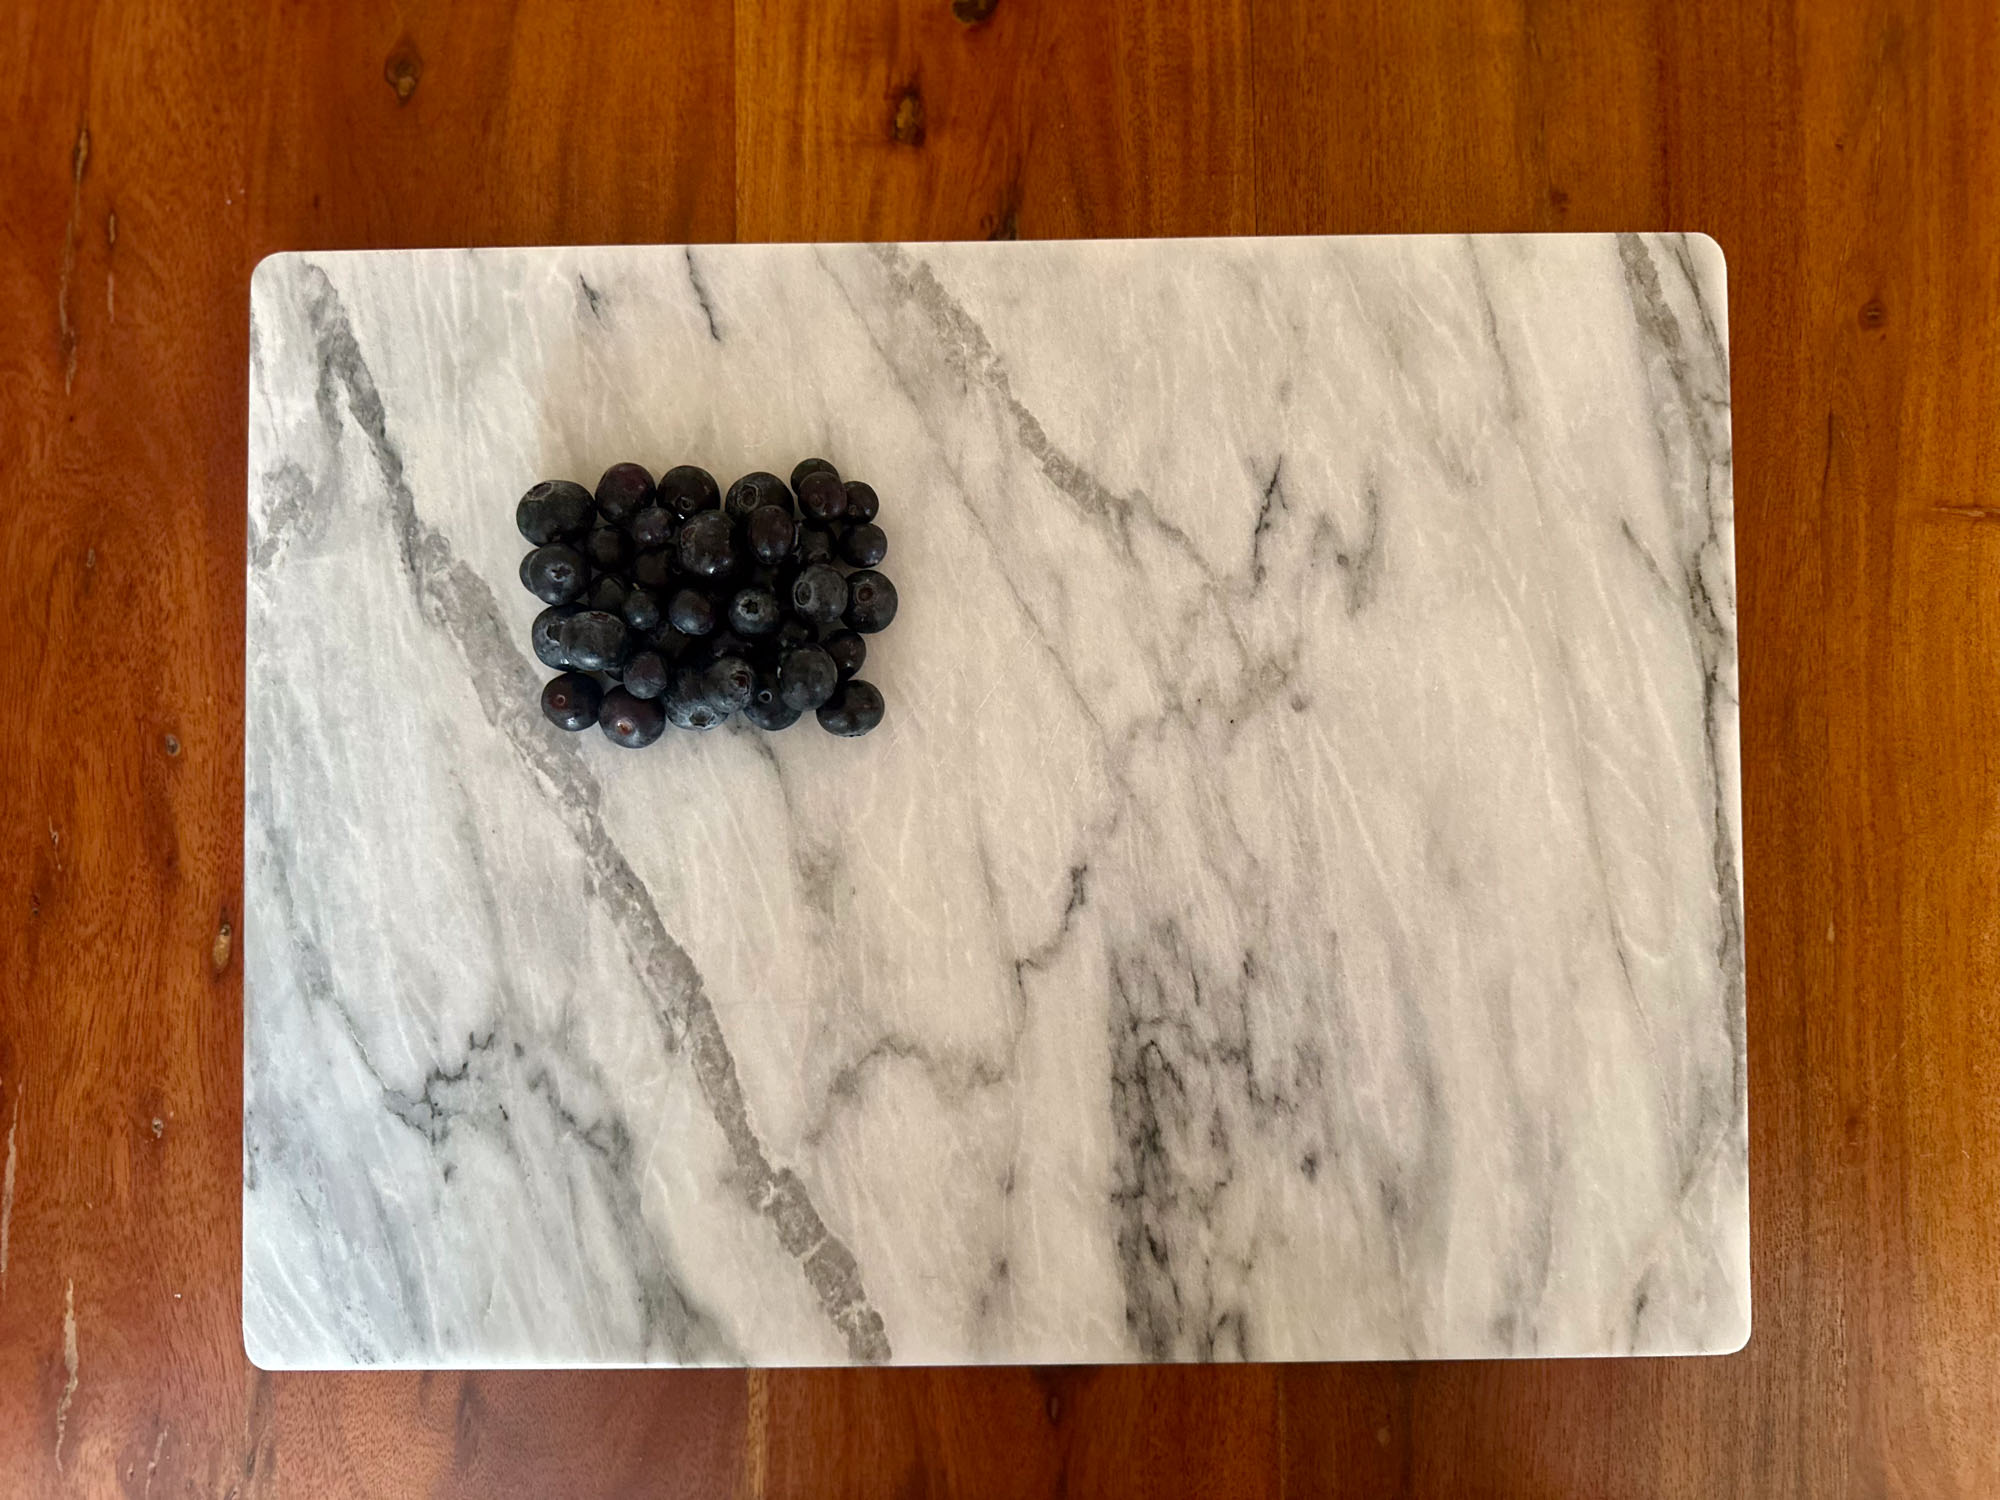
Use smaller blueberries to fill in any “holes” so that you can’t see the board. Although you can add the cheese stars now, I would wait to add them until after you’ve finished the board. Don’t worry about the sizing/proportions of the flag too much.
Also, you will probably end up needing to adjust it later. Something I learned the hard way: blueberries ROLL. But I do feel like they were the best choice due to their size and color. Blackberries could also work, but they’re a bit darker. Also, since they’re bigger, they’re a little harder to use to create specific shapes.
2. Create the Stripes of Your Flag
Once you have the rectangular star section completed, it’s time to build your flag stripes! You could use fruit for this, but I opted to use salami and cheese — after all, it is a charcuterie board!
It’s extremely difficult to get your proportions exactly right (if you manage to get 13 perfectly sized and even stripes and 50 stars on a charcuterie board, please send me a picture!). To me, the number of stripes you have is not as important as the consistency of both the width of the stripes and the elements used.
To make the red stripes, I folded pieces of salami into half moons and then layered them slightly overlapping each other, alternating directions, to form a continuous, even line.


For the ends of each stripe, I cut a half moon in half again (quarter circle shape) and placed the two pieces on the ends of the stripes to create a sharp right angle.

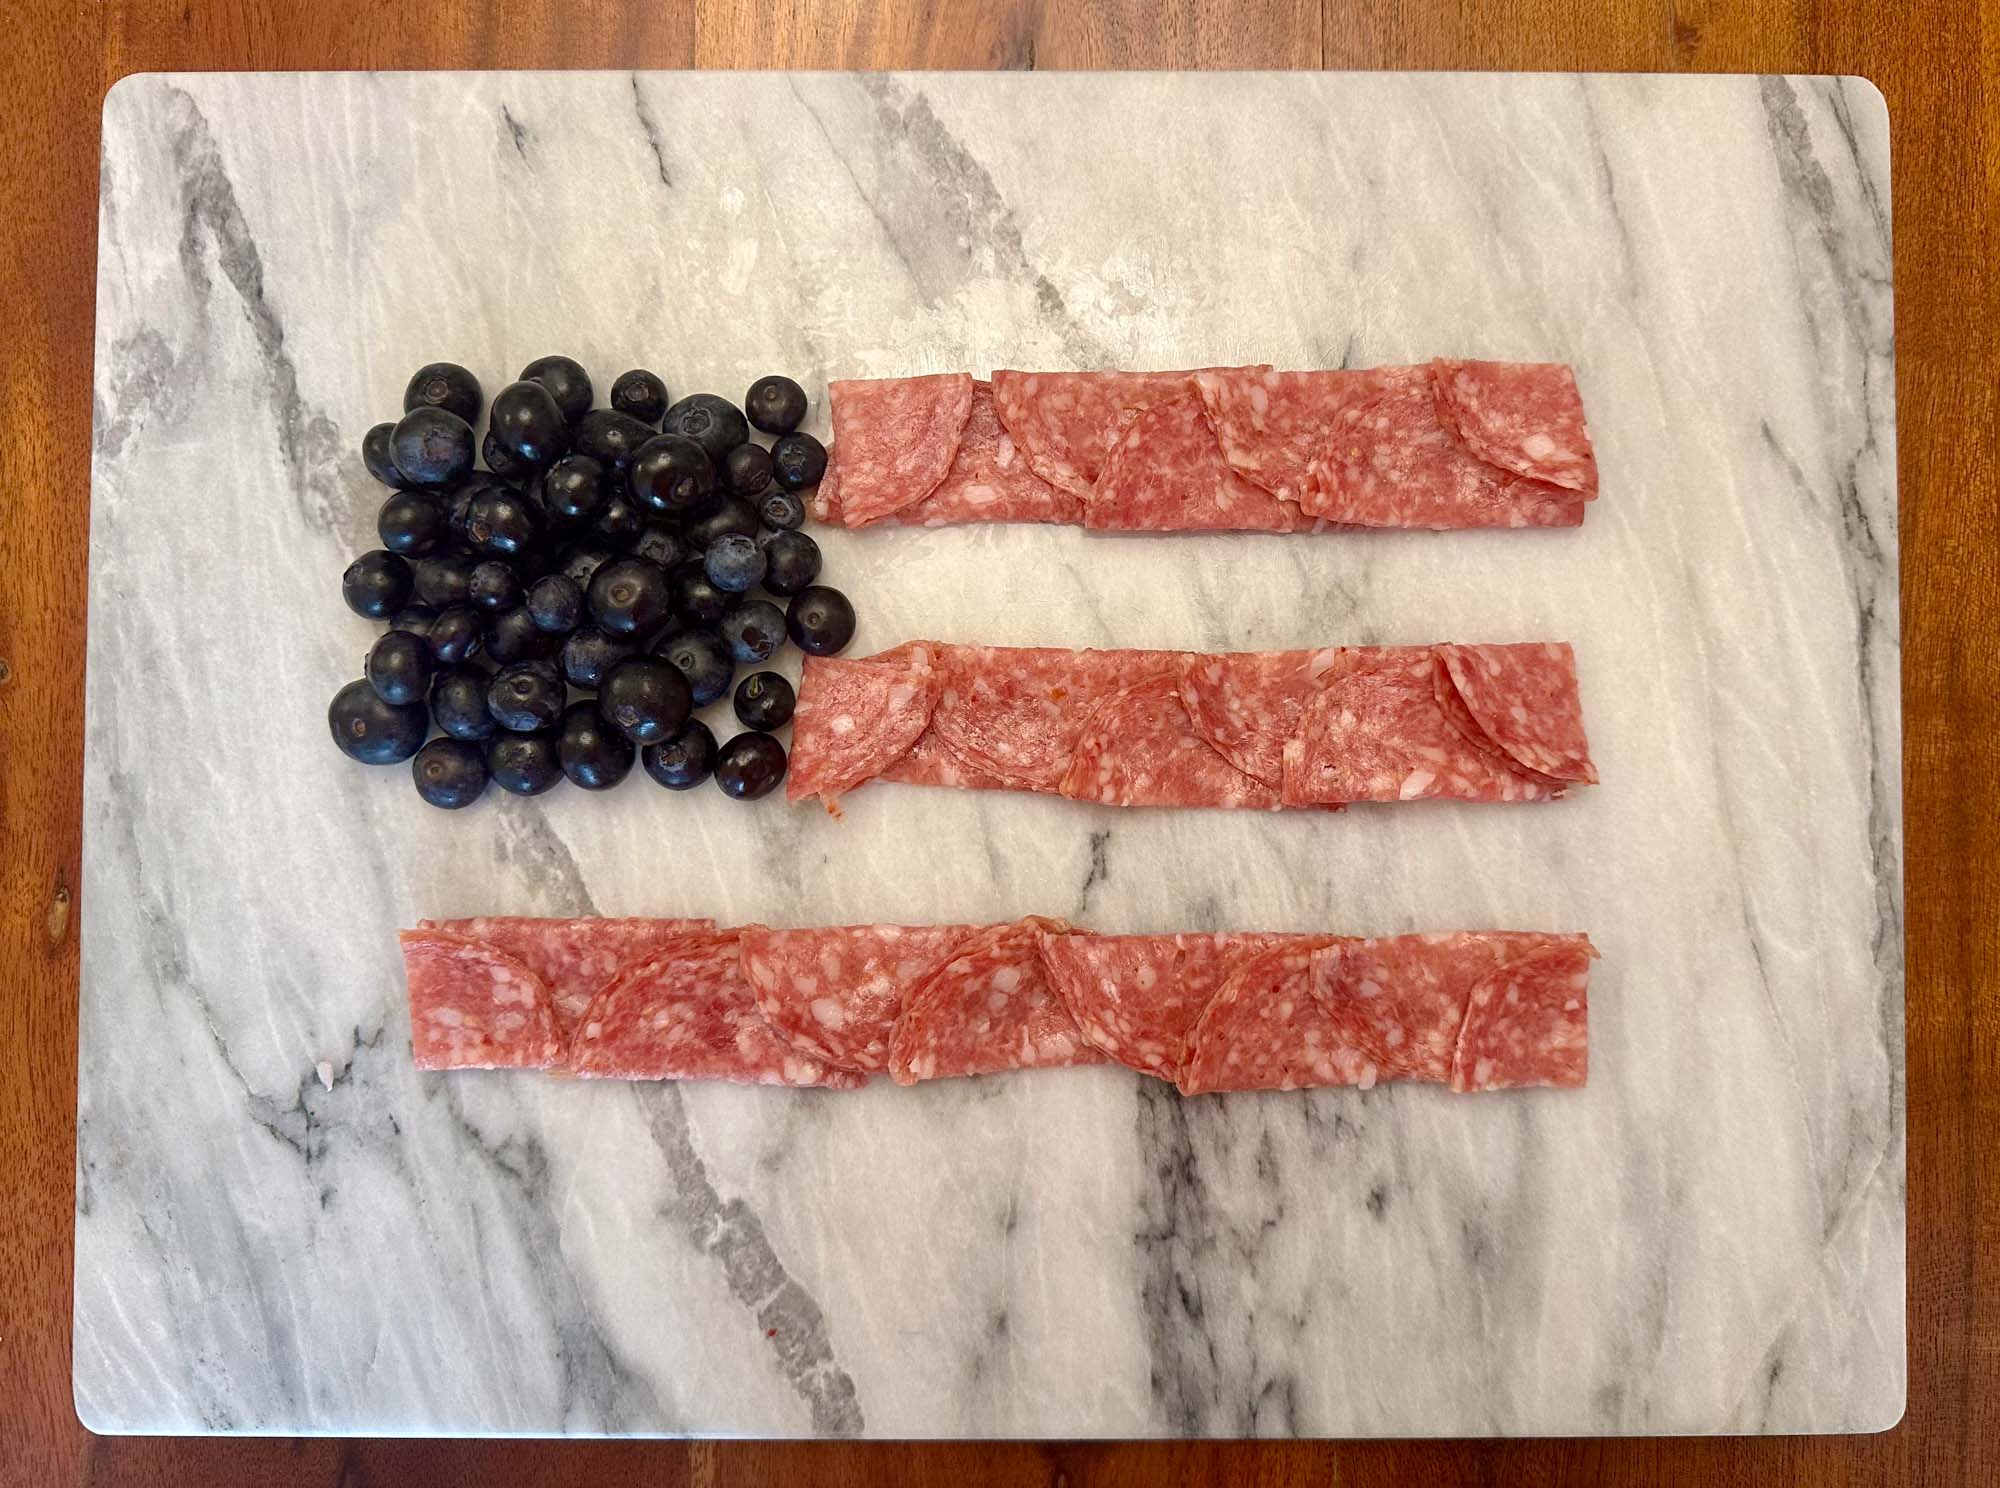
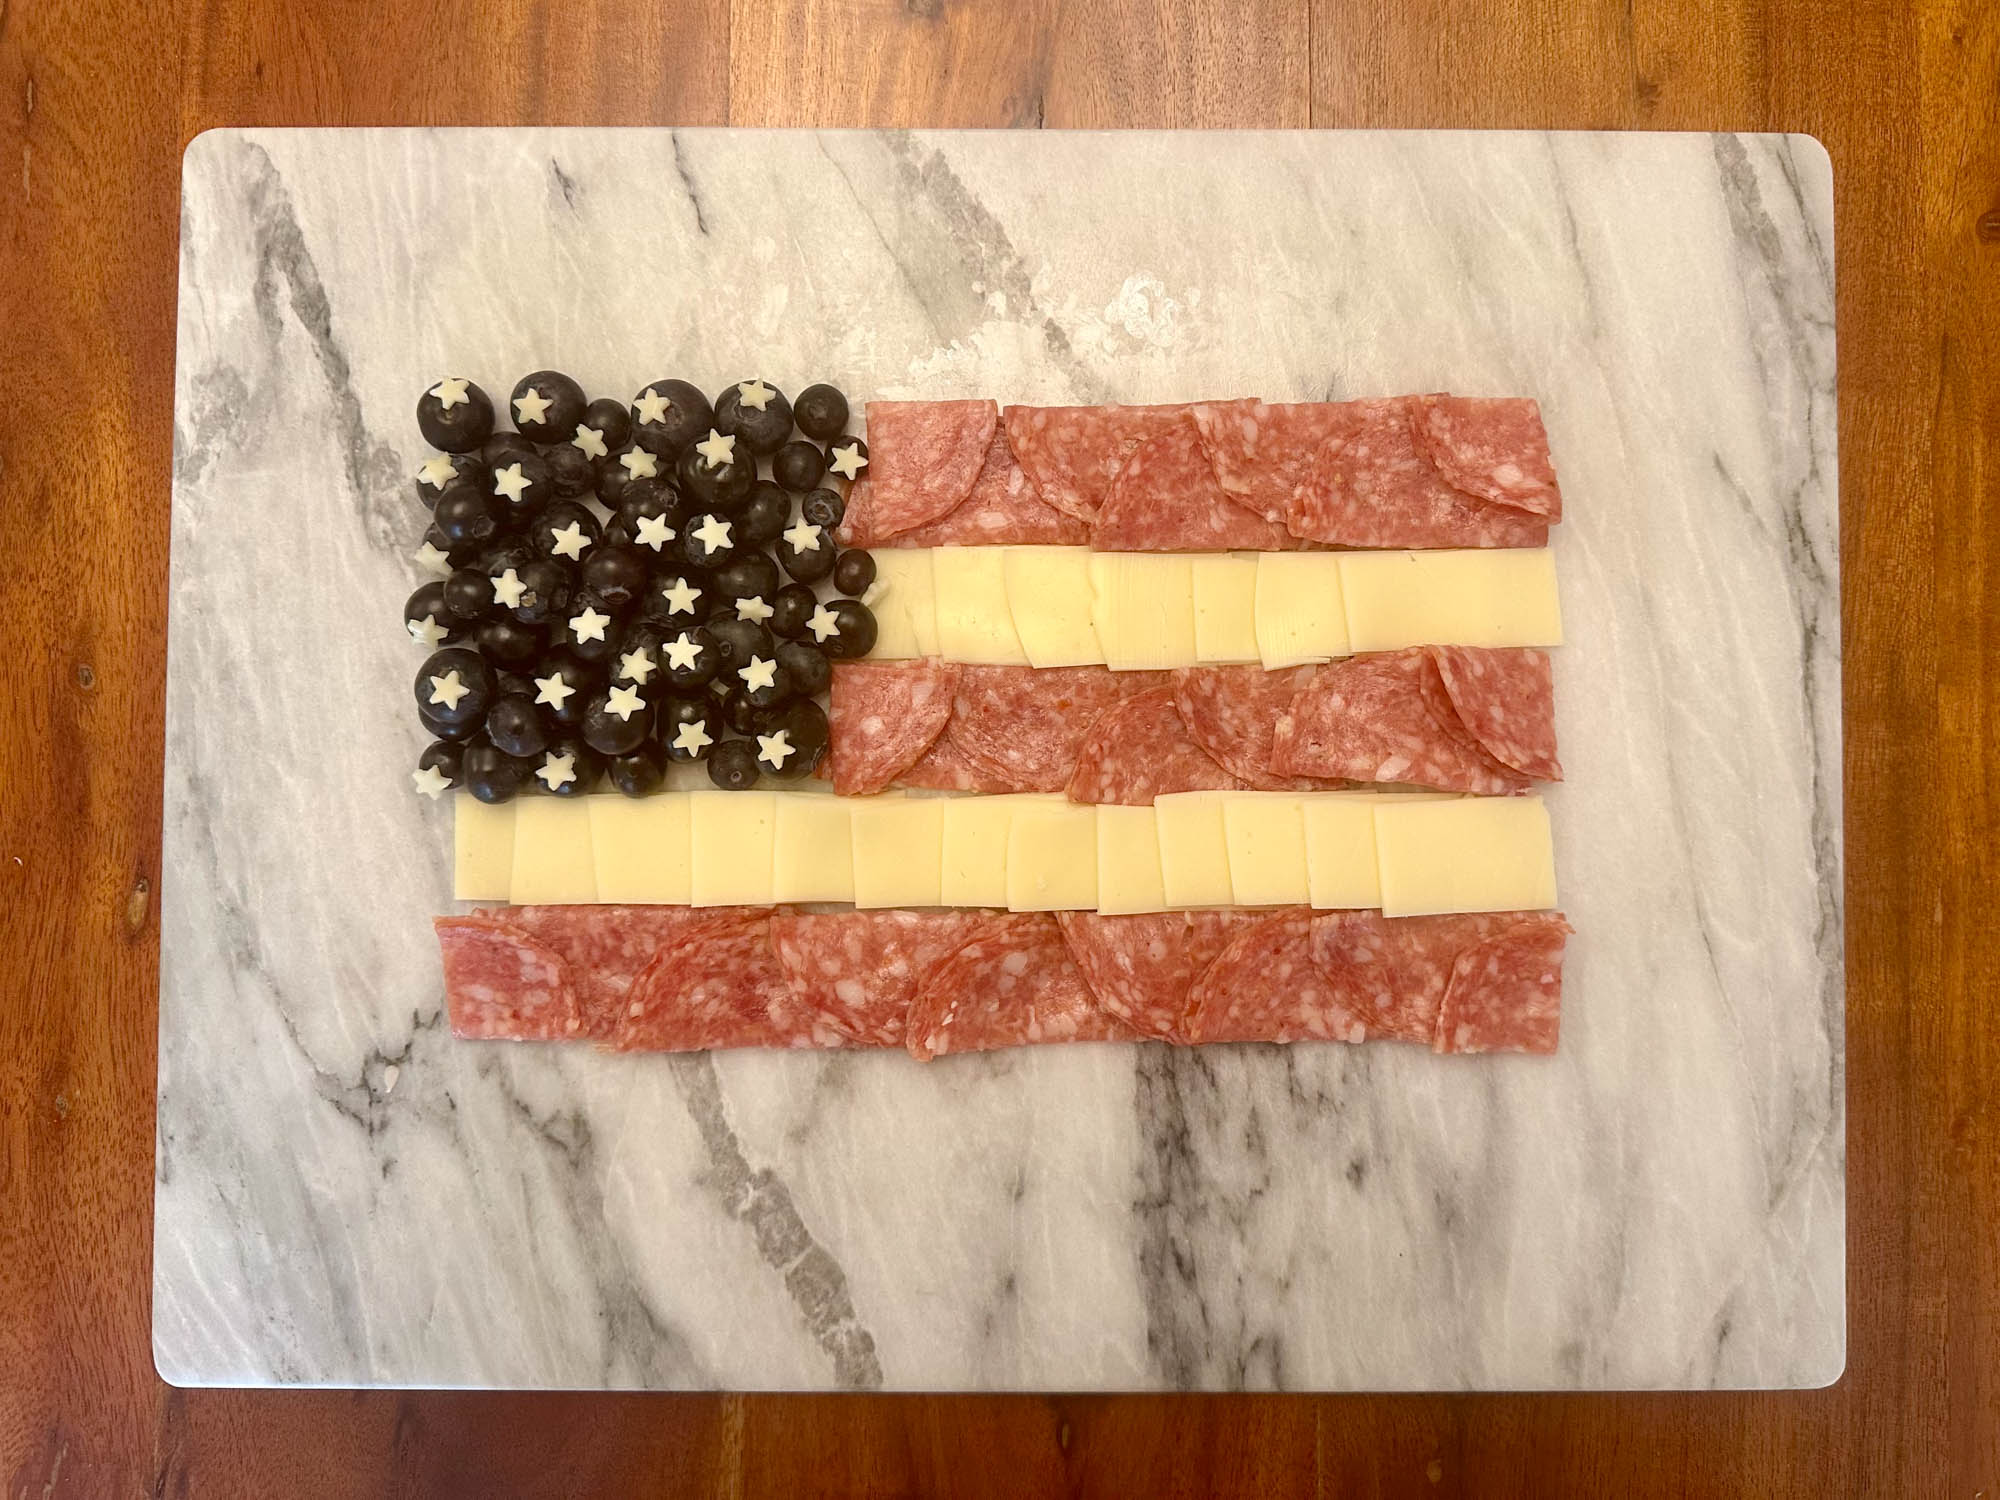
Repeat this process to create your desired number of red stripes (I only did three), and then fill in the gaps with white stripes. To form the white stripes, I cut sliced provolone cheese into strips and slightly overlapped them, but you could also use cubed cheese or another white element! Again, to me, what matters most is keeping everything as consistent as possible within your flag.


I added the stars at this point, but in hindsight, I wish I’d waited, as I had to adjust them again later.
3. Surround the Perimeter of Your Flag with Red, White, & Blue Charcuterie
Now the fun part — surround your flag with all the items that didn’t fit in the design itself.
I love this because you can add all of the elements that really elevate a charcuterie board. Think crackers, fruit, nuts, small ramekins with dips, a salami rose, and of course, my personal favorite charcuterie item — Boursin!
What’s important is making sure that you’re able to include all of your delicious elements and still make the flag pop. I chose to alternate colors around the edge of the board with red, white, and blue sections that repeated twice. You could do just one round or vary the color pattern, depending on what you have.


One important note: to ensure appropriate contrast, try not to put the same color/elements immediately next to each other. As I was working my way around the board, I realized that I had accidentally put blueberries right next to the blue section of the flag, which completely undermined the effect I was trying to create. If you run into this, just shift your items around as needed. However, try to plan out roughly where each color section will be in advance.
As always, whenever you’re finished with your general layout, make sure there aren’t any big holes in your spread, and add other elements to fill in as necessary. Add final touches, such as cheese knives and utensils (don’t forget your little cheese stars!).

As a bonus, serve your board with festive drinks and fancy ice cubes — take a look at my post about how to make clear ice cubes at home for more info on how to create them yourself!


And just like that, you’re ready to celebrate! Tastes like freedom, doesn’t it?
