
The Ultimate Moving Out Checklist & Tips for Staying Organized
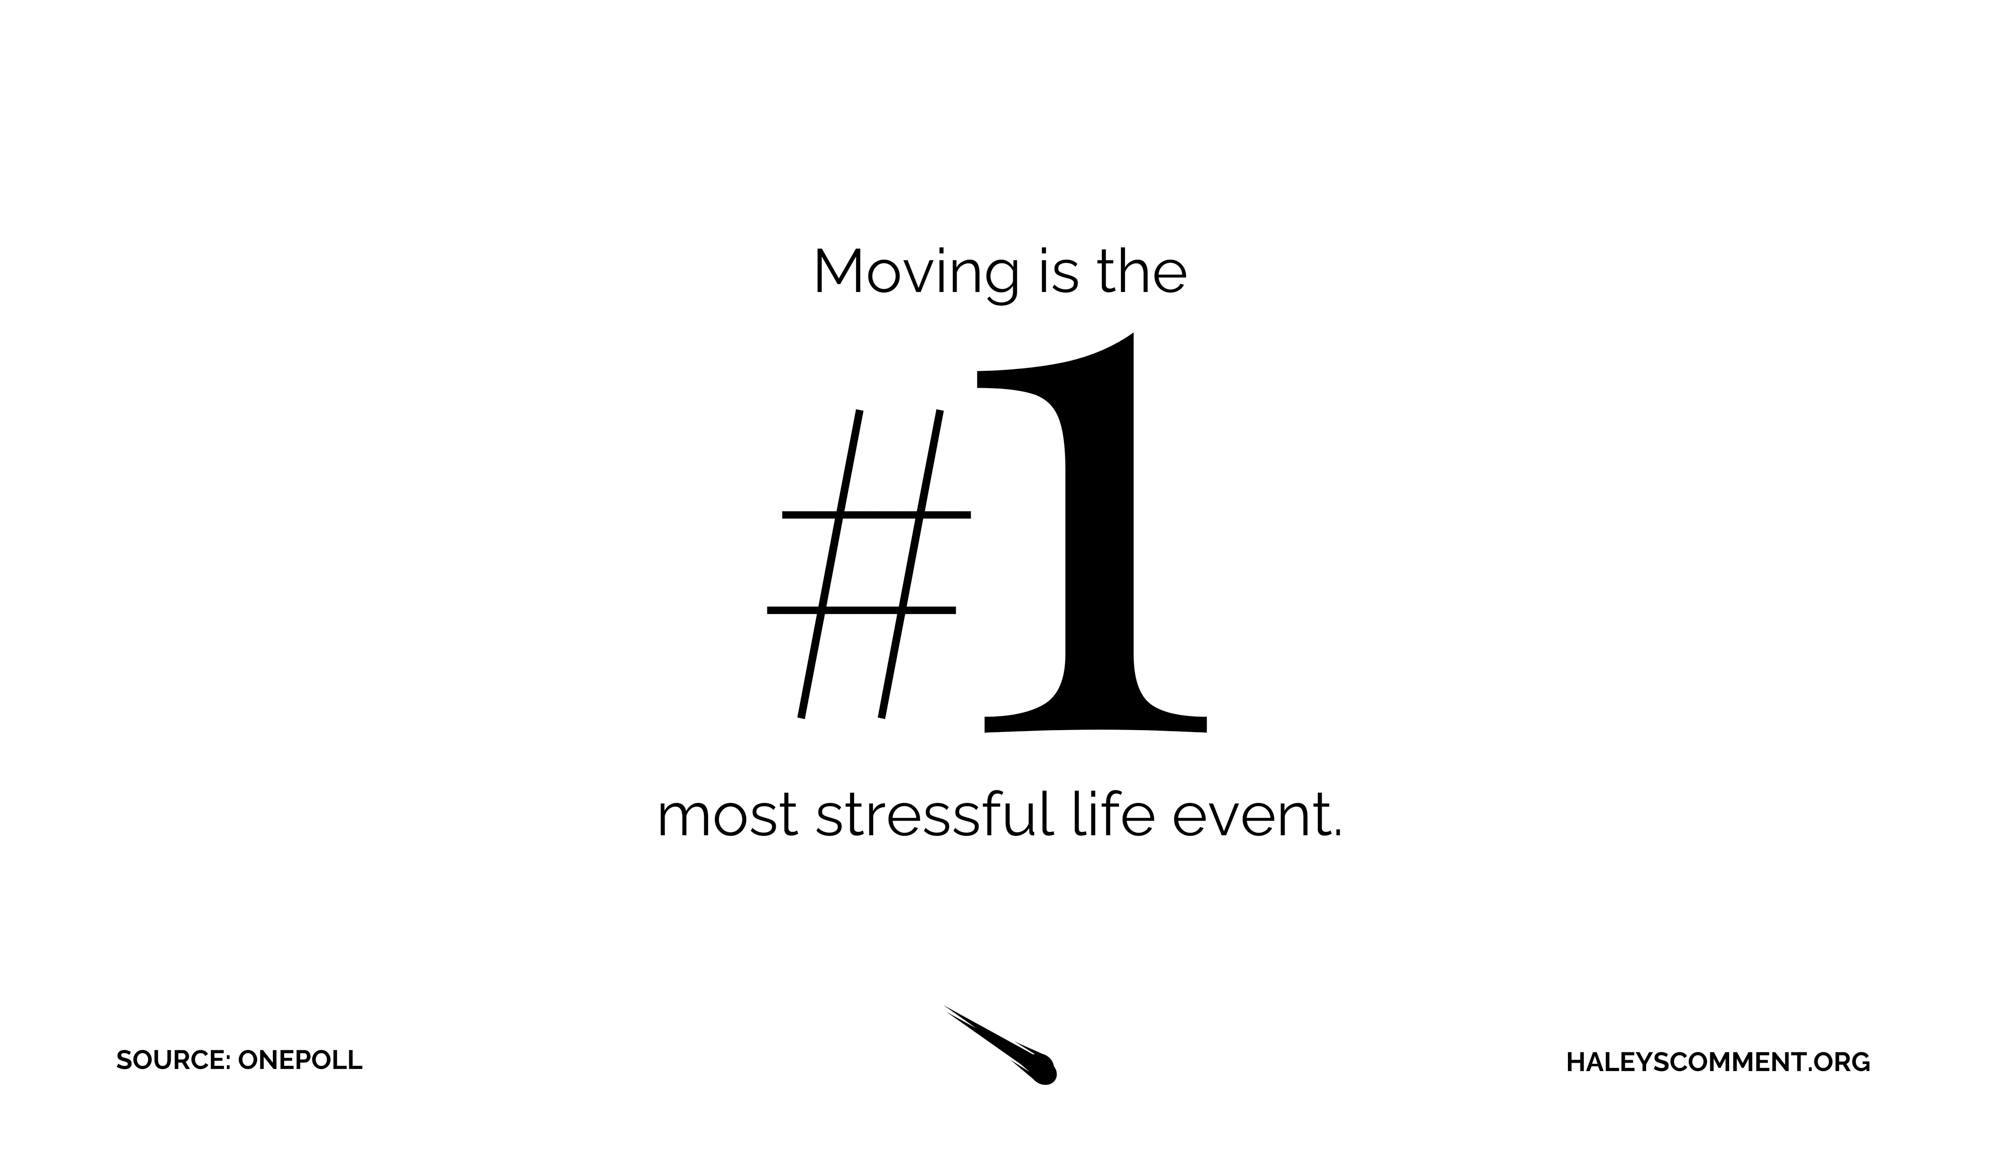
Stressed about moving? You’re not alone. According to research conducted by OnePoll, moving is the #1 most stressful life event, ahead of going through a breakup or divorce, getting married, having kids, or starting your first job. Another report by the same company revealed that over one in ten Americans find spending a week in jail less stressful than moving!
Why is moving such an ordeal? Unless you’re able to take time off, you’ll have to manage your normal work/life while undergoing an extremely labor- and time-intensive process, not to mention the emotional impacts.
Since so many different factors are involved in moving, staying organized is key to managing stress. In this post, I’ll share some general tips on moving and staying organized, and then dive into a comprehensive but high-level moving out checklist.
You can download the printable checklist here.
This post contains affiliate links that earn me a commission. For more information, read my disclaimer.
General Tips for Moving
First, let’s talk about some general tips for how to stay organized and make moving less stressful.
1. Create a Moving Budget
There’s no way around it — moving is expensive, and finances are a big stressor. And that’s assuming that you’re on your own. Research also shows that finances account for 40% of disagreements in long-term relationships, so if you’re moving with a significant other, you can count on some natural tension to arise.
Additional stress and possible conflict are not what you need when you’re trying to tackle something that is inherently stressful, which is why setting a budget is a critical step when you move.
Northwestern Mutual released a survey showing that 92% of Americans say that nothing makes them happier or more confident than when their finances are in order. Although it may not reduce the actual money that is spent, putting all of your projected expenses in one place can help you overcome the sticker shock of moving. And taking control of your finances and setting up guidelines will help you feel more secure and less stressed. Read more about how to create a budget.
2. Consider Hiring Movers
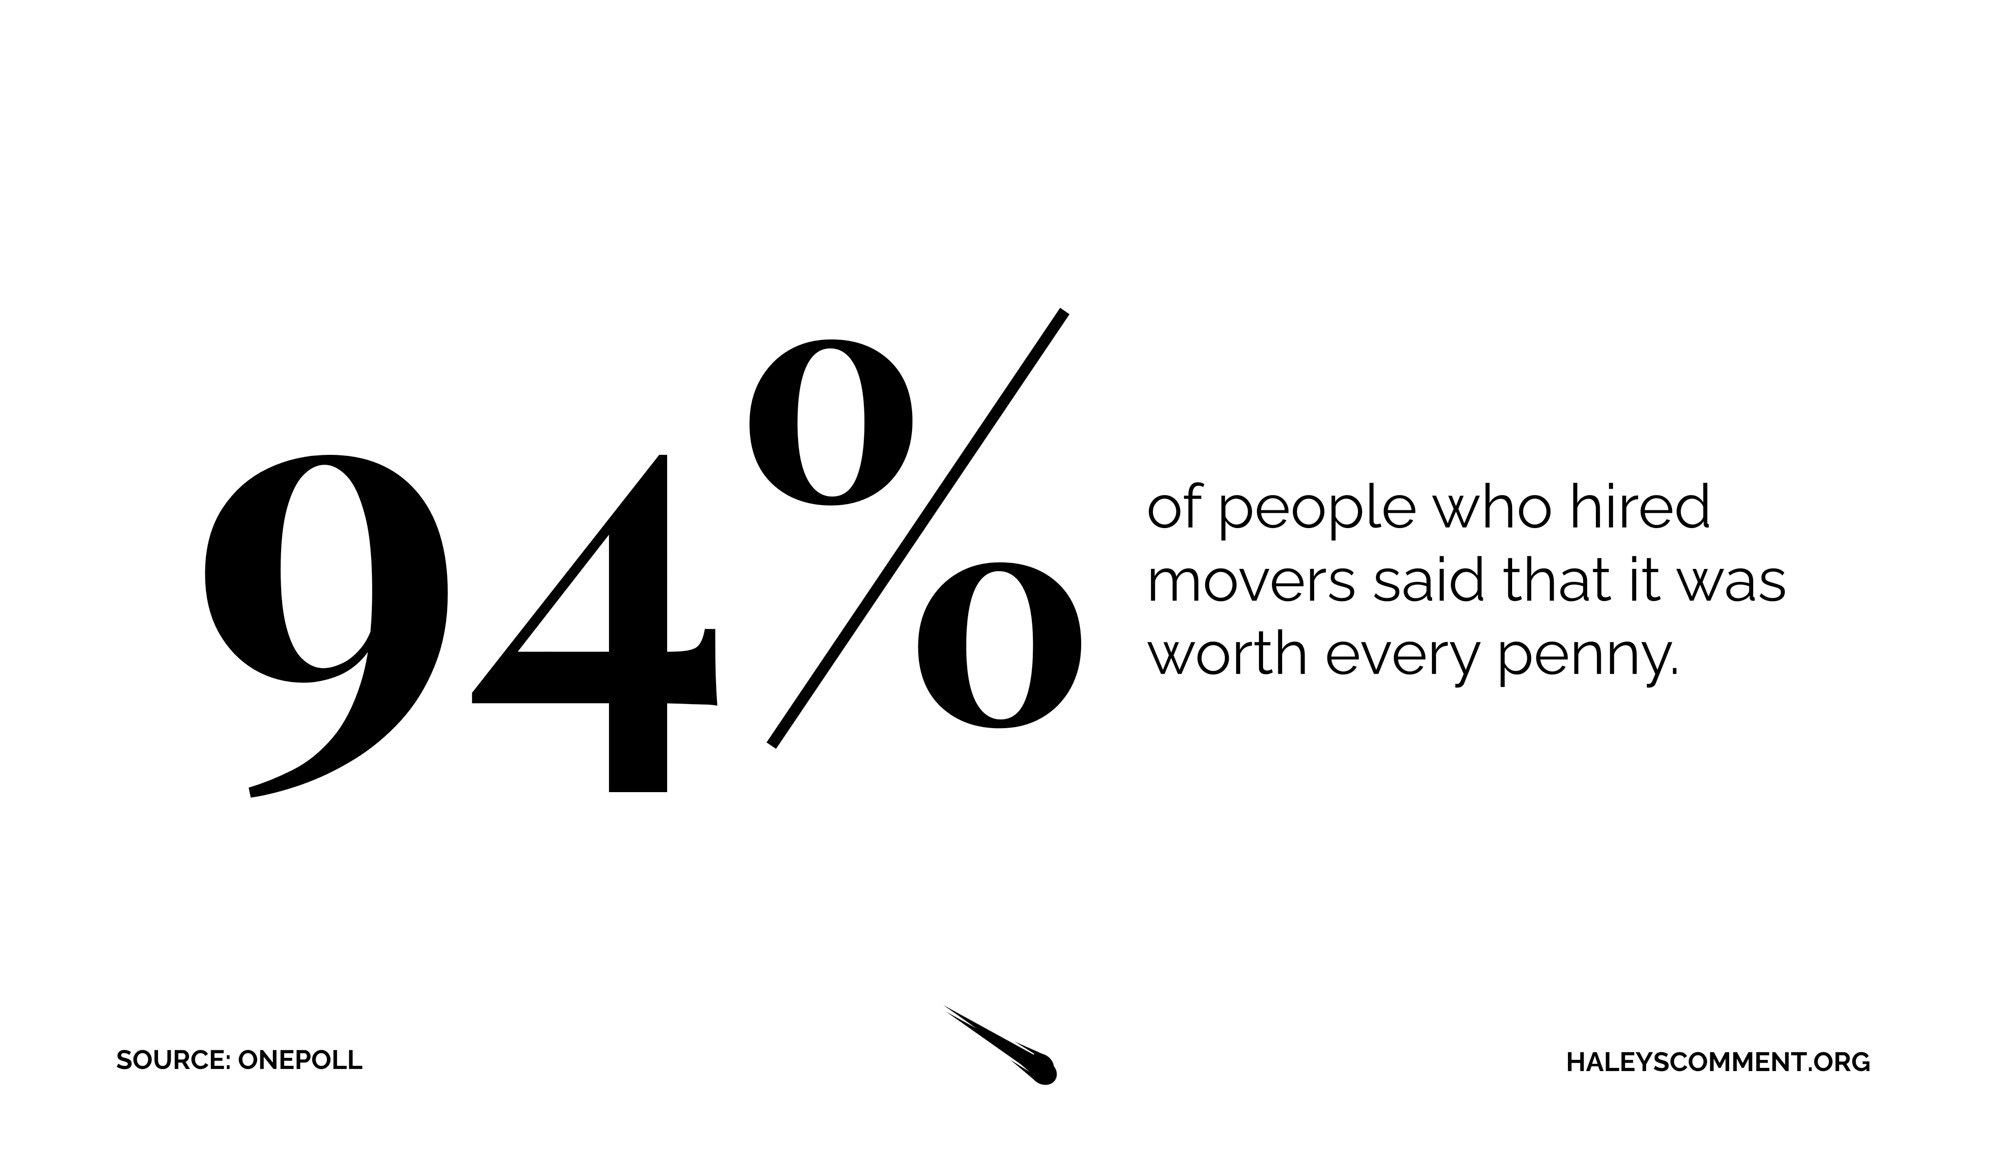
In OnePoll’s study, 94% of people who hired movers said that it was worth every penny. That’s a pretty high percentage!
In the past, when I’ve considered hiring movers, it felt like a very big, scary, expensive thing. When you’re already spending a lot of money on the move, it feels like the one thing you can save on and just do yourself.
However, in addition to being money well-spent, hiring movers can be as partial or comprehensive as you like! After moving into our third-floor apartment, we acquired a table that is so heavy we decided we’d either need to retire there or hire someone to help us move it.
For our recent move, we decided to hire movers to move just our furniture (including said table), and it was surprisingly affordable. Plus, they didn’t damage a single thing! Our only regret was not having them move all of our stuff, as our U-Haul box operation was harder than we had anticipated. If you’re looking for more support, many moving companies can also help with providing supplies and packing your things.
It’s important to check reviews (our movers were recommended by a friend), but there are dozens of moving companies that offer a range of services, depending on what you’re looking for and your budget. For many companies, you can either call or submit a form online for a free quote. So, if you’re feeling stressed about how you’re going to transport your stuff, at least look into whether hiring movers could make sense for you.
3. Plan Self-Care
Finally, it’s important to plan out some time for self-care. When you’re dealing with a move, you need to be careful that you don’t burn yourself out.
Some self-care reminders/tips:
- Drink water
- Get enough sleep
- Get some fresh air/exercise
- Take a few minutes to do something you love
- Eat something delicious
- Plan a date night or hang out with friends
- Lean on the people closest to you for support
- Reward yourself when you complete tasks on your moving-out checklist
Taking time for self-care will help you be happier and more productive as you plan your move.
Moving Out Checklist
Now that we’ve touched on general tips, let’s talk about a moving out checklist. I did some initial research on this, and was overwhelmed by the sheer amount of information on the internet. There are so many different kinds of checklists. Some are intensely detailed, focused on supplies you need for your home or a list of things to clean, and some are more general.
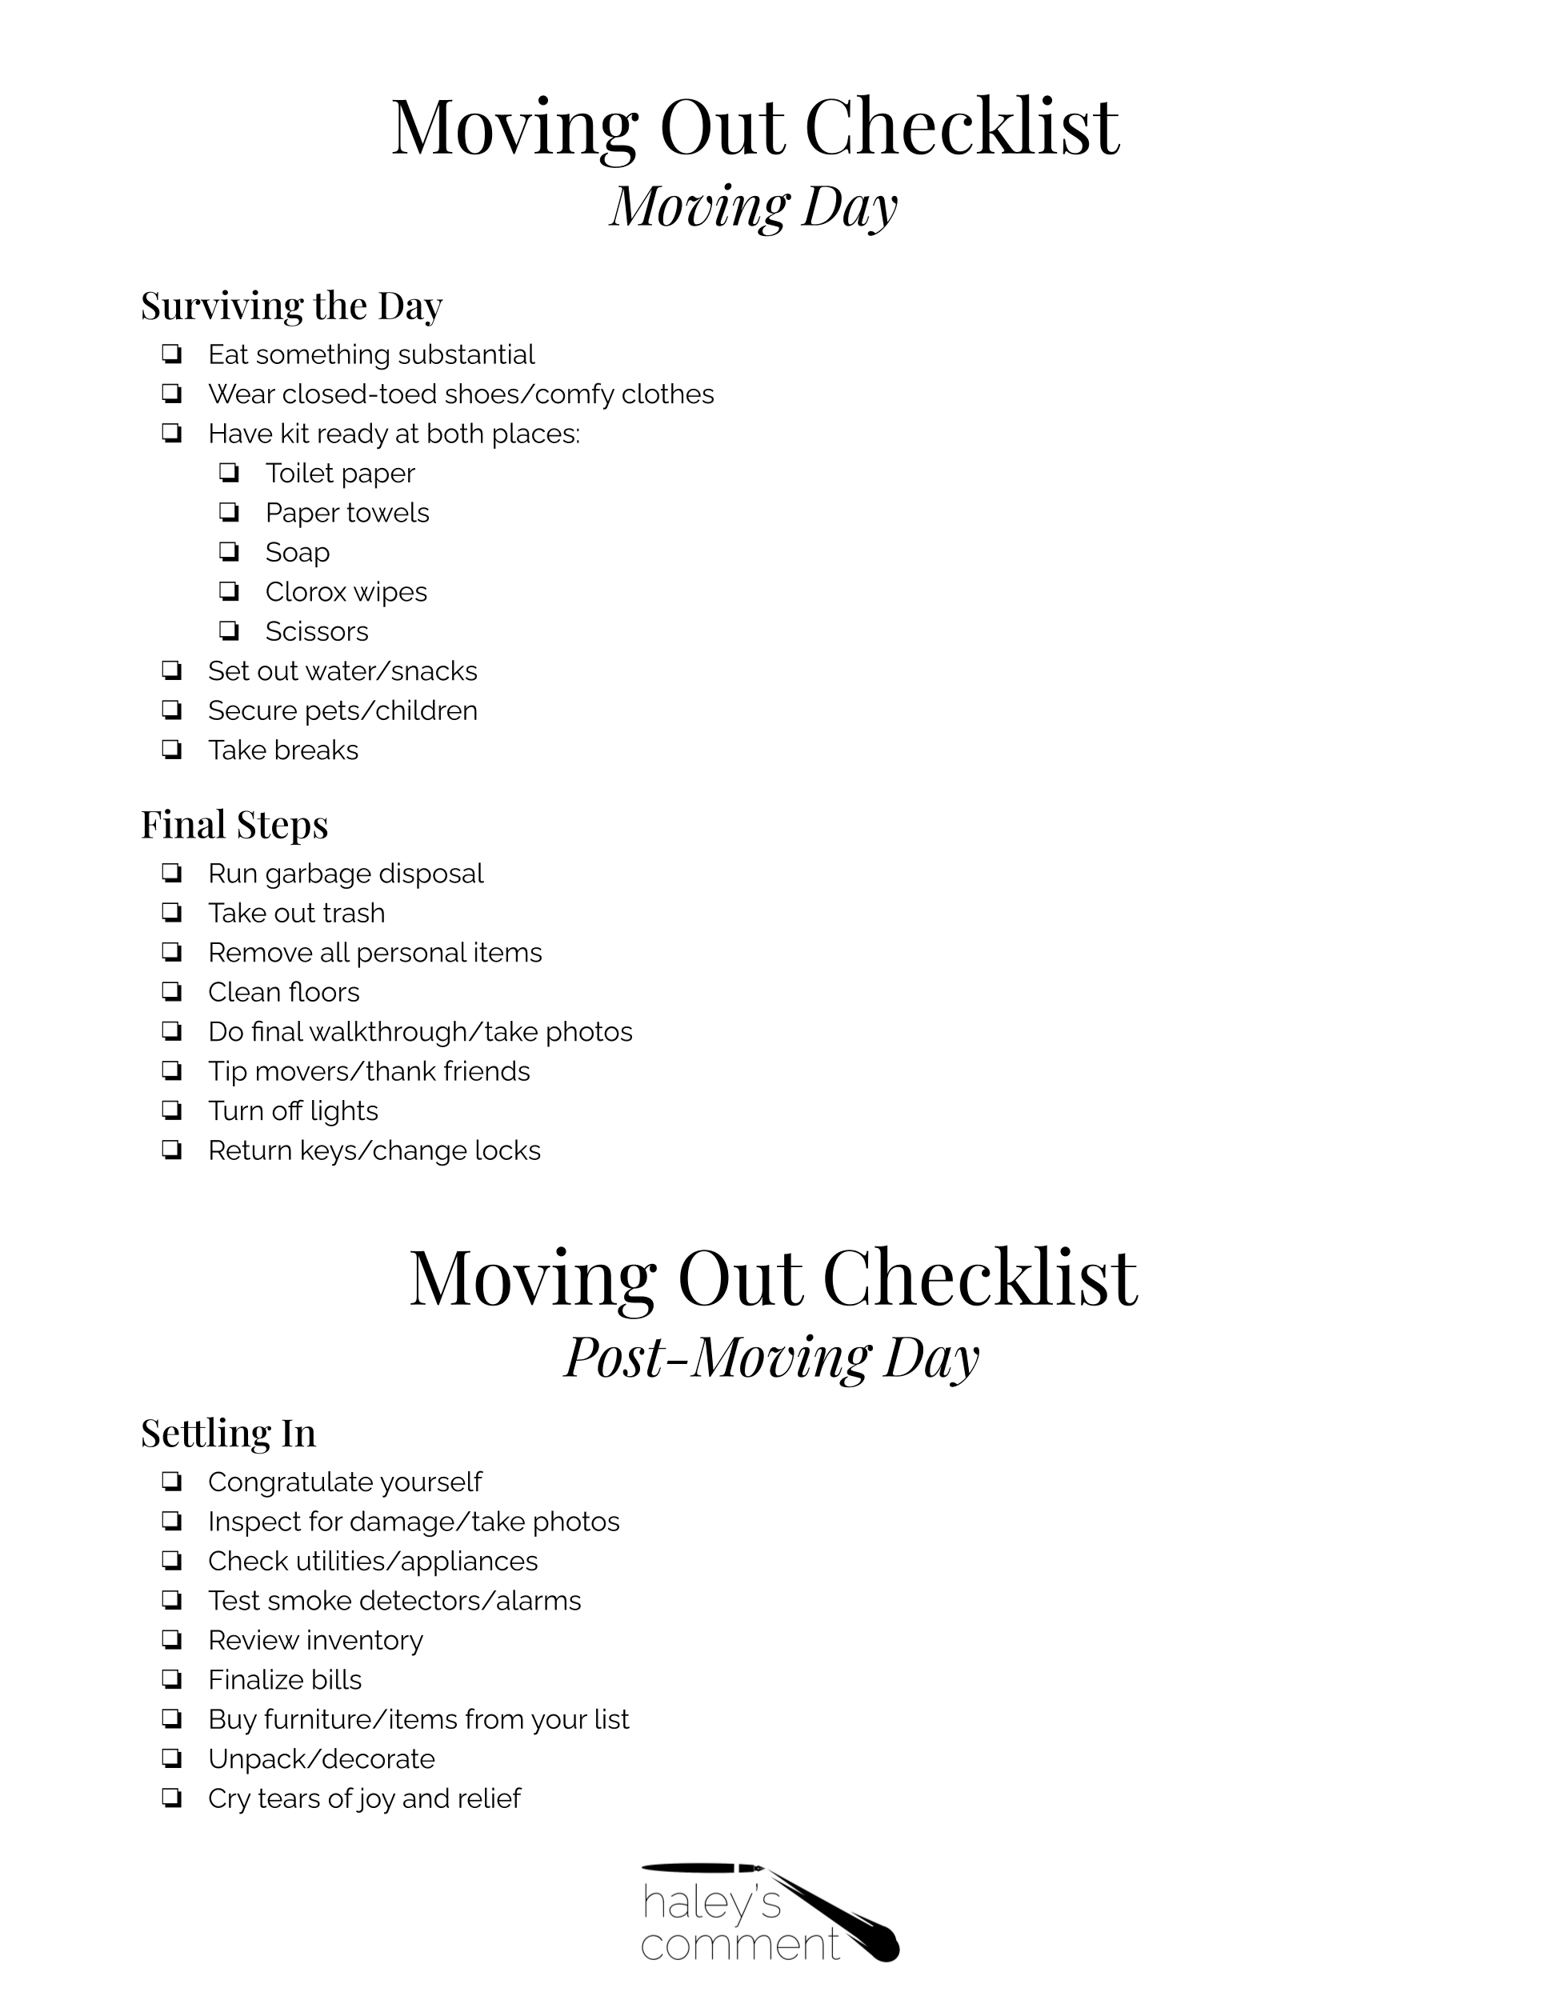
My goal here is to give you a high-level but comprehensive checklist that covers everything in the moving process, including before, during, and after you move. I hope this will help you stay organized without overwhelming you! You can download the complete printable checklist, and I’ll go into more detail for each section below.
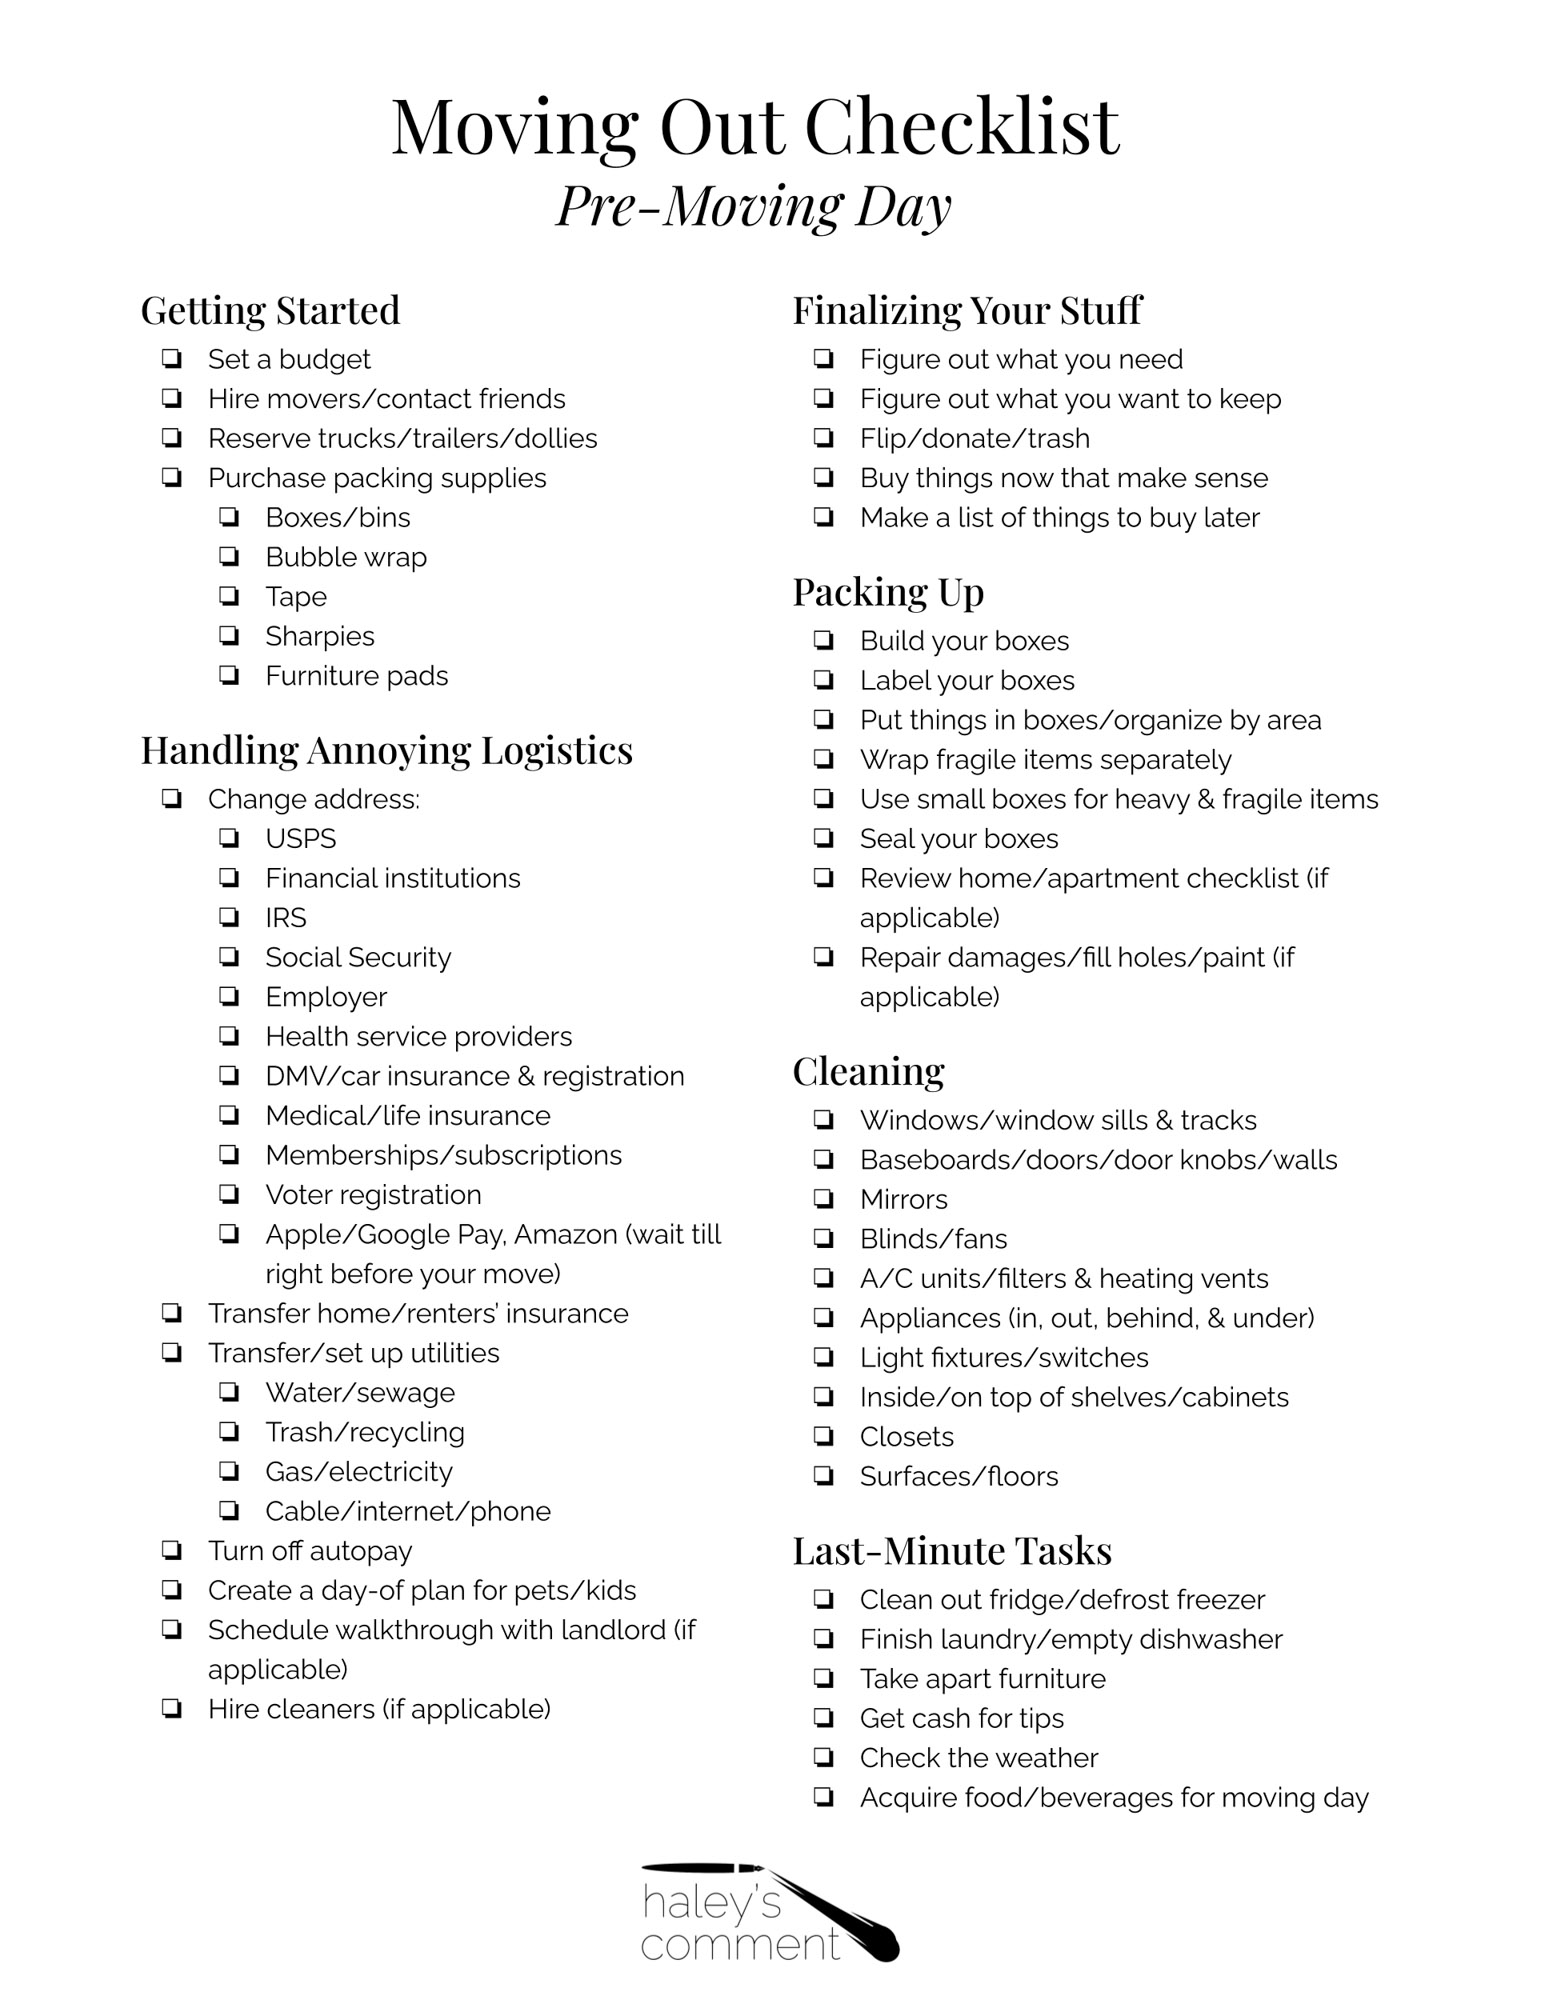
Moving Out Checklist: Pre-Moving Day
Once you’ve found your new home and have decided to move out, the number of tasks can feel overwhelming. Additionally, moving timeframes vary a lot. My husband and I decided to spontaneously move, which gave us only three weeks to plan and pack.
When I began researching all the things I needed to accomplish before moving day, I was intimidated by the number of timelines and deadlines with tasks supposed to be completed one or two months out, which at that point was physically impossible.
It is easier to move with a longer window, but it’s absolutely possible to do it in less time! So if you don’t have the luxury of extra time, ignore the recommended timelines and just focus on accomplishing the things you need to leading up to moving day.
Getting Started
Getting started is always the hardest part. But to get the moving wheels in motion, there are a few key things you can do that are actually not too labor-intensive.
Set a budget
As I mentioned earlier, creating a budget is key to managing stress. Although it will likely feel intimidating, just sit down and create an Excel spreadsheet or Google sheet. Enter all your known expenses, and put down estimates for your future expenses.
This might be painful initially, but it will make your costs less nebulous and scary. Don’t forget to include things like security deposits, final utility bills, possible charges for repairs/cleaning, moving supplies (boxes are surprisingly expensive), new furniture, truck rentals, and hiring a moving company.
When in doubt, estimate high on these numbers. That way, you’re prepared for the worst, and coming in under budget will feel like a victory. Also, this can help you to prioritize your costs. For example, if you don’t have enough money for new furniture, you could wait on investing in that for a while, or purchase it in stages.
Additionally, you’ll have the opportunity to negate some of these costs if you’re interested in flipping any of your stuff (because you are guaranteed to get rid of things — more on that later).
Hire movers/contact friends
Once you have your rough budget, it’s time to figure out who is helping you move. I advised this earlier, but I want to re-emphasize that you at least consider hiring movers.
If your budget is really tight, you can rent a U-Haul and enlist friends and family. However, it could be that hiring someone to move even a small percentage of your stuff could save you a lot of stress and not be that expensive.
Either way, you need to identify the people who will help you move and be sure they are free and able to help. For friends and family, starting a group text with date and time is a good start, and you can add other details as you get them.
Reserve trucks/trailers/dollies
If you’re going the U-Haul route, you need to reserve the right size vehicle. U-Haul provides recommendations for sizing, but those recommendations are based on packing your stuff pretty tightly, so when in doubt, err on the side of bigger.
Also, if you don’t own carts or dollies, you can add on rentals for a small fee. When moving, wheels are your friend! As someone who has helped other people move, in addition to the actual function of wheels, I consider them morale boosters that make the moving process a lot more enjoyable.
Purchase packing supplies
You’ll also need to purchase packing supplies: boxes/bins, bubble wrap, tape, sharpies, and furniture pads. We got most of our packing supplies at Home Depot (not sponsored but might as well be).
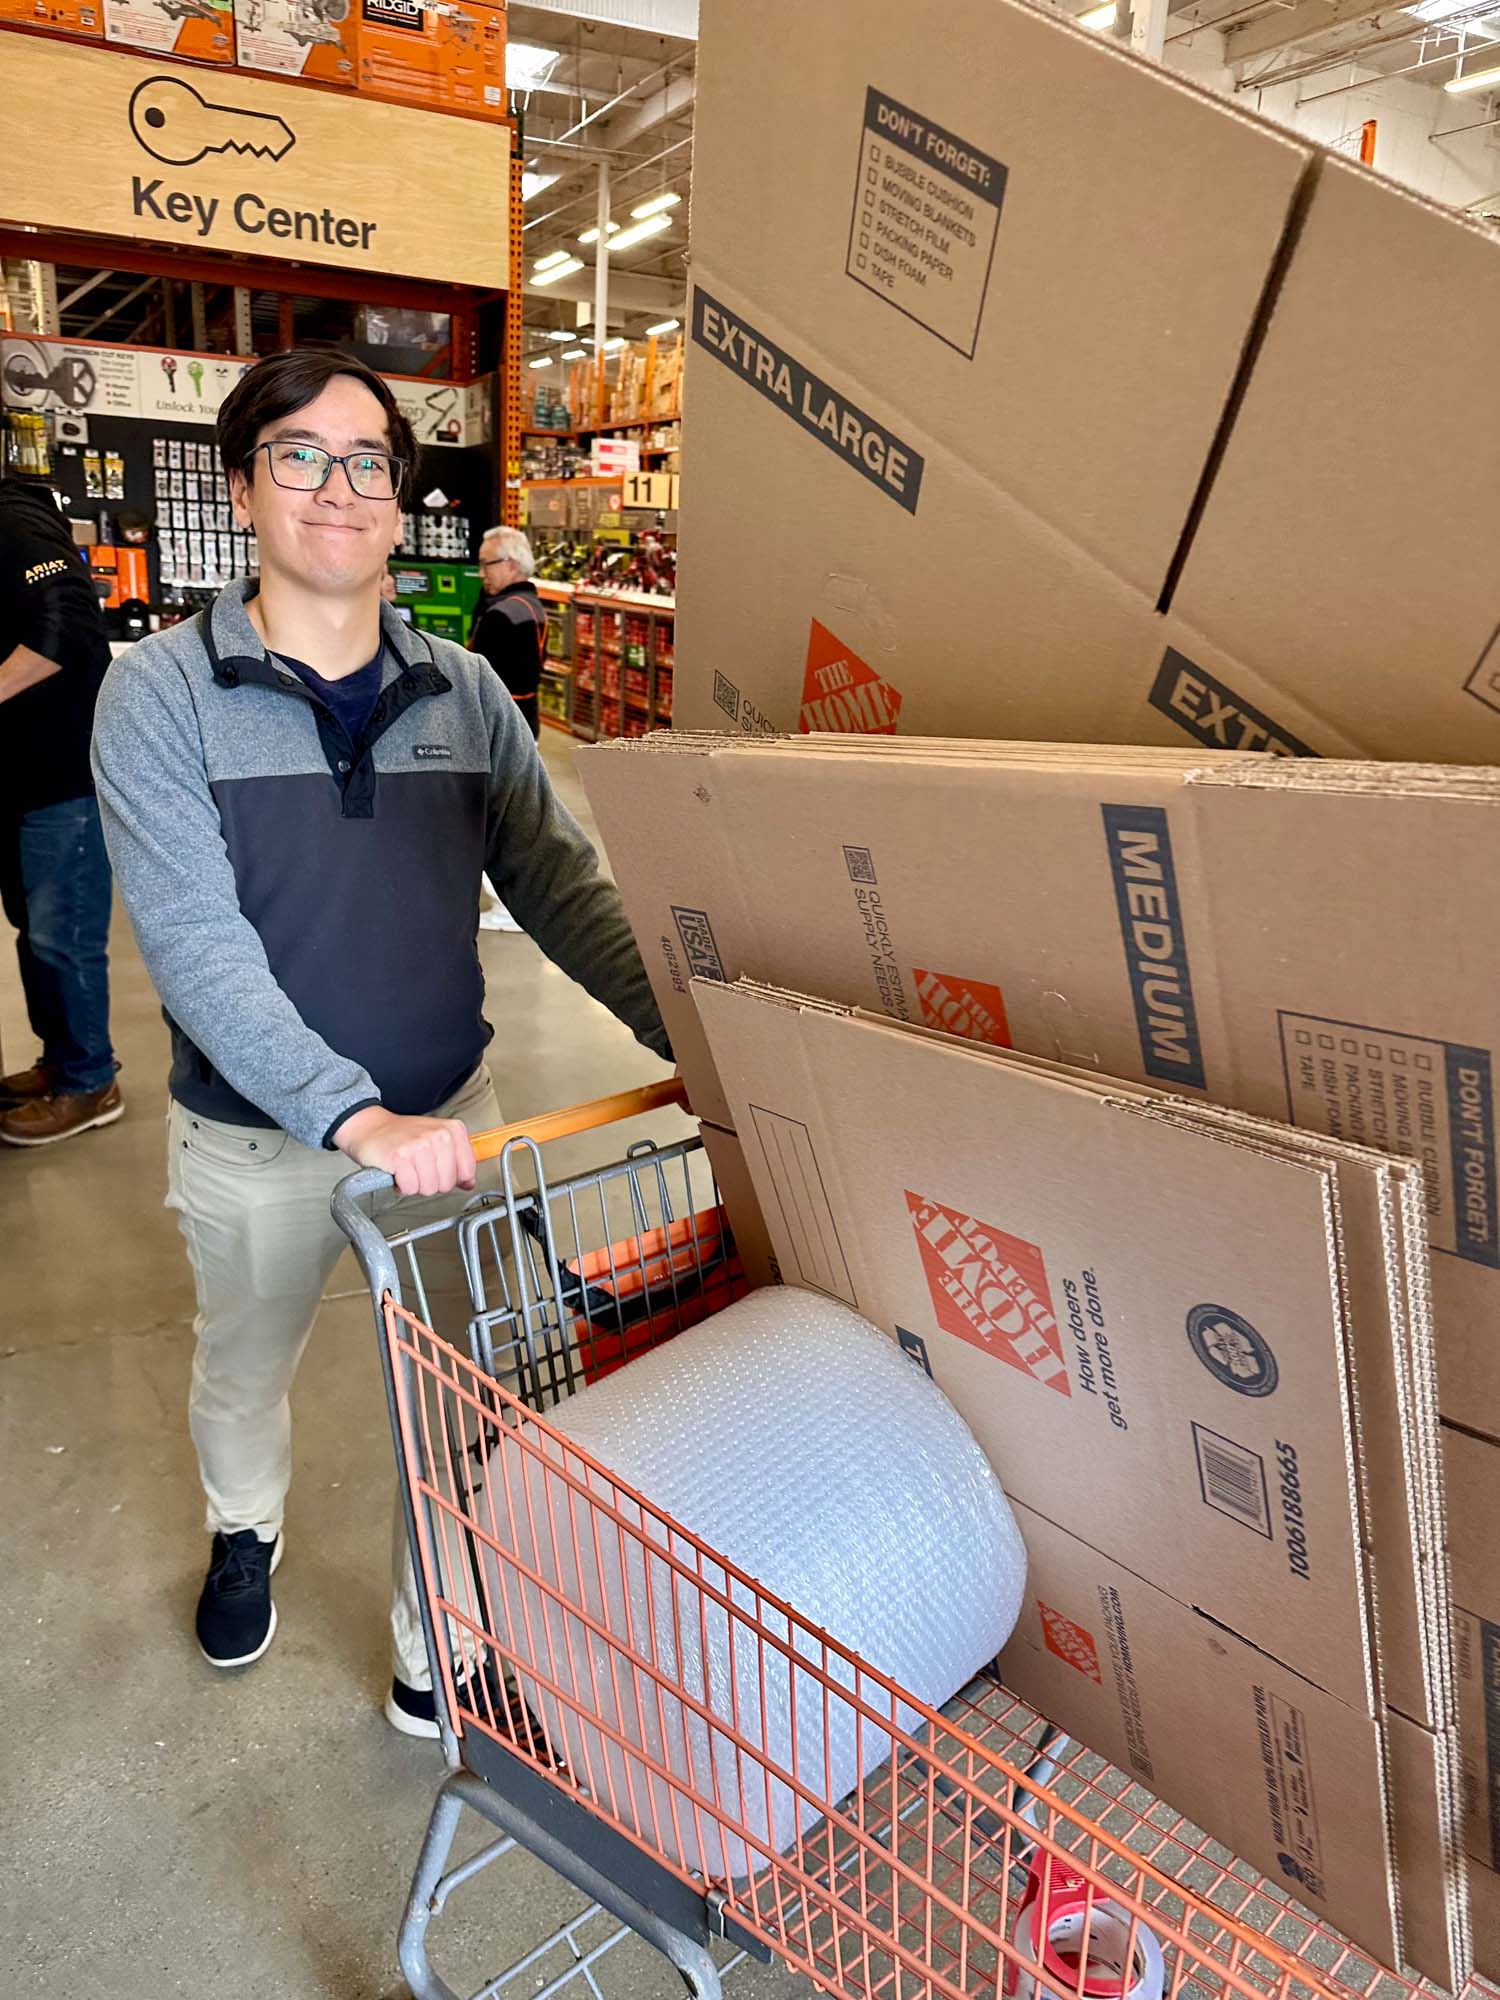
You’ll likely need more than you think, but it’s surprisingly hard to estimate. We asked ChatGPT how many boxes we needed. It sounded like a lot, so we didn’t listen, but then we ran out and had to keep going back to the store.
It’s impossible to estimate it perfectly. Just take the pressure off and accept that you will probably end up making multiple trips for more supplies, and that’s perfectly ok!
Handling Annoying Logistics
My absolute least favorite part of moving is that there are so many annoying logistics. I actually discovered that labeling them “annoying logistics” significantly improved my mood.
Something that’s stressful about these logistics is if you look up “How far ahead of time do I need to change my address?” you get a ton of unhelpful deadlines that may not be feasible for you (e.g., “to ensure uninterrupted service, do this at least 3 weeks in advance). While yes, it’s ideal to change your address ahead of time, odds are that at least some of your mail will end up needing to be forwarded anyway.
My recommendation: as soon as you can, take a look at the list of logistics and see if there’s anything that pops out at you. Ideally, all of these things should be completed before your move, but many of them don’t have to happen months or weeks ahead of time.
I’ve only moved a couple of times, but both times I procrastinated on setting up utilities/insurance and changing my address, and was able to get it done very quickly. There are no guarantees, but people move on short notice all the time, and they get it figured out. So if you also waited too long to set something up and are sweating it, don’t panic.
Change address
There are, unfortunately, a LOT of places you need to change your address. Most importantly, start by filing a change of address with USPS. It’s also good to prioritize financial institutions and government agencies, since you don’t want your personal information in the wrong hands.
This is a high-level but fairly complete list of where you need to change your address:
- USPS
- Financial institutions
- IRS
- Social Security
- Employer
- Health service providers
- DMV/car insurance & registration
- Medical/life insurance
- Memberships/subscriptions
- Voter registration
- Apple/Google Pay, Amazon (wait till right before your move)
Transfer home/renters’ insurance
You’ll also need to transfer your home or renters’ insurance. We use Lemonade for our renters’ insurance. It’s a great platform, and we’ve always been able to get our info updated quickly and easily.
Transfer/set up utilities
In advance of your move, you’ll also need to transfer or set up utilities. This includes:
- Water/sewage
- Trash/recycling
- Gas/electricity
- Cable/internet/phone
Also, if you are currently renting and use autopay, don’t forget to turn it off!
Create a day-of plan for pets/kids
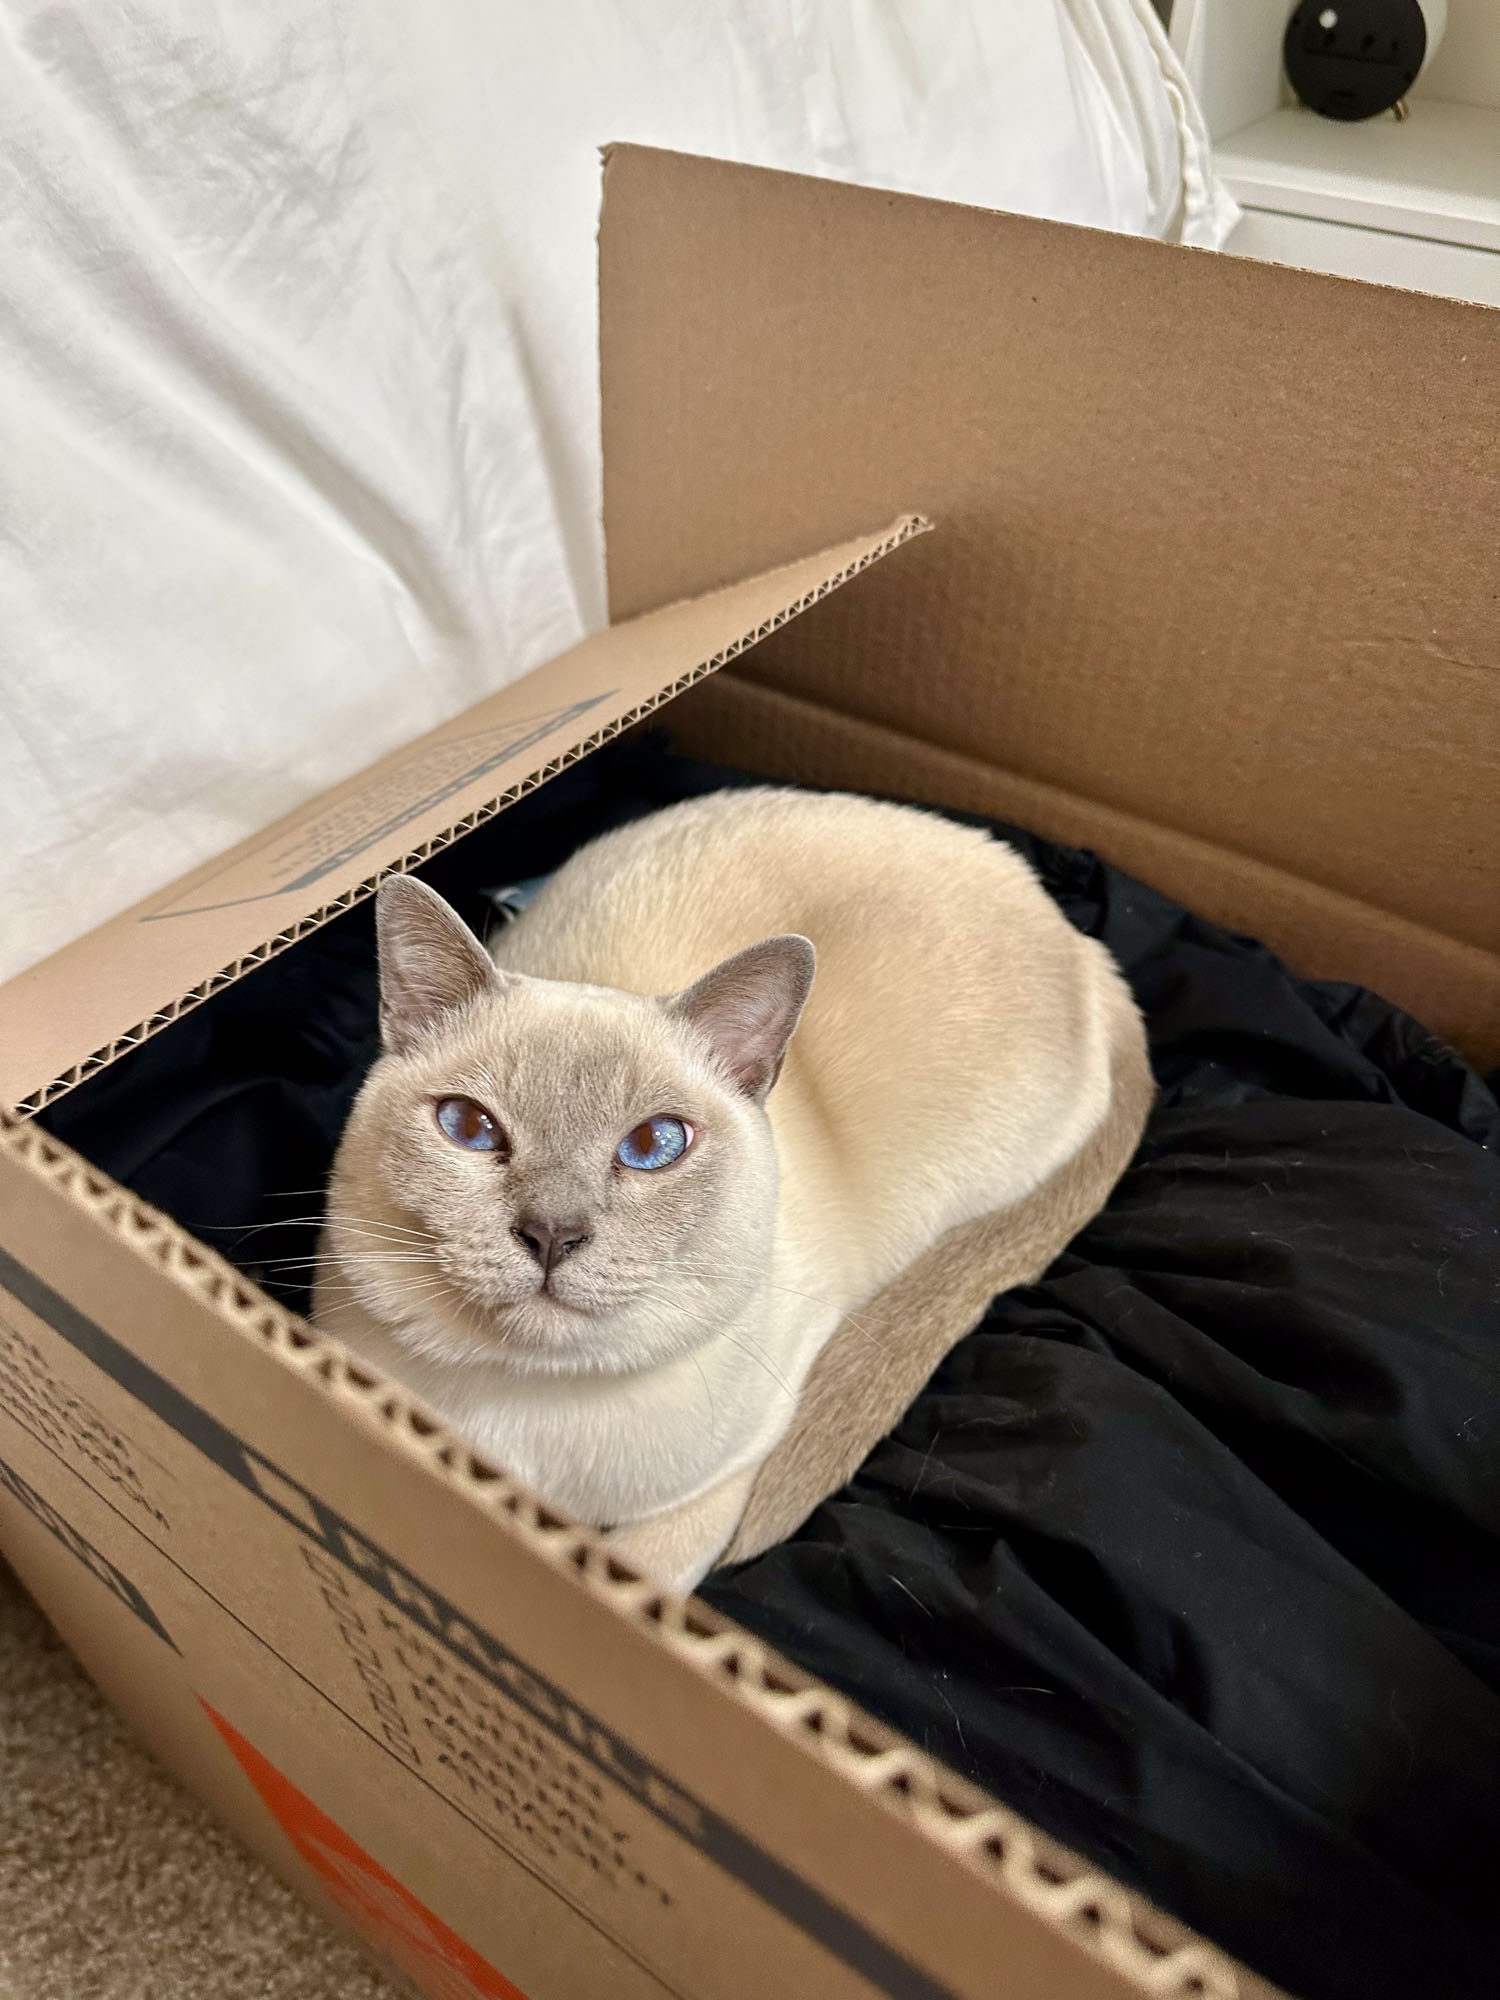
What I wish someone had told me: moving with a cat is 10x harder than moving without. I can’t imagine how hard moving with kids must be! If you have pets and/or kids, be sure to create a day-of plan for a) where they will be b) who will be watching them and c) what supplies they need. Having a plan will help minimize everyone’s stress and make moving day more enjoyable.
Schedule walkthrough with landlord (if applicable)
If you are currently renting and need to schedule a walkthrough with your landlord, be sure to do this. You may want to allow enough time for extra cleaning and repairs, depending on the condition of your home.
Hire cleaners (if applicable)
Leaving an old space generally requires a good amount of cleaning, whether you’re selling a home you purchased or leaving a rental. Particularly with apartments, rental properties can be demanding in terms of required cleaning, and they dangle your security deposit like a carrot.
In my experience, the amount of cleaning energy you put in doesn’t make a huge deal of difference, unless you leave it drastically dirty.
We did our best to clean our old apartment ourselves, but chose to not agonize over it because I’ve done that before and gotten charged anyway. My advice: assume your security deposit is gone, and if you get any money back consider it a win.
You can hire cleaners if it helps minimize your stress, but you should be very confident in their abilities to deep clean, including all of your appliances. Keep in mind that if they don’t do a thorough job, then you’ll be on the hook to pay them as well as your landlord. If you were given a cleaning checklist, review it with them and verify they can meet the expectations, and then do a walkthrough when they’re done.
Finalizing Your Stuff
Once you’ve got the big planning steps on the checklist down, you need to finalize your stuff!
Figure out what you need
Often, when you’re moving to a new space, your needs change — furniture, storage, appliances, and decor.
If you’re downsizing, you will probably need to get rid of a few things. If you’re moving to a larger space, you may need to purchase more.
Since moving is expensive, acquiring additional stuff can be stressful. However, you don’t have to buy it all at once. Create a spreadsheet (this can be a part of your budget spreadsheet) and write down all the things you think you’ll need, along with cost estimates.
Figure out what you want to keep
Whether you’re needing to acquire more stuff or downsize, either way you will probably have a lot of stuff to get rid of.
In my opinion, this is what makes moving so stressful. Americans have a lot of stuff, and it accumulates year after year.
Moving is the perfect time to do an inventory of what you want to keep vs. get rid of, but it can be difficult. Ideally, you would do this inventory in advance of starting the actual packing process, but I’ve found that idealistic and impractical.
Often, when you start boxing stuff is when you realize you don’t love it enough to move it, or you don’t have room for it. So do what you can in advance, but also feel free to continue your inventory review as you start packing.
Flip/donate/trash
If you have time on your hands and things to get rid of, it’s a great idea to flip as much as you can. It reduces waste and helps offset the cost of moving if you can find people who want your old stuff. Win win!

I’ve sold a few things on Facebook Marketplace, and here are my tips:
- Include multiple photos and angles of the product.
- Include links to and photos of original listings, including the price of a brand new item.
- Include as many details in the listing as you can, including the fact that your reason for selling is that you are moving.
- Sell for 50% of the original cost if in good condition, more if it’s in high demand, less if it’s not in good condition.
- Start the price higher and reduce it after a day or two if it doesn’t sell.
- Door pickup only — you do not have time to go and meet people, especially if they bail (which happens probably 20-40% of the time for me).
- When people message you, “Is this available?” reply right away asking if they’re interested, and follow up if they don’t respond within a couple of hours.
- Sell to the first person who can pick up.
At some point, you’ll pass the point when you have time and energy to sell your stuff, and will probably need to transition to donating it. We made multiple trips to Goodwill, even after selling quite a few things. Although donating is obviously not as financially advantageous as selling your things, it’s for a good cause and you can get a donation receipt for tax purposes. Some Goodwill locations will even take small furniture items, so check with your location to see what they will accept.
While we tried to donate as much as we could, unfortunately, moving does generate a crazy amount of trash/recycling. Although this is stressful, just accept it and ensure you’re disposing of things safely in the right places (batteries, light bulbs, appliances, etc.).
Buy things now that make sense
Especially if you’re moving to a larger space, it’s likely that you’ll have at least something to buy that you’ll need right away (e.g., a bed). If you’re like me, you like to have all your stuff in one place and ready to go. But if you buy a bunch of stuff right away, you’ll just have to move it — not time- or cost-effective.
Figure out what needs to be acquired by your move-in date and create a plan. For example, if you need a new mattress, can you have purchase that and have it delivered to your new address on the day you move in?
Sometimes, places will let you ship things before your move-in date, but check with your landlord or previous owners of your new home to see. Unfortunately, you will need to wait to purchase quite a few things until after you move in.
Make a list of things to buy later
If you can’t buy it right away, write it down and decide when you will purchase it. For example, I bought some chairs on Amazon a day or two before our move-in date and they were delivered on our moving day. Just be warned that sometimes deliveries can arrive early, so if that’s not an option for you, don’t order anything that could show up too soon.
Packing Up
Once you have a rough idea of what stuff you’re dealing with, it’s time to start on the packing section of your checklist!
Build your boxes
As mentioned earlier, you’ll likely need quite a few boxes. We also purchased a few clear bins from Home Depot that we are using as storage post-move, but we used boxes for the bulk of our stuff.
First, figure out how you want to build your boxes. You’ll need heavy-duty packing tape for this (and lots of it — we went through 8 or 10 rolls).
My husband and I had differing opinions on the amount of tape required, as well as the technique. We had a couple of boxes give out from the bottom, so we know what doesn’t work, although we may still differ on what is sufficient based on our respective comfort levels (ah, moving really is the height of domestic bliss).
I can tell you for sure that one piece of tape on the bottom is not enough. You need a minimum of two or three pieces, lengthwise. Additionally, your tape needs to come as far up the sides of your box as possible, at least halfway, to bear the weight (physics or something).
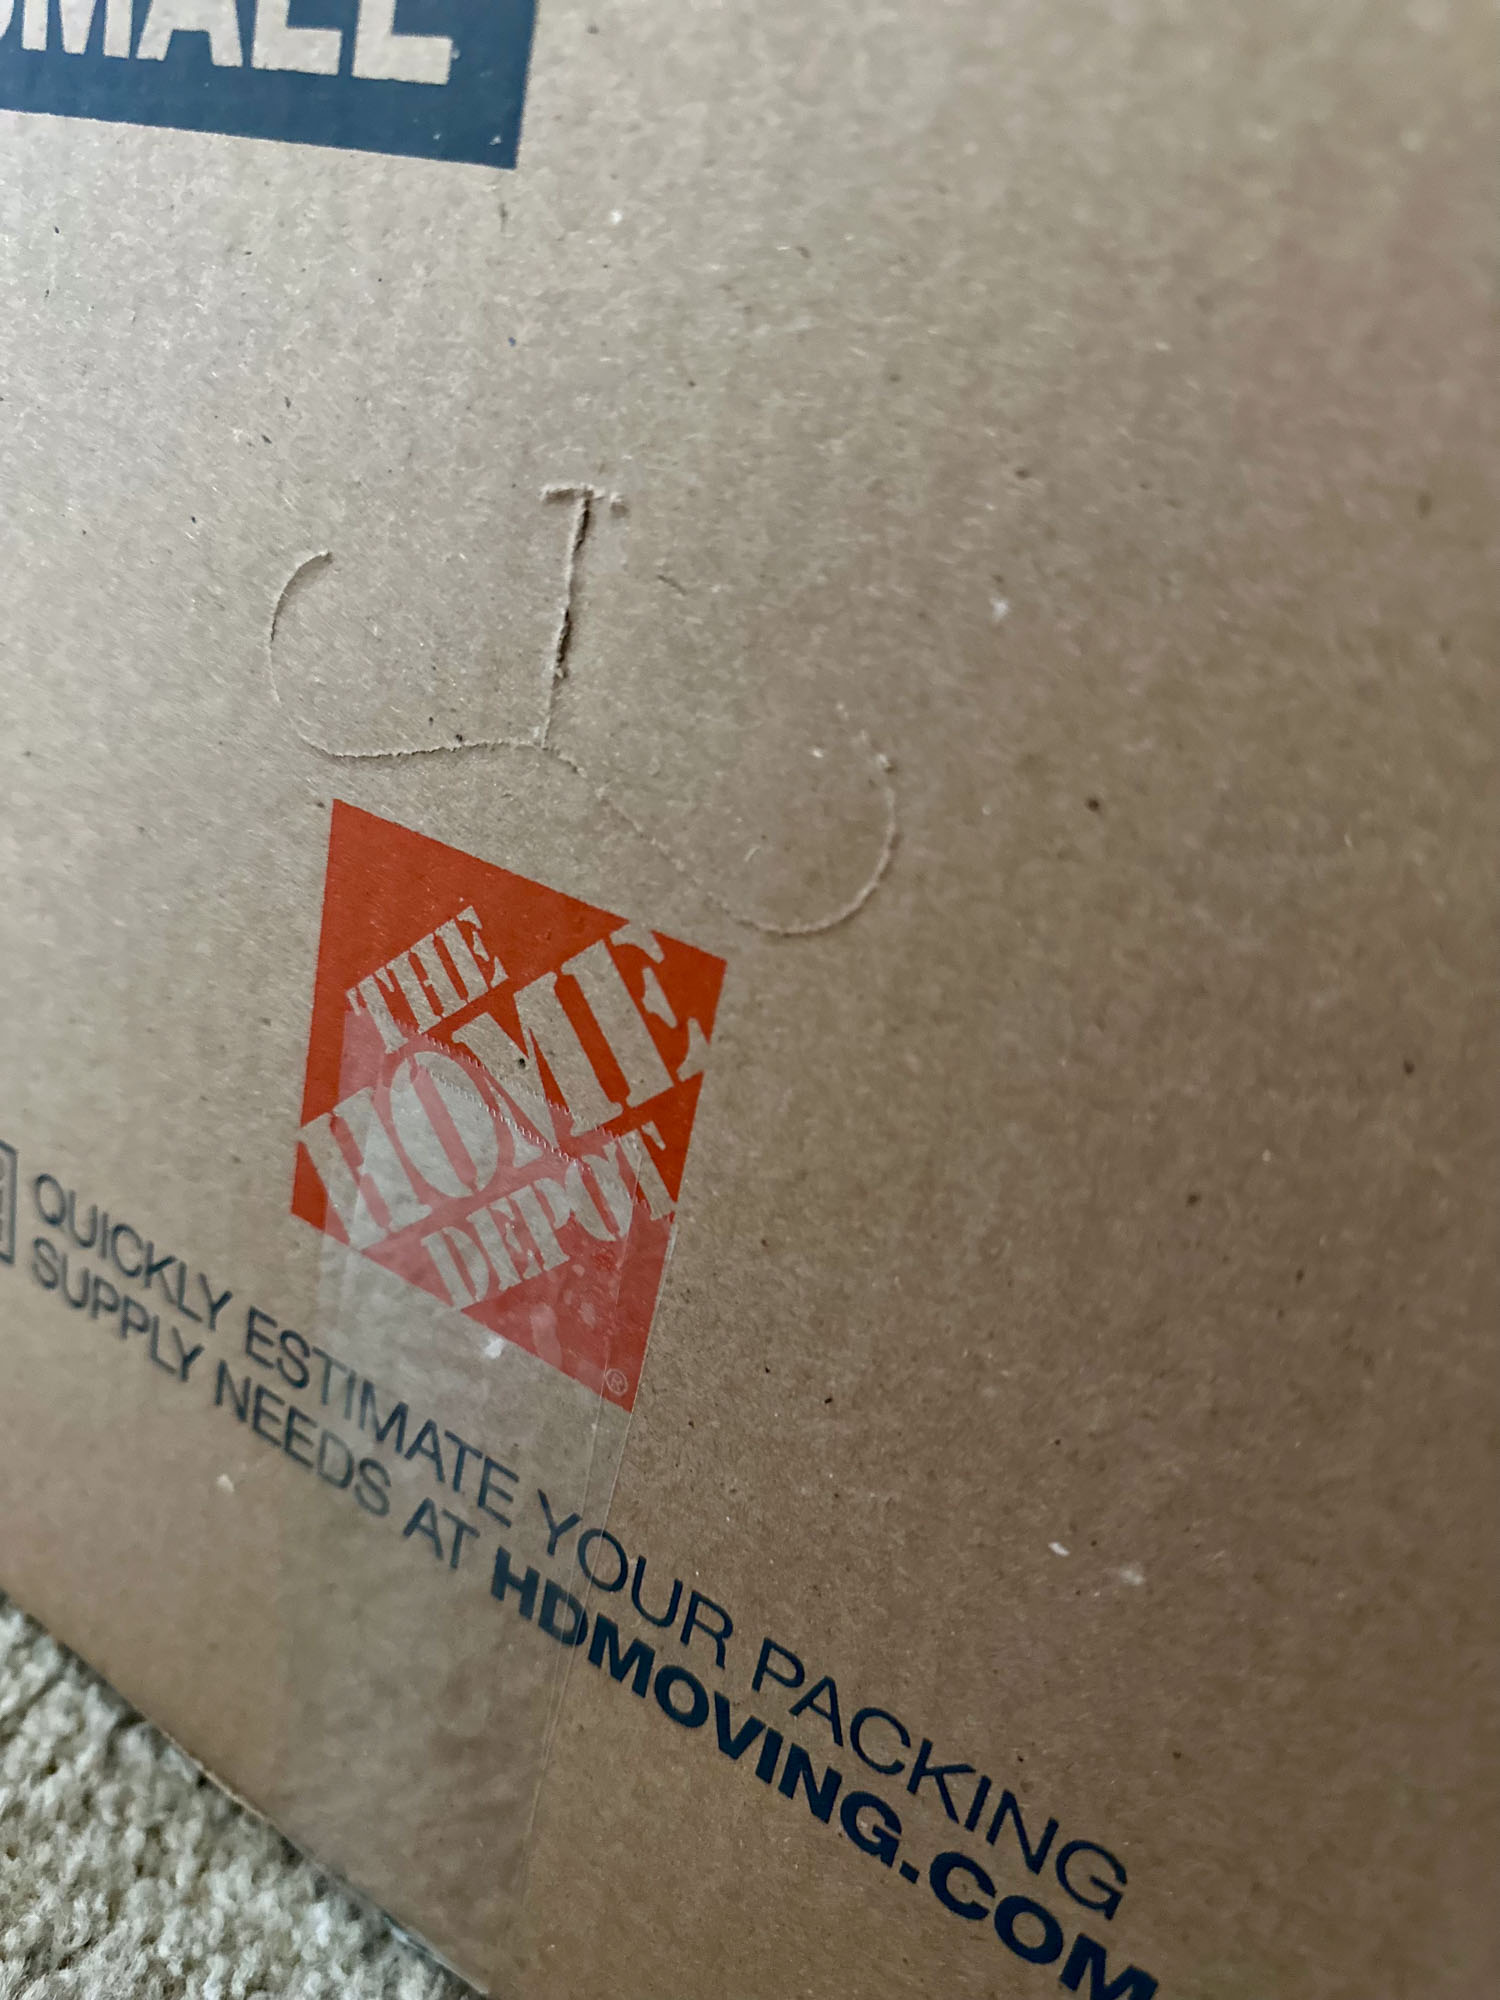
I also recommend an additional piece of tape crosswise across the middle of the bottom, and to be extra safe you could add other pieces along the seams. Technique is also very important here — you need to use your fingers to create a seal and ensure the tape has fully adhered to the box.
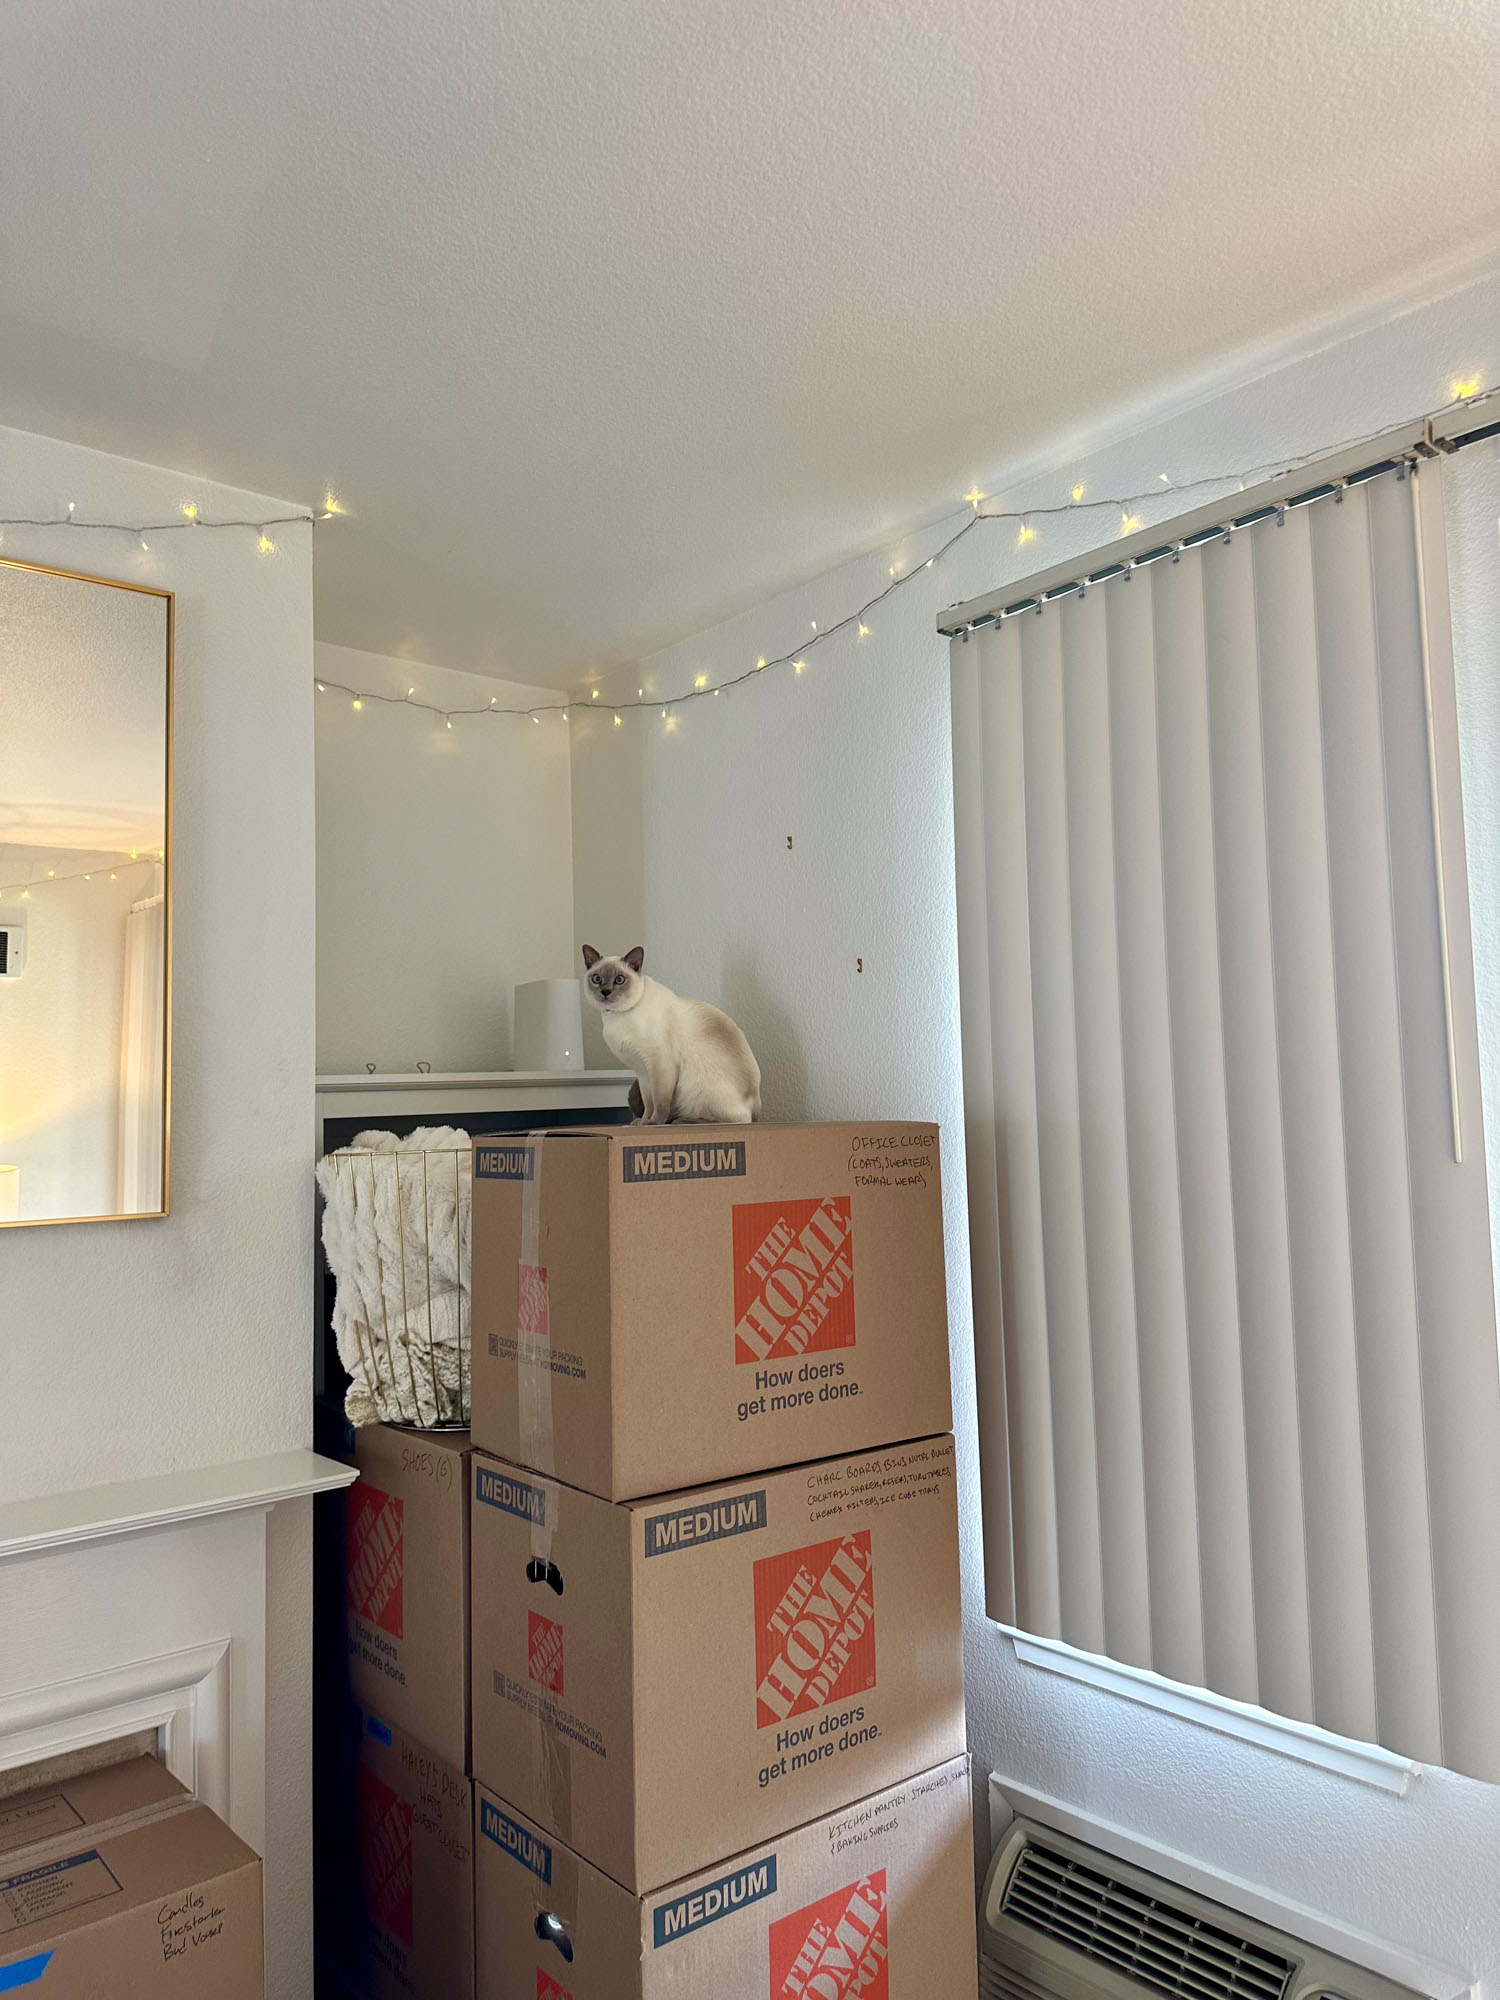
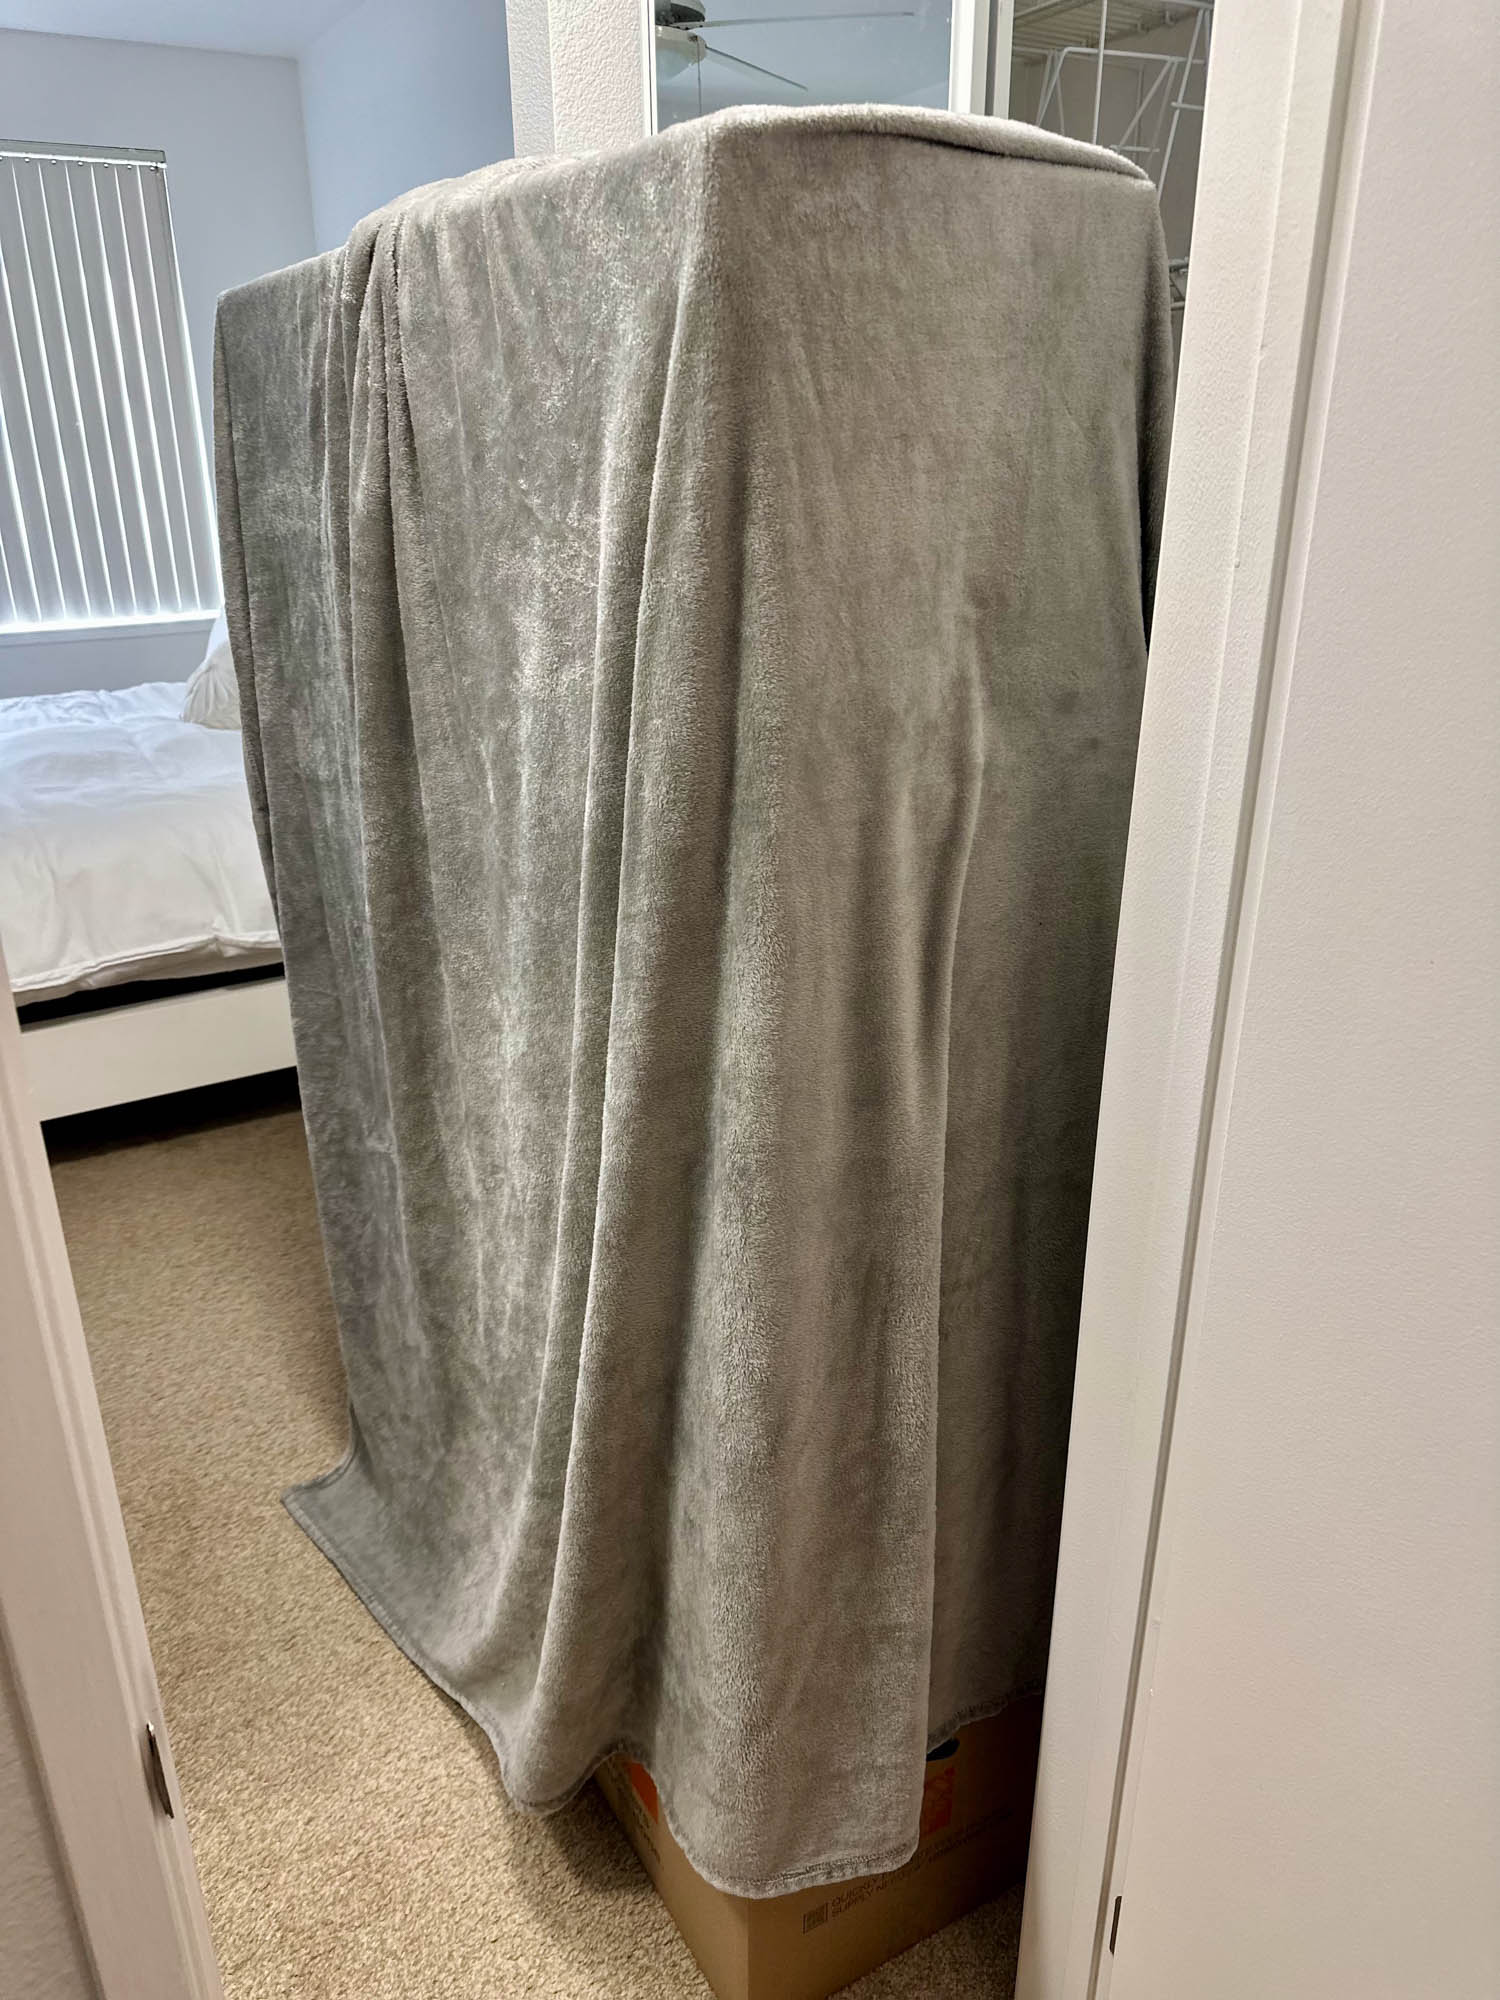
One additional hurdle that we faced was our cat decided that chewing the tape off our boxes was his preferred way to express his displeasure with our upcoming move. To prevent him from doing this, we had to cover our stacks of boxes with blankets. The unexpected joys of moving…
Label your boxes
Once you’ve built a few boxes, you also need to decide how to label them. This is a crucial part of moving. If you don’t do this correctly, you will end up very confused and frustrated, not knowing where anything is.
Actually, that happens no matter what you do when you move. But, a good box labeling system will help minimize this. These are some tips that I used in labeling our boxes for our recent move.
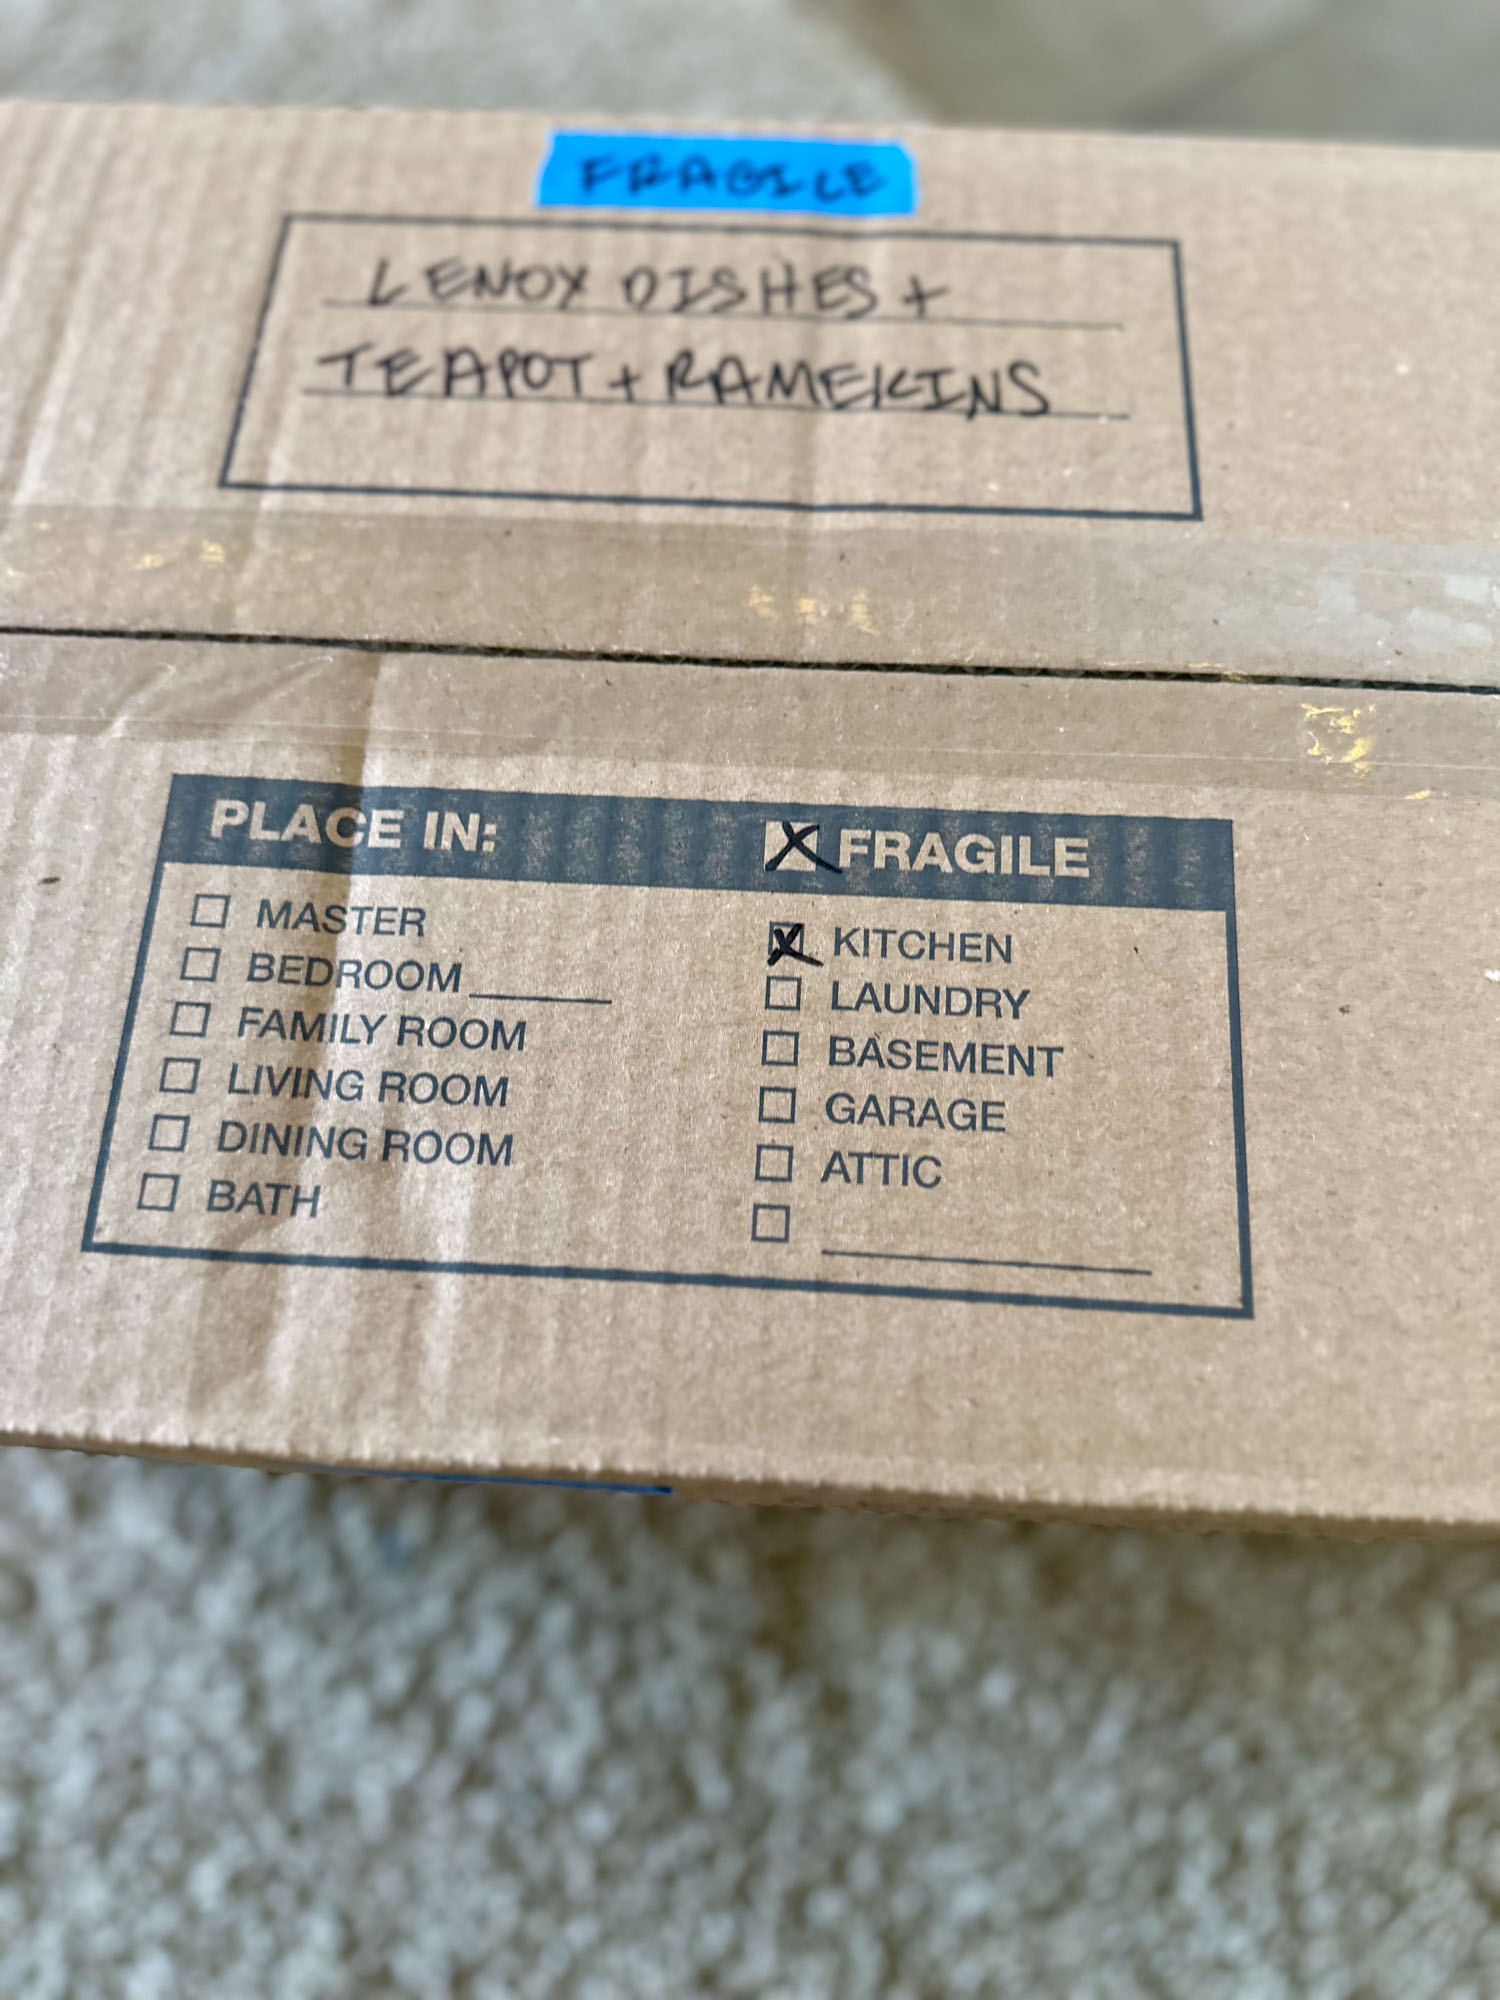
Label fragile boxes in a very obvious way
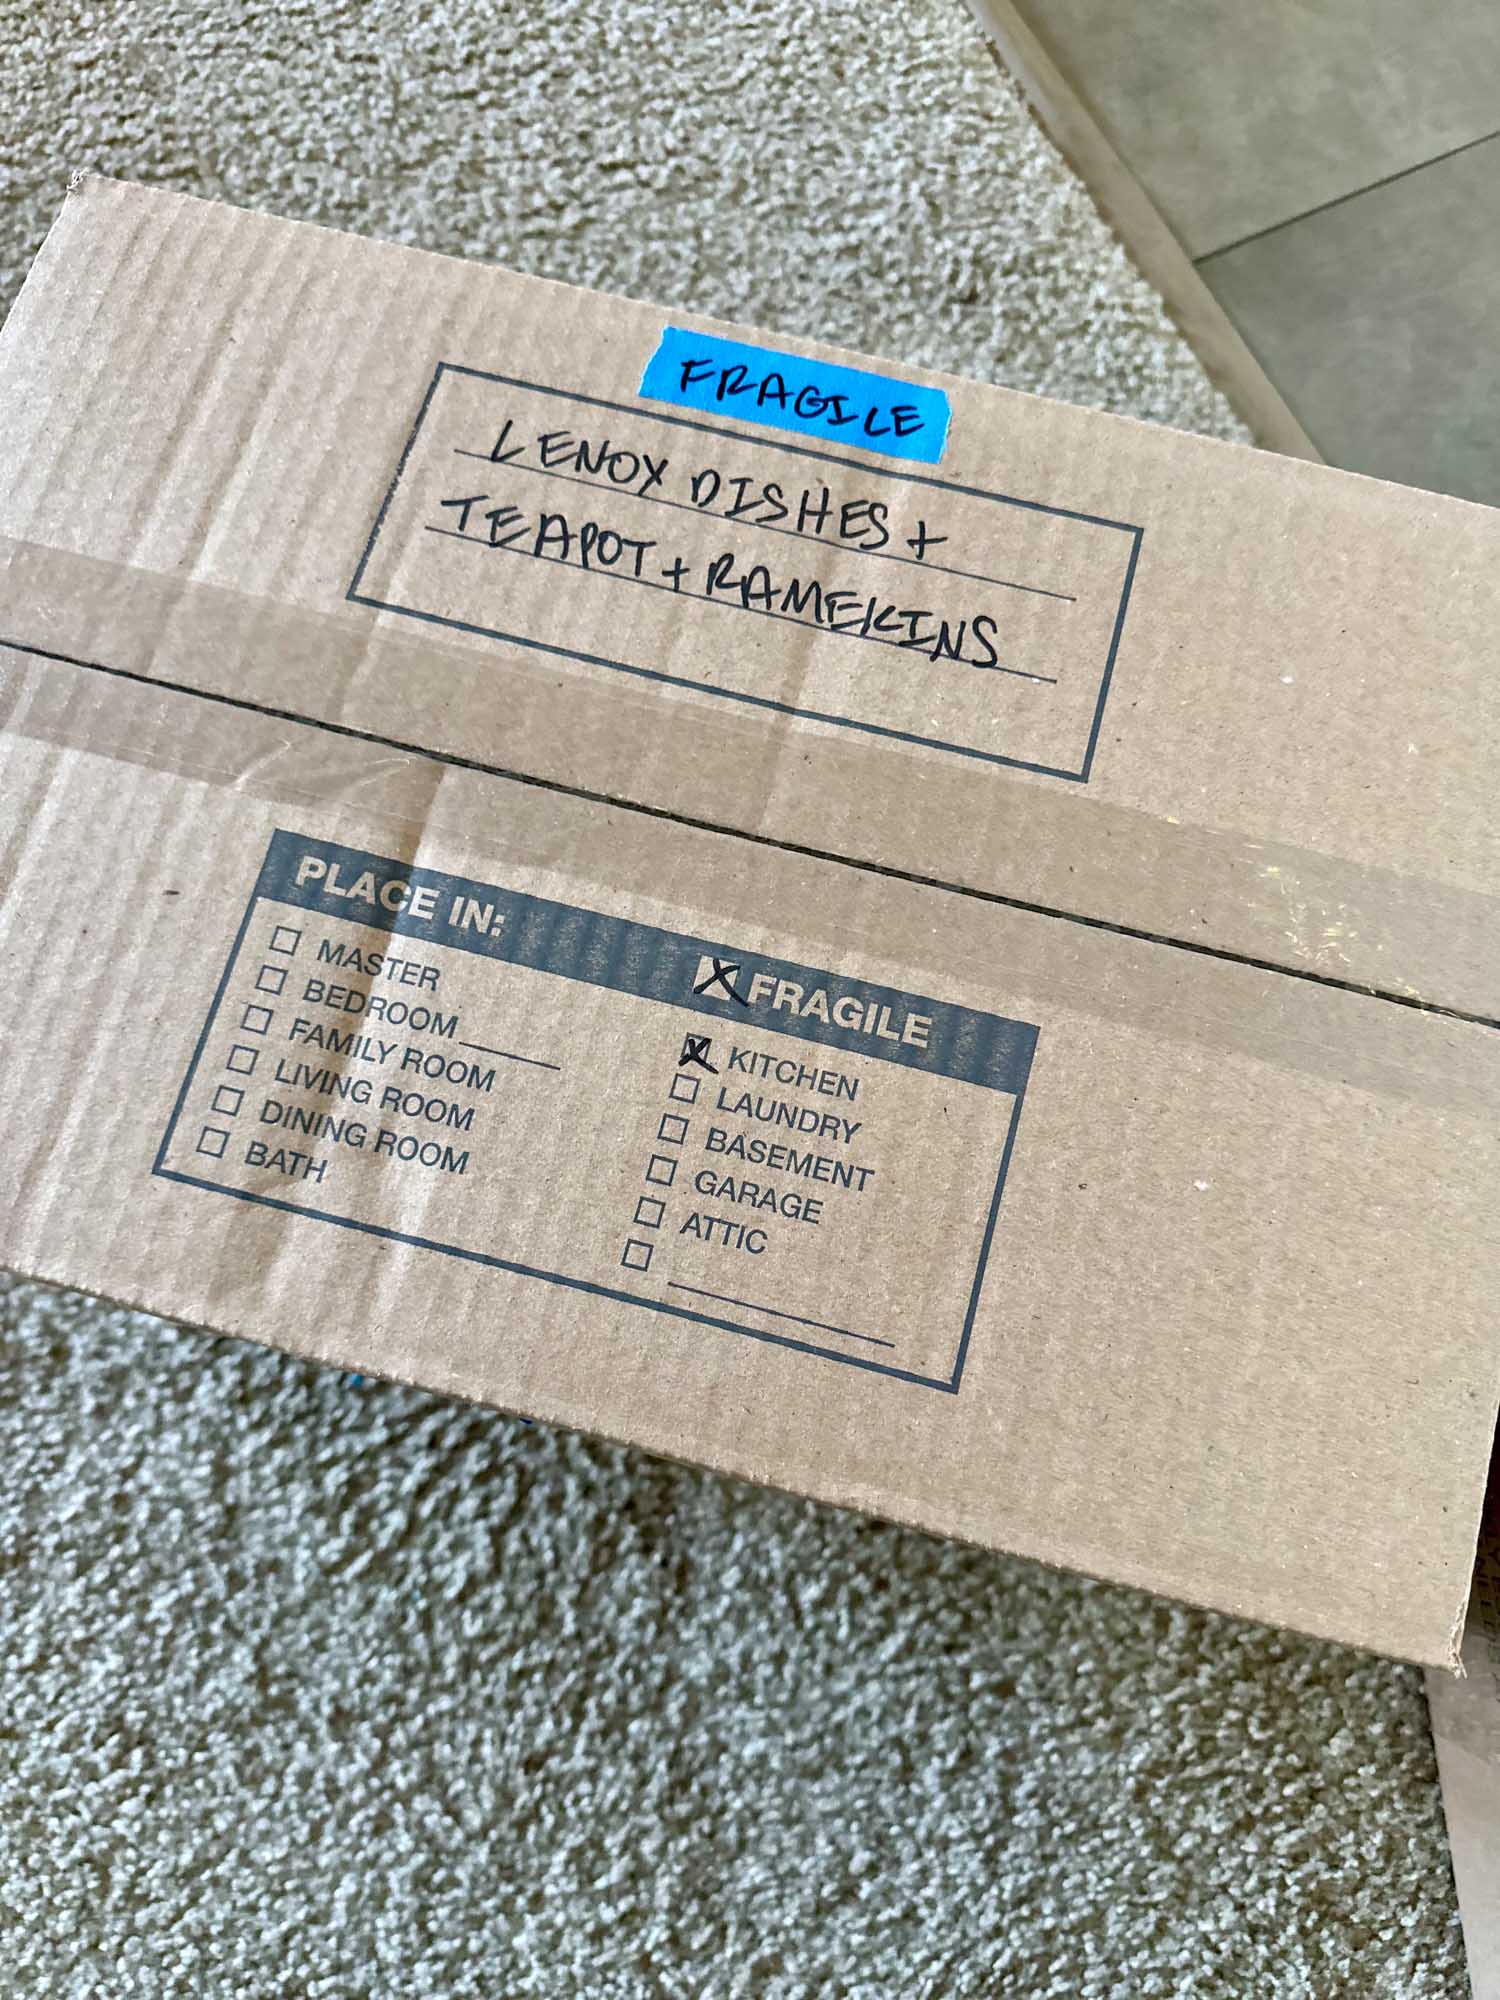
Although moving boxes often have a “Fragile” checkbox, it’s not obvious enough to catch people’s attention. I used blue tape and wrote FRAGILE on it to ensure that it was eye-catching. That way, we didn’t have to worry about missing something breakable.
Develop a naming convention
To keep things streamlined and consistent, I created a naming convention for our boxes.
This involved:
- Names of most items in box
- Category/where items in box are coming from in old home (if needed)
- Where box should be placed in new home
- Fragile (with blue tape)
Here are a couple of my box titles for example:
- “Lenox Dishes + Teapot + Ramekins — Kitchen (FRAGILE)”
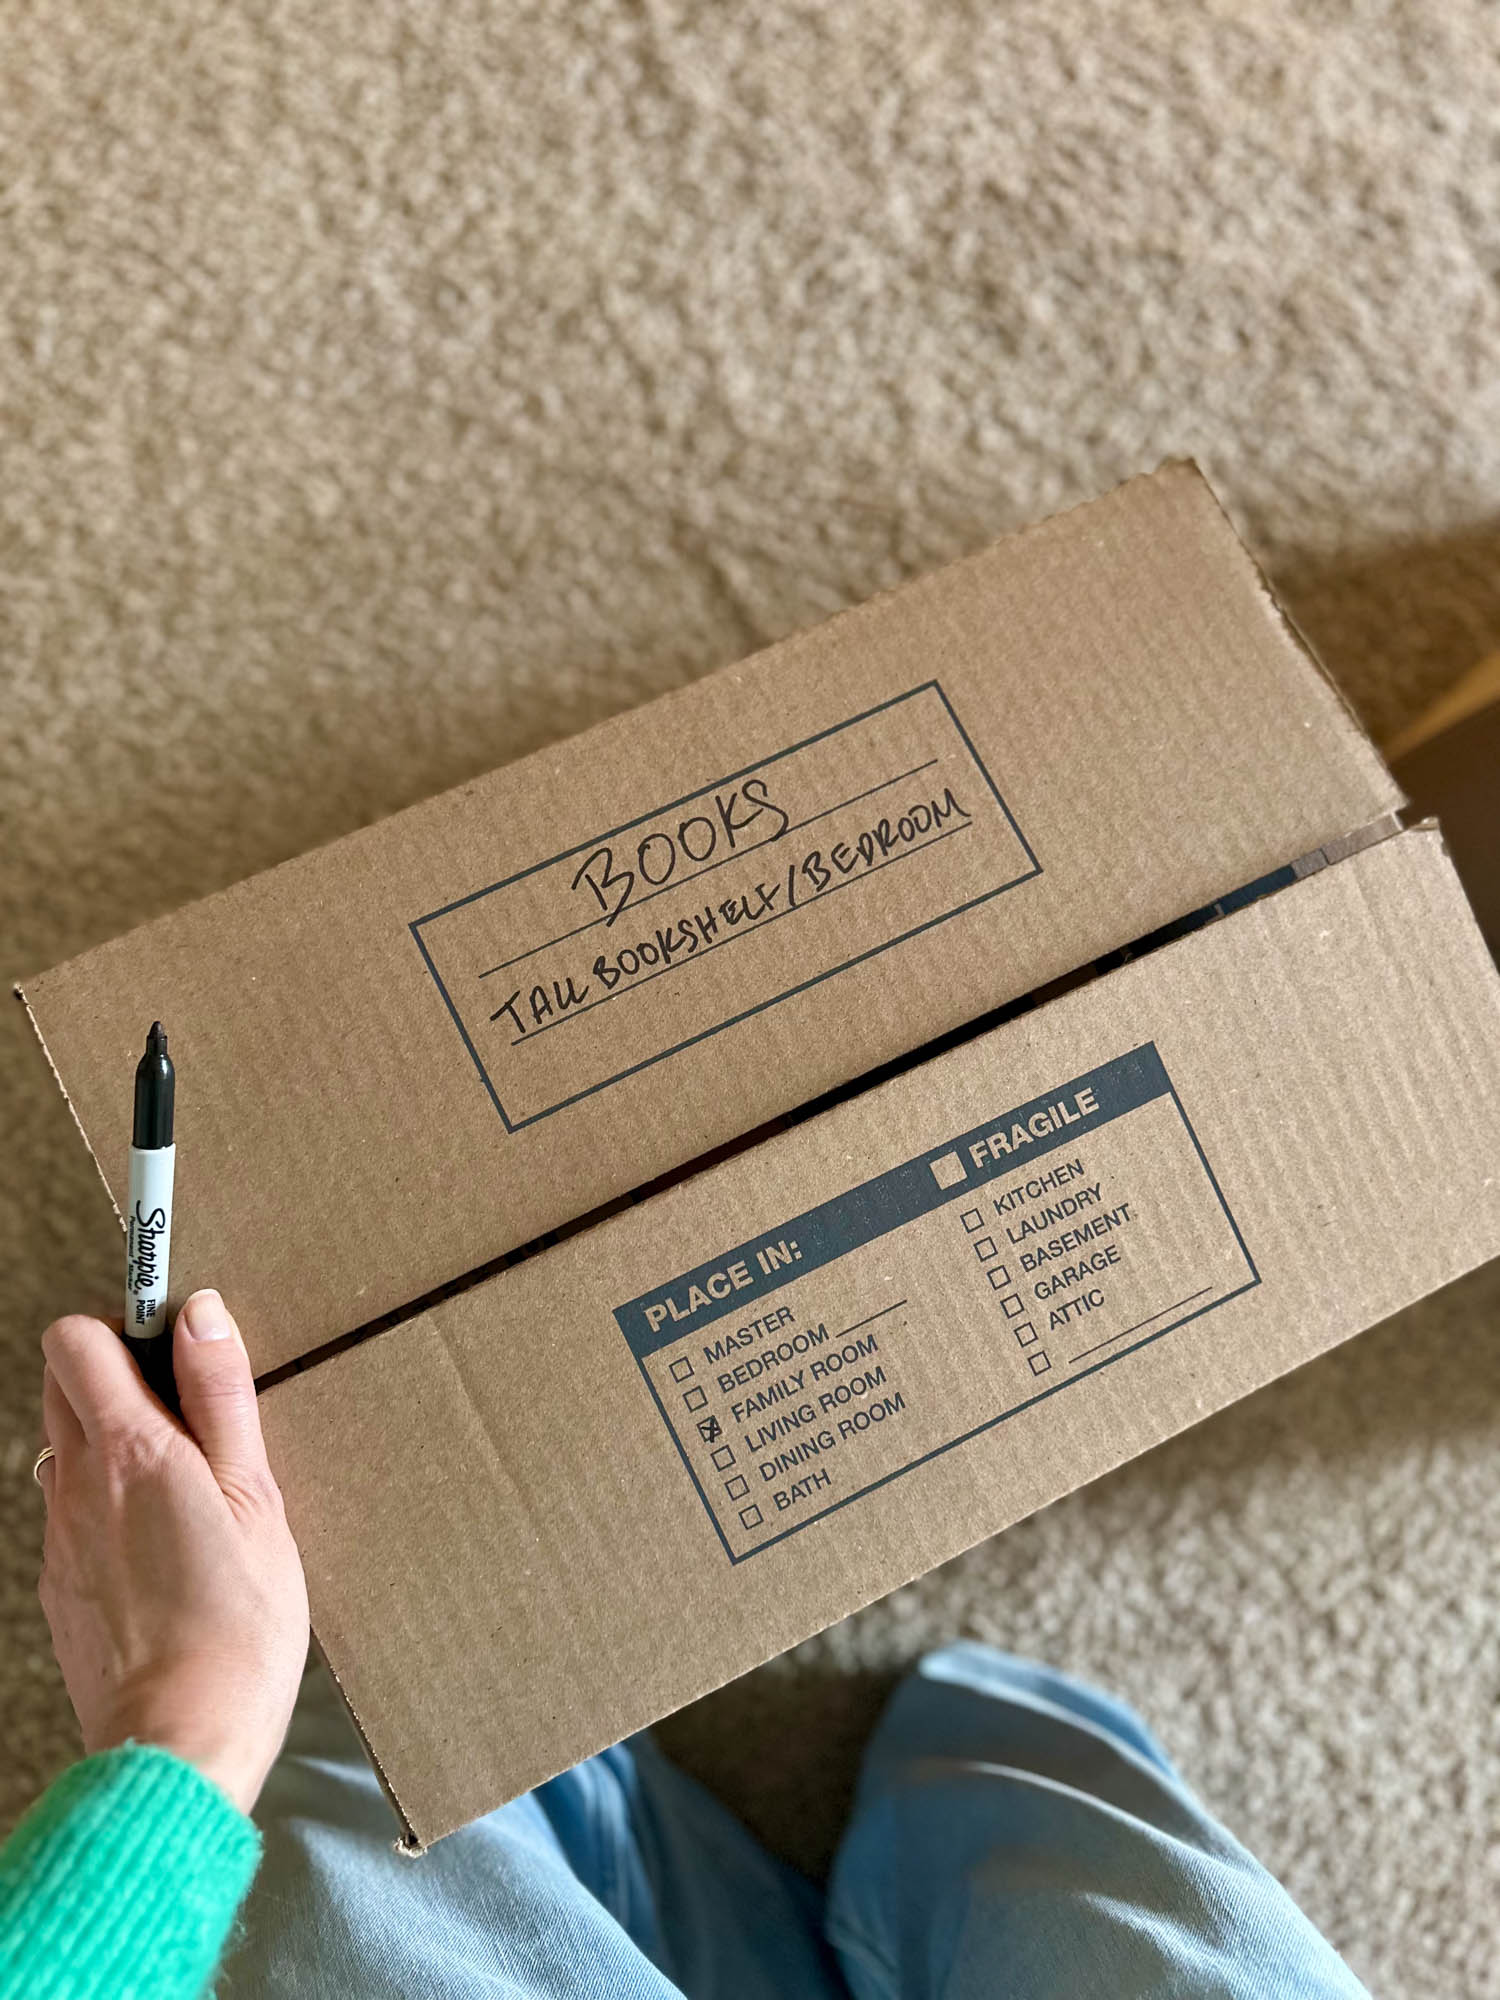
- “Books — Tall Bookshelf/Bedroom — Family Room”
Label boxes on the top AND the side
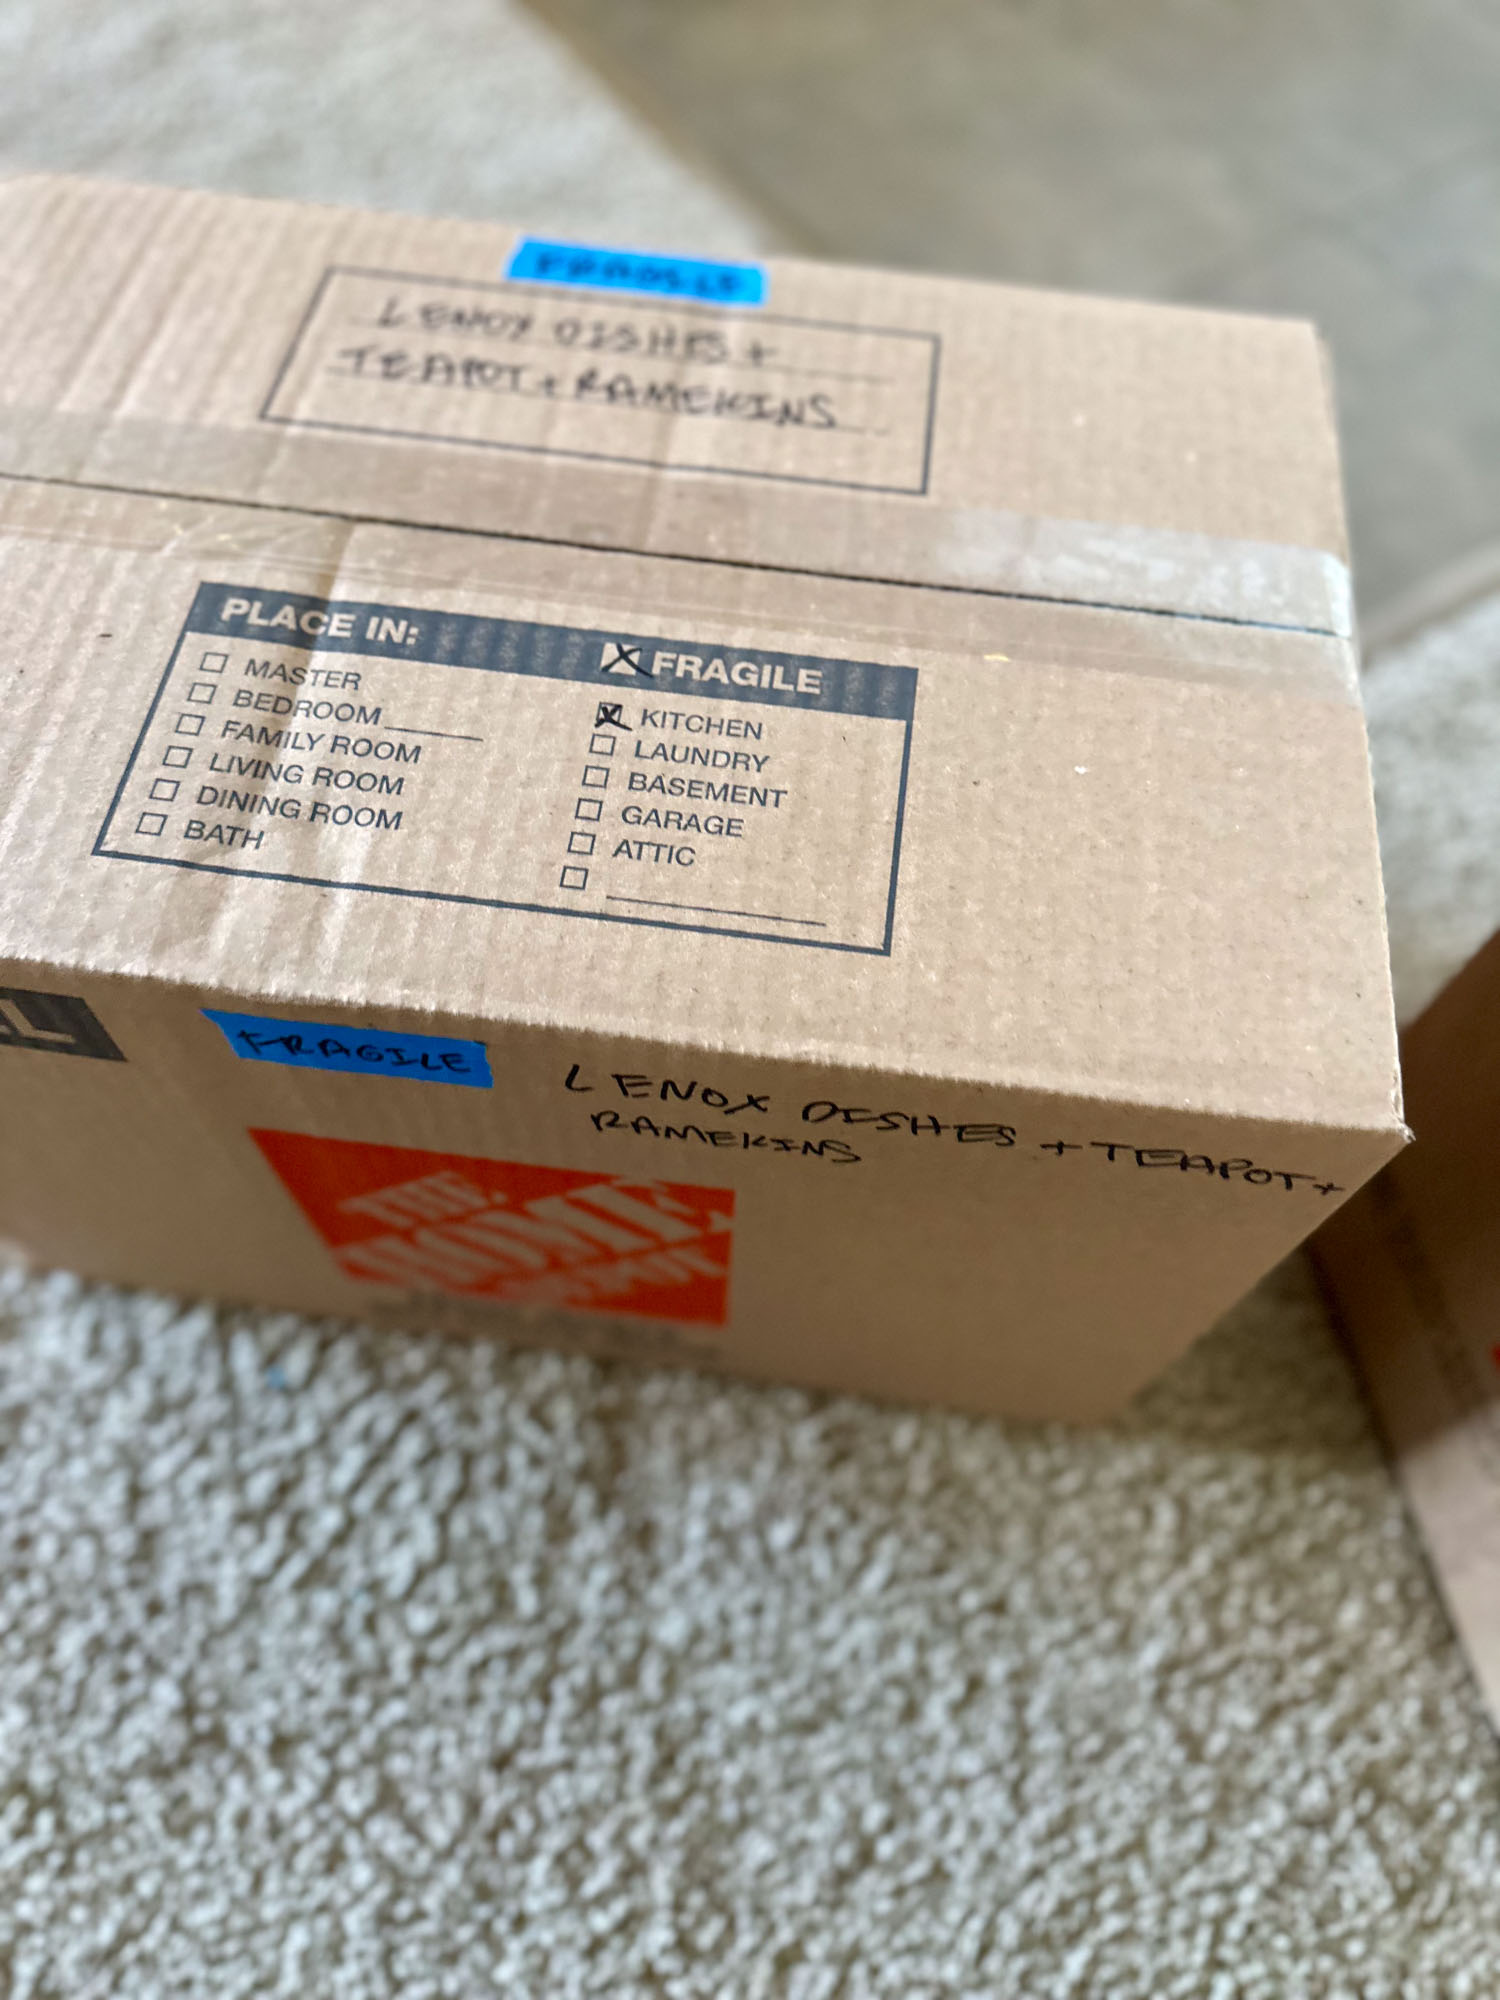
In addition to developing a naming convention, we also ensured the contents of the box were written on the top and side of every box. That way, whether the boxes are stacked or you’re carrying one, you can tell what’s inside and whether it’s fragile.
Put things in boxes/organize by area
After you’ve figured out your labeling system, you can start putting things in your boxes as you label them.
This is another big mental hurdle you have to surmount, but once you start it gets easier. Actually, it gets harder. But once everything is in the boxes, the hardest of the move will be behind you. You’re so close!
The reason why boxing everything is so difficult is you have to face decision paralysis over and over again. Where should it go? Do I really need this? Where has this been for three years? Can I get anyone I know to take it so I don’t have to move it?
For me, organizing things by area is the easiest way to take the plunge and get some packing momentum. For example, to get started I packed everything I could from my desk into a box. Although it wasn’t the most organized packing job, I knew that I would remember where everything was and once it was done I didn’t have to worry about packing my desk anymore.
Packing boxes can be discouraging because you invest so much time and effort and it feels like it makes so little difference. However, it really does all add up to a lot of progress, it’s just harder to see. I’ve found that the kitchen and bathrooms are the biggest time-suckers. If you want to be able to see tangible progress, try tackling one of those projects per day.
Wrap fragile items separately
I already talked about the importance of labeling fragile boxes, but it’s also important to ensure your fragile items are packed properly.
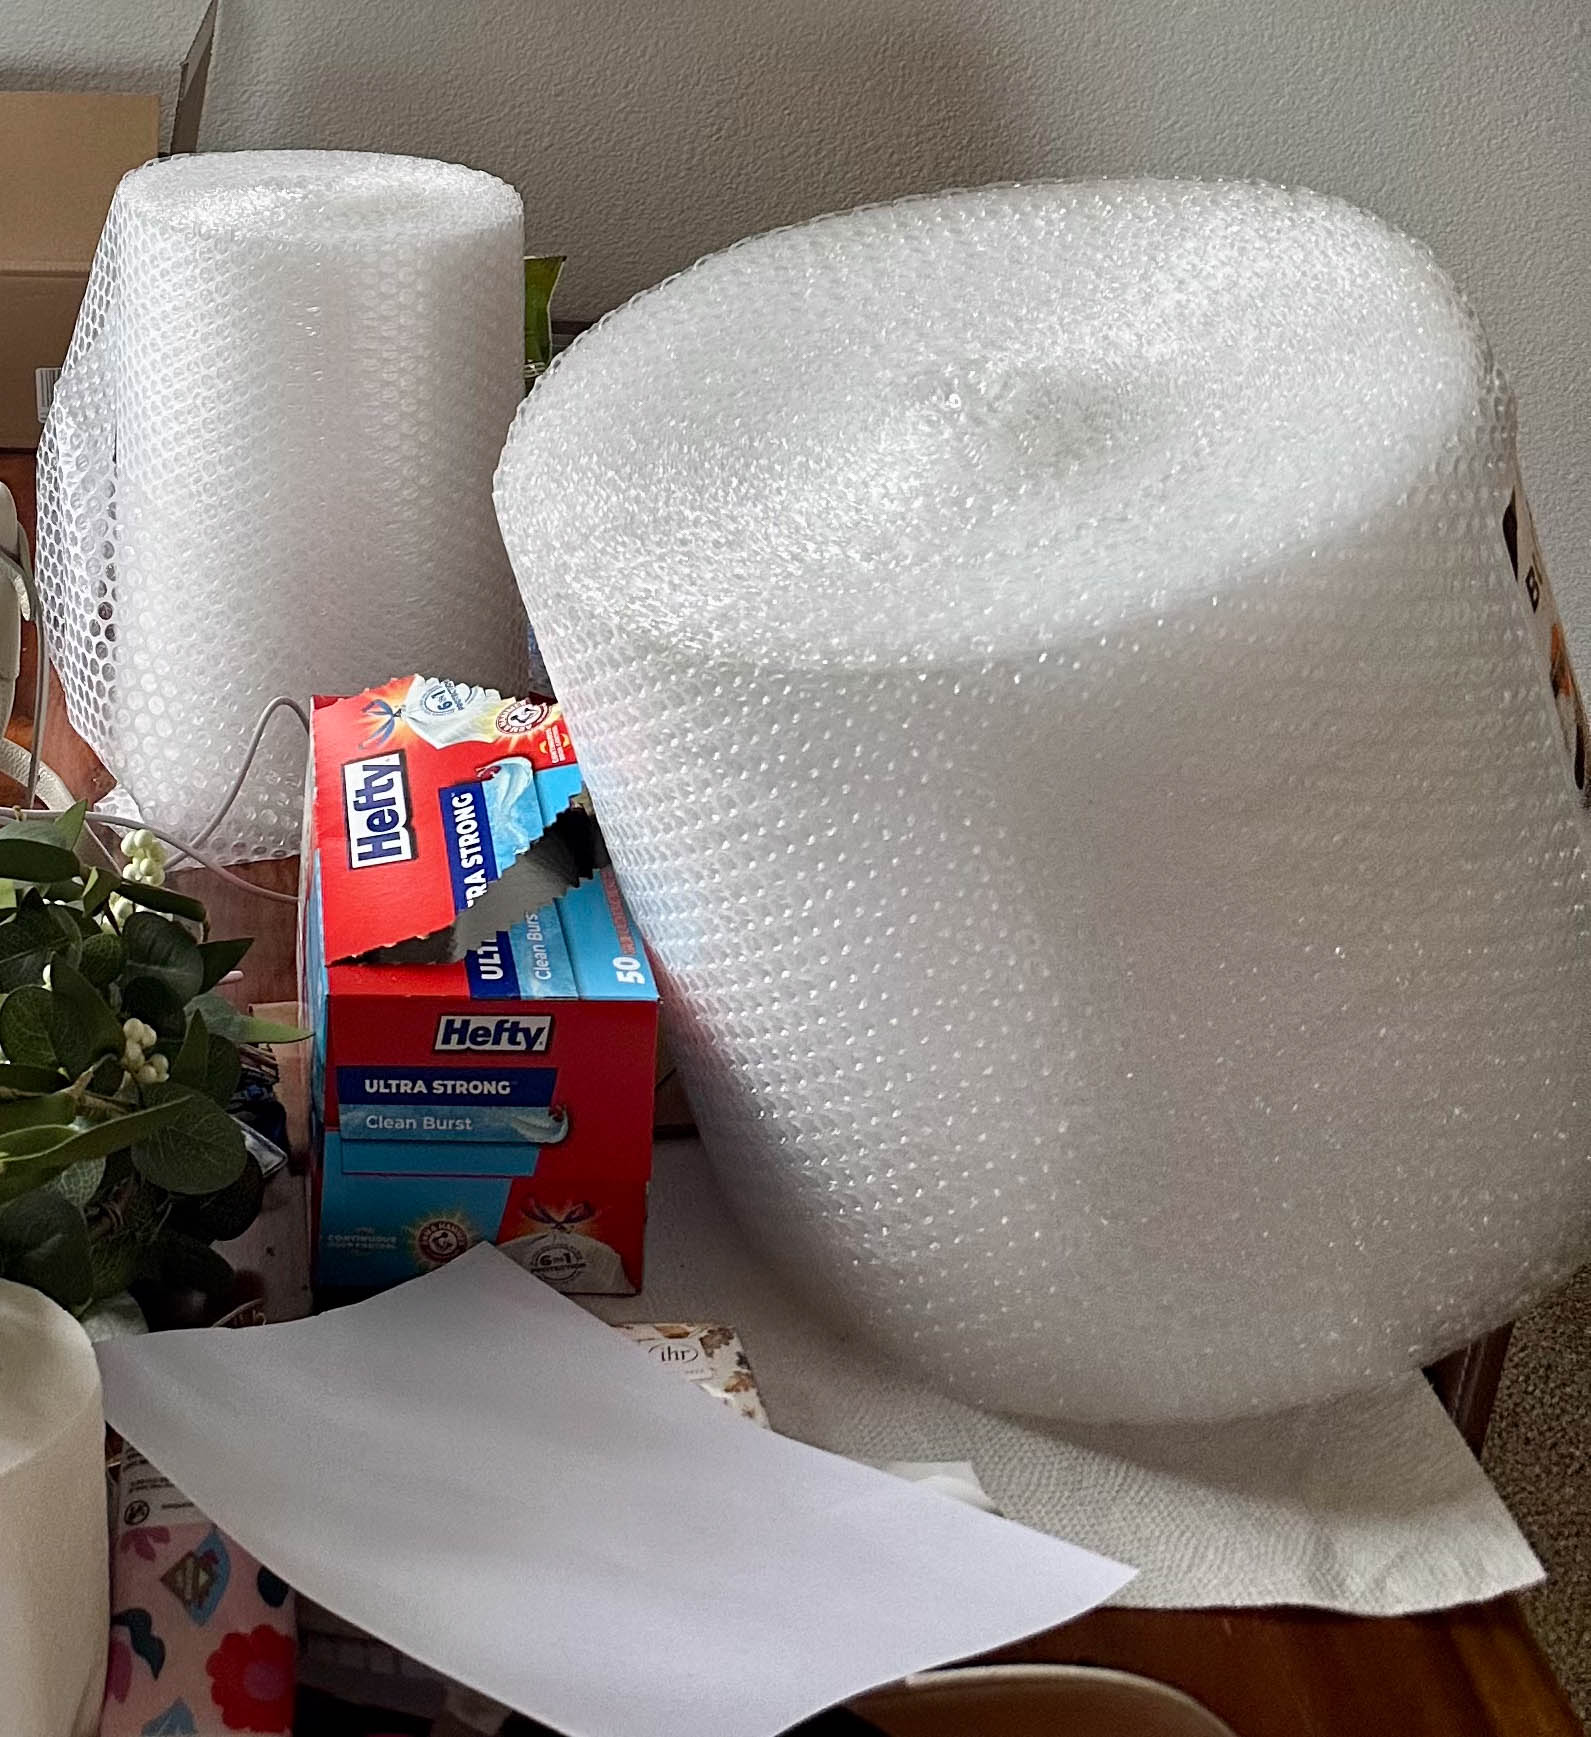
We went through a lot of bubble wrap, since we have a lot of breakable things. You can also use towels or packing paper if you prefer, just be sure that you’re confident in the packaging. A good benchmark is to assume that someone might drop your box. Although it’s not a guarantee your stuff would survive the fall, it should at least have a fighting chance.
Don’t put heavy items with or on top of your fragile items, and be careful with the boxes once you’re done packing them.
Use small boxes for heavy & fragile items
It might seem like a good idea to fill a large box with heavy items that don’t seem that heavy, but the weight adds up quickly. Put heavy items such as books and fragile items in small boxes. Trust me, you’ll thank me later.
Seal your boxes
As you go, you’ll need to seal your boxes. It’s Murphy’s law of packing — as soon as you seal a box, you’ll find something else that belongs in that box. When that happens, you have two choices: reopen the box or start a new box. Don’t waste time agonizing over it.
We used at least one lengthwise piece, usually two, to seal ours, and sometimes we added a crosswise piece as well or pieces on the seams. If you have boxes with handholds on the sides, be careful — you need your tape to go as far down the sides as possible, or it won’t stick. You can either cut a slit in the tape if you tape over the handhold, or you can punch it out and then wrap the tape inside the box.
Review home/apartment checklist (if applicable)
As you pack your boxes, review your home/apartment checklist, if you have one. This will give you an idea of what to clean or repair.
Repair damages/fill holes/paint (if applicable)
If you mounted anything on your walls or incurred any damage, you may need to do some repairs. Some rental properties require you to spackle and/or paint holes in the wall. Be sure to acquire spackle if needed (you can get it on Amazon if one more trip to Home Depot is just too much for you).
Sometimes, you can ask your landlord for the correct color paint to do touchups. You can also do a color match from a photo at Home Depot if you’re desperate.
Cleaning
In my opinion, cleaning is the least fun part of moving. It’s so much work, it’s gross, and it’s incredibly difficult to do when you have boxes everywhere.
If you choose to do the cleaning yourself, it will help a lot if you can get started on some of the deep cleaning before you pack. But often, that’s impractical, and you can’t fully clean everything until your stuff is gone. Plus, you’re still living there, so until you move, any cleaning you do to some extent will be undone.
However, tackling big cleaning projects like the oven or the fridge one day at a time, particularly as you get closer to moving day, will help chip away at your cleaning list and make your move a bit less stressful.
Although you should review any checklist given to you by your landlord, here are the main things you should clean:
- Windows/window sills & tracks
- Baseboards/doors/door knobs/walls
- Mirrors
- Blinds/fans
- A/C units/filters & heating vents
- Appliances (in, out, behind, & under)
- Light fixtures/switches
- Inside/on top of shelves/cabinets
- Closets
- Surfaces/floors
If you have any overlap in time living at your old and new homes, consider coming back another day to finish the cleaning. However, often that’s not feasible.
One piece of advice: don’t even try to vacuum or mop until all your stuff is gone — it’s just pointless. Leave your cleaning supplies as one of the last things to move and have someone do a final runthrough of your home before you leave.
Last-Minute Tasks
Although you should try to do as much as possible in advance, there are a few tasks that need to wait till the last minute.
Clean out fridge/defrost freezer
While you’ll certainly need to clean out your fridge, depending on where you’re currently living, you may also need to defrost the freezer. Since you need to eat up until your move, and you can’t move your perishable items until the last minute, the fridge and freezer can be tricky.
One thing I did that was really helpful was I went through the fridge and freezer toward the beginning of moving week and got rid of all the expired products (I found more than I care to admit). Then, the day before moving day, I put everything in insulated freezer bags. I removed the bags to clean out the fridge and freezer and then put them back in, leaving everything in the bags.
This made moving day so much easier because I just had to grab the bags on my way out.
While we weren’t required to defrost our freezer in our apartment, if you are, then be sure to do it at least a couple of days in advance, and be prepared to clean up the drainage. If you have a lot of food in your freezer, you may need to find another place to store it until moving day.
Finish laundry/empty dishwasher
Although ideally you would do this in advance of moving day, practically speaking, you’ll likely have some last-minute laundry. We threw our final load of sheets and towels in the wash the morning of moving day, set timers so we wouldn’t forget to flip it, and saved a final bin for the clean laundry that made the last trip to the U-Haul.
If you have any dishes in the dishwasher, don’t forget to pack those as well.
Take apart furniture
You also may need to disassemble your furniture, unless you have friends or movers doing it for you. It’s up to you when you choose to do this, but my advice would be to wait as long as you can to take apart your bed. Good sleep is crucial when you’re moving!
You can choose to do it the night before — we ended up just having the movers take it apart on moving day and were so glad we got the extra night’s sleep in our bed.
Get cash for tips
You may need cash for payments or tips on moving day, so be sure to get some in advance.
Check the weather
Moving day weather is a seriously underrated consideration. Keep an eye on it the week leading up to moving day so you can let your moving crew know how to prepare.
Acquire food/beverages for moving day
Moving is hard work, and you will need to drink plenty of water and eat something. We bought some protein bars, bagels, and bottled water for moving day and it was extremely helpful. We also planned to Doordash a Panda Express feast for our moving team.
Moving Out Checklist: Moving Day
You’re so close. Everything you own is in boxes. You are sleeping on the floor, eating takeout with a single spoon. Moving day has arrived!
Surviving the Day
Here are a few tips to help you survive moving day without losing your mind.
- Eat something substantial
- Wear closed-toed shoes/comfy clothes
- Have a kit ready at both places with a few essentials:
- Toilet paper
- Paper towels
- Soap
- Clorox wipes
- Scissors
- Set out water/snacks
- Secure pets/children
- Take breaks
Final Steps
Once you’ve mostly finished the move, there are a few last things you’ll need to do at your former home. Don’t forget to follow these final steps before calling it a day.
- Run garbage disposal
- Take out trash
- Remove all personal items
- Clean floors
- Do final walkthrough/take photos
- Tip movers/thank friends
- Turn off lights
- Return keys/change locks
Moving Out Checklist: Post-Moving Day
After moving day, you will probably feel a little dead inside and maybe not completely yourself — that’s ok! Change is hard and it takes time to adjust. Here are the things you should do after moving day.
Settling In
Once you move in to your new place, the hardest work is behind you! Follow these steps to get settled in.
Congratulate yourself
First, give yourself a pat on the back! While it can be tempting to dive into unpacking right away, take some time to decompress.
Inspect for damage/take photos
If you’re renting, schedule dedicated time to do a walkthrough and document anything damaged, dirty, or missing. It’s better to do this as soon as possible, but generally you have at least 24 hours to complete it. Document everything in writing and also take photos. Often, rental properties have checklists to help you do this but if not then just write it all down yourself and send it to your landlord.
Check utilities/appliances
First order of business — make sure the hot water works! Test out as much as you can. Check the AC/heater, turn on your oven, run your dishwasher, and throw some laundry in the wash.
Test smoke detectors/alarms
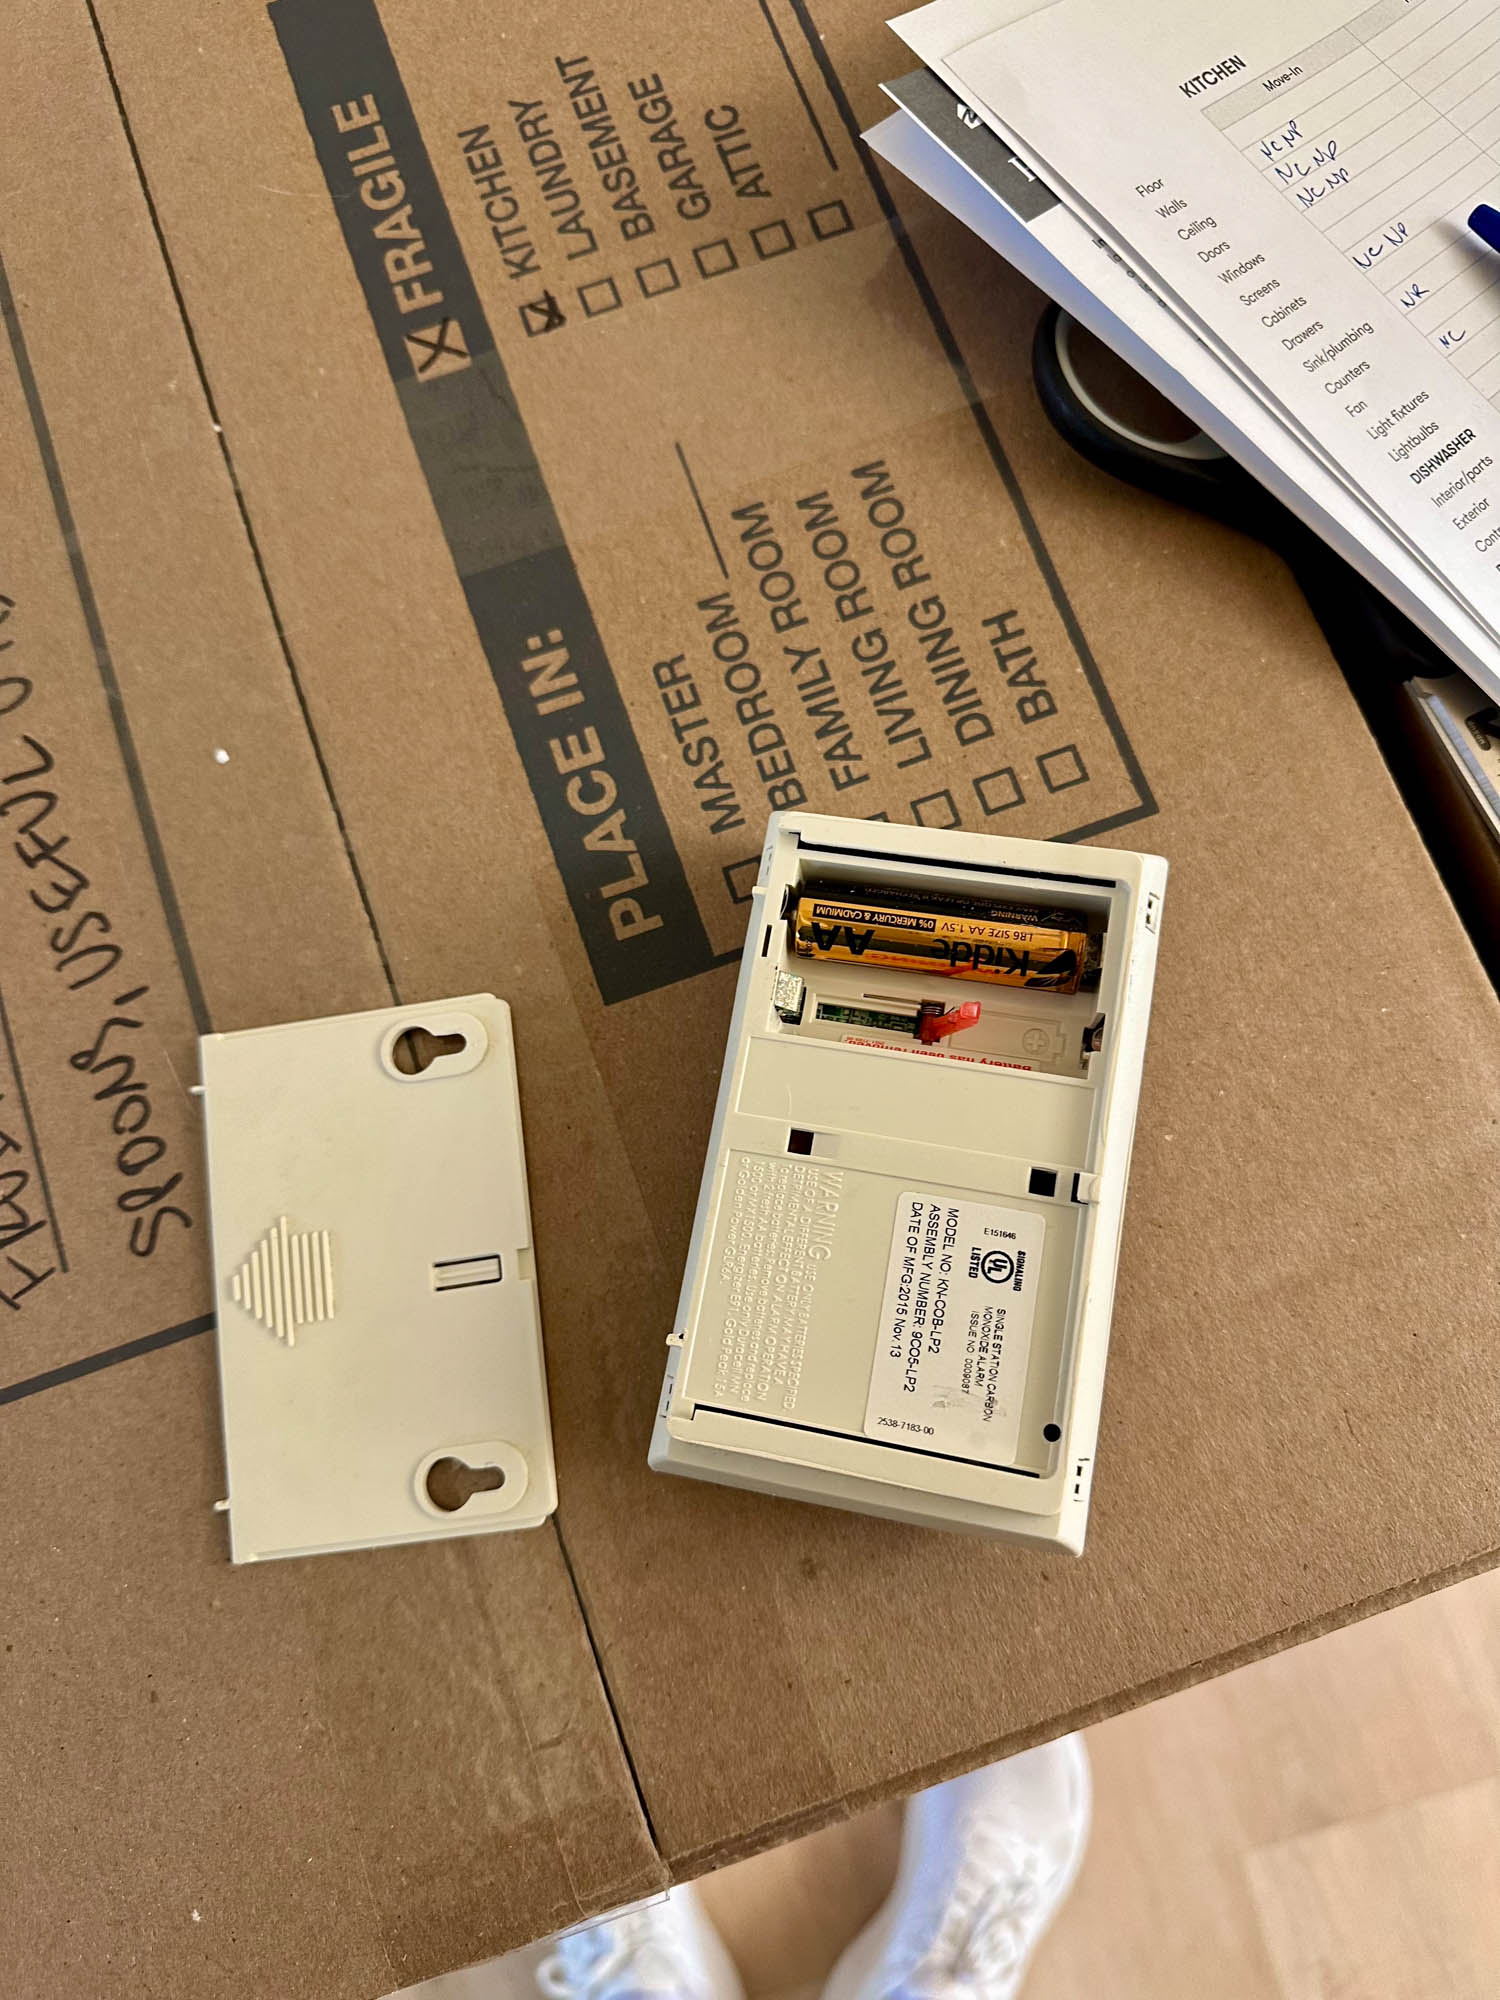
Don’t skip this step. This is something that’s easy to overlook or take for granted, but when we moved into our new place (which runs primarily on gas) we realized the carbon monoxide detector was missing a battery — eep! Safety is important, so be sure all alarms and detectors are in working order.
Review inventory
Ideally, you should review inventory and be sure that you have all of your stuff right after the move. However, I’ve found that this is very difficult, unless you’re the most organized human on the planet. At minimum, locate your most important/valuable items (passports, TV, jewelry, etc.). You can complete the rest of your inventory review as you unpack.
Finalize bills
If you have any outstanding bills from your former home, be sure to take care of those, particularly if you formerly used autopay.
Buy furniture/items from your list
If you’ve been waiting to buy things for your new home, now is the time— prioritize acquiring new stuff in order of importance.
Unpack/decorate
Unpacking is more fun than packing, but can still be pretty overwhelming. Don’t try to do it all at once, but also don’t procrastinate or it will make your life more stressful. Chip away at a couple of boxes or more per day, depending on what you have time for, and reward yourself for doing it.
As you unpack and place furniture, you will start to be able to picture where your decor will go. One piece of advice, as a lover of large mirrors — don’t hang anything until you’ve finalized your furniture placement. I thought that I had a good idea of what furniture would go in our bedroom and we ended up changing it, which impacted what we put on the walls.
Cry tears of joy and relief
That’s it! You’re done! You did it! You checked off the last thing on your moving out checklist. Not only did you survive the most stressful life event, you’re starting a new chapter at a new place. Even though moving is stressful, it’s also fun because it opens up a whole new realm of possibilities. Now it’s time to get excited for what’s ahead and enjoy moving in to your new home!
